How to Resolve the Issue of Chromium Not Uninstalling on Windows 10
Chromium is an open-source web browser often installed unintentionally alongside other software. In some cases, removing Chromium can be challenging, especially if the uninstaller doesn’t work or the application keeps reinstalling itself. This guide will help you completely uninstall Chromium from your Windows 10 computer.
Why Chromium Won’t Uninstall
Several factors can make uninstalling Chromium difficult:
- The program is corrupted or incomplete.
- It was installed as part of a bundle with other software.
- Malware disguised as Chromium.
Follow these steps to ensure Chromium is completely removed from your system.
Step 1: End Chromium Processes
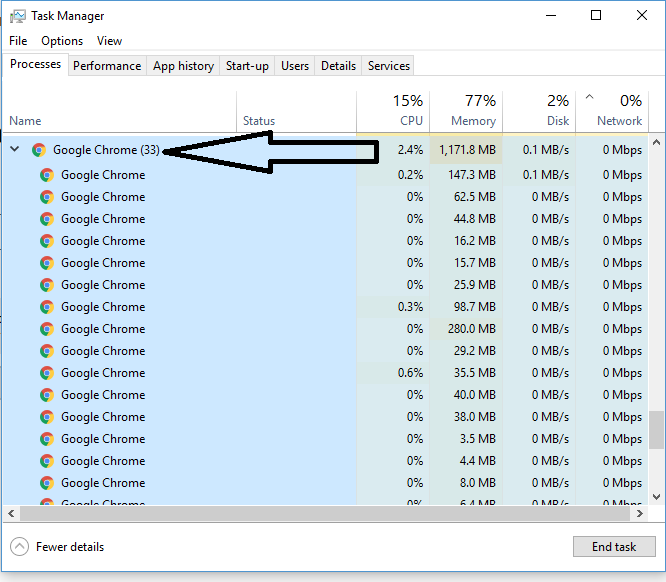
Use Task Manager to Stop Chromium
- Press Ctrl + Shift + Esc to open Task Manager.
- Go to the Processes tab.
- Look for any processes named Chromium.
- Right-click on each Chromium process and select End Task.
Step 2: Uninstall Chromium via Settings
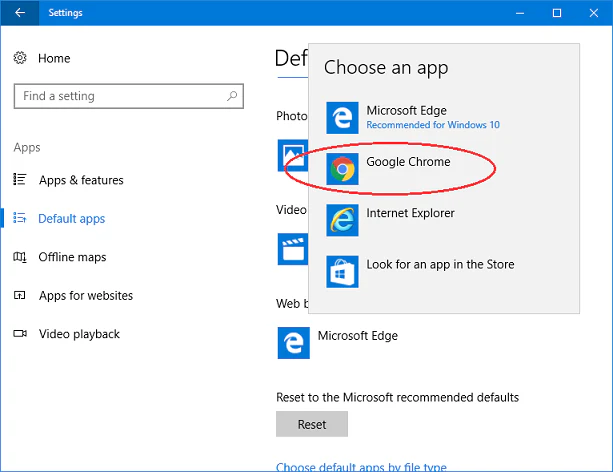
Use Apps & Features to Remove Chromium
- Press Windows + I to open the Settings app.
- Navigate to Apps > Apps & features.
- Scroll through the list of installed programs and locate Chromium.
- Select Chromium and click Uninstall.
- Follow the on-screen instructions to complete the uninstallation.
If Chromium doesn’t appear in the list or the uninstaller fails, proceed to the next steps.
Step 3: Manually Delete Chromium Files
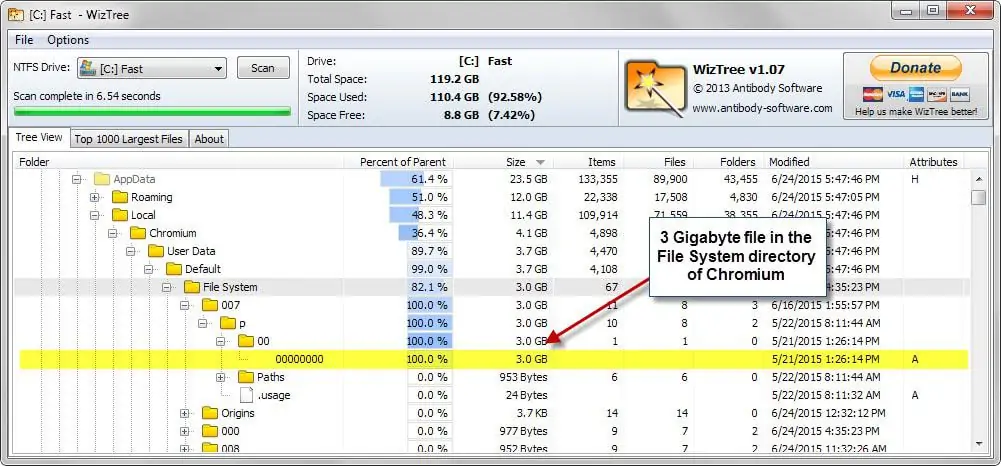
Locate Chromium Installation Folder
- Press Windows + R, type %localappdata%, and press Enter.
- Look for a folder named Chromium.
- Right-click on the Chromium folder and select Delete.
Check Program Files
- Open File Explorer and navigate to:
- C:\Program Files
- C:\Program Files (x86)
- Search for a Chromium folder in these directories.
- Delete any folders related to Chromium.
Step 4: Remove Chromium from Startup Programs
Disable Chromium from Starting Automatically
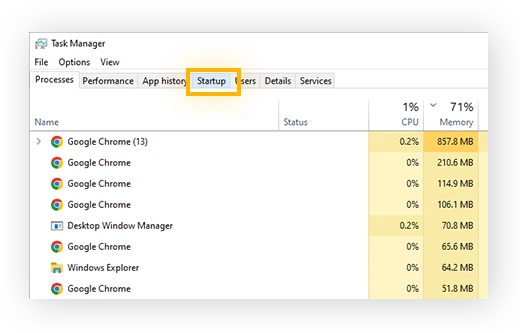
- Press Ctrl + Shift + Esc to open Task Manager.
- Go to the Startup tab.
- Locate Chromium in the list of startup programs.
- Right-click on it and select Disable.
Step 5: Clean the Registry
Use Registry Editor to Remove Chromium Entries
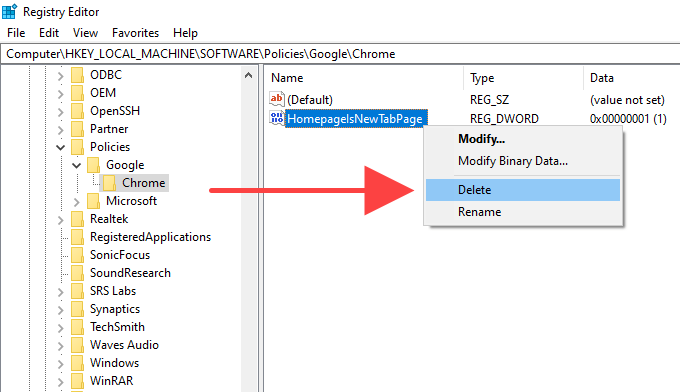
Warning: Editing the registry can be risky. Proceed with caution and back up your registry before making changes.
- Press Windows + R, type regedit, and press Enter.
- In the Registry Editor, press Ctrl + F to open the search box.
- Type Chromium and press Enter.
- Delete any entries related to Chromium by right-clicking and selecting Delete.
- Press F3 to find the next entry and repeat until all are removed.
Step 6: Use Third-Party Uninstaller Tools
If manual steps don’t work, you can use a third-party uninstaller to remove Chromium completely.
Recommended Tools
- Revo Uninstaller
- IObit Uninstaller
- CCleaner
- Download and install the chosen uninstaller.
- Use the tool to scan for Chromium and its leftover files.
- Follow the tool’s instructions to delete all traces of Chromium.
Step 7: Run a Malware Scan
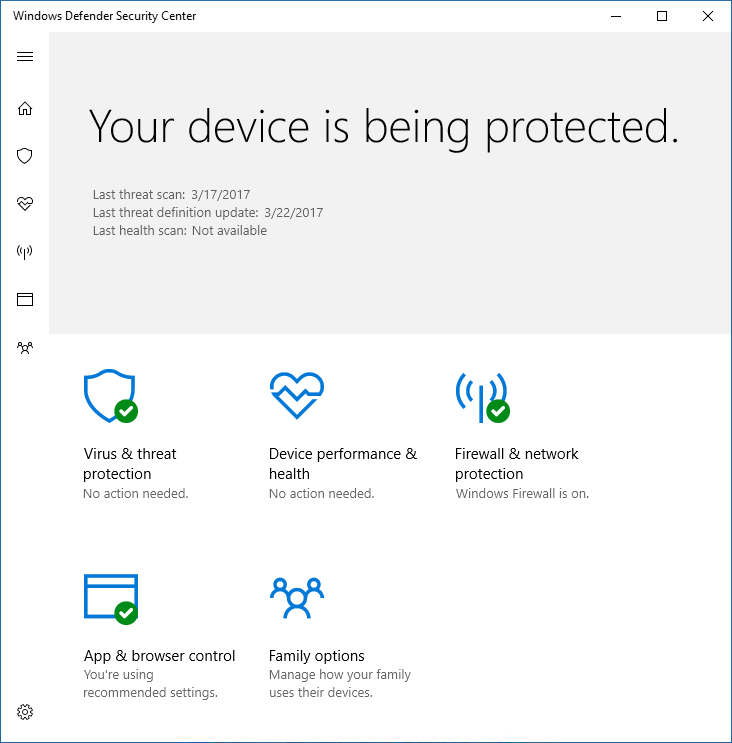
Use Windows Defender or Antivirus Software
- Open Windows Security by pressing Windows + I and navigating to Update & Security > Windows Security.
- Select Virus & threat protection and click Quick Scan.
- If threats are detected, follow the prompts to remove them.
For advanced protection, consider using third-party antivirus programs like Malwarebytes or Avast.
Step 8: Restart Your Computer
After completing all steps, restart your computer to ensure all changes take effect.
Conclusion
By following this guide, you should be able to completely remove Chromium from your Windows 10 system. Whether the issue is a stubborn uninstaller or malware masquerading as Chromium, these methods provide a comprehensive solution.
