How to Capture Your Screen on Windows 10/11
Recording your screen can be incredibly useful for creating tutorials, sharing gameplay, or capturing problems to share with tech support. Windows 10 and Windows 11 both come equipped with built-in screen recording tools, making it easy to capture your screen without the need for third-party software. In this guide, we’ll walk you through several ways to record your screen on Windows 10 and 11, including using the Xbox Game Bar, Microsoft PowerPoint, and third-party applications like OBS Studio.
Method 1: Using the Xbox Game Bar
The Xbox Game Bar is a built-in tool designed primarily for gamers, but it can also be used to record your screen on any application. It’s simple to use and doesn’t require any additional software.
Steps to Record with Xbox Game Bar:
- Open Xbox Game Bar: Press Windows + G on your keyboard to open the Xbox Game Bar interface.
- Start Recording: In the Game Bar overlay, click the Capture widget (the camera icon). Then, click the Record button or press Windows + Alt + R to start recording.
- Stop Recording: Once you’re finished, click the Stop button in the capture status window, or press Windows + Alt + R again to stop.
- Access Recorded Videos: Your recordings will be saved in the Videos > Captures folder on your PC.
Important Notes:
- The Xbox Game Bar doesn’t support recording File Explorer or the desktop. You can only record within active applications.
- You can customize the recording settings by going to Settings > Gaming > Captures to adjust recording quality, frame rates, and audio options.
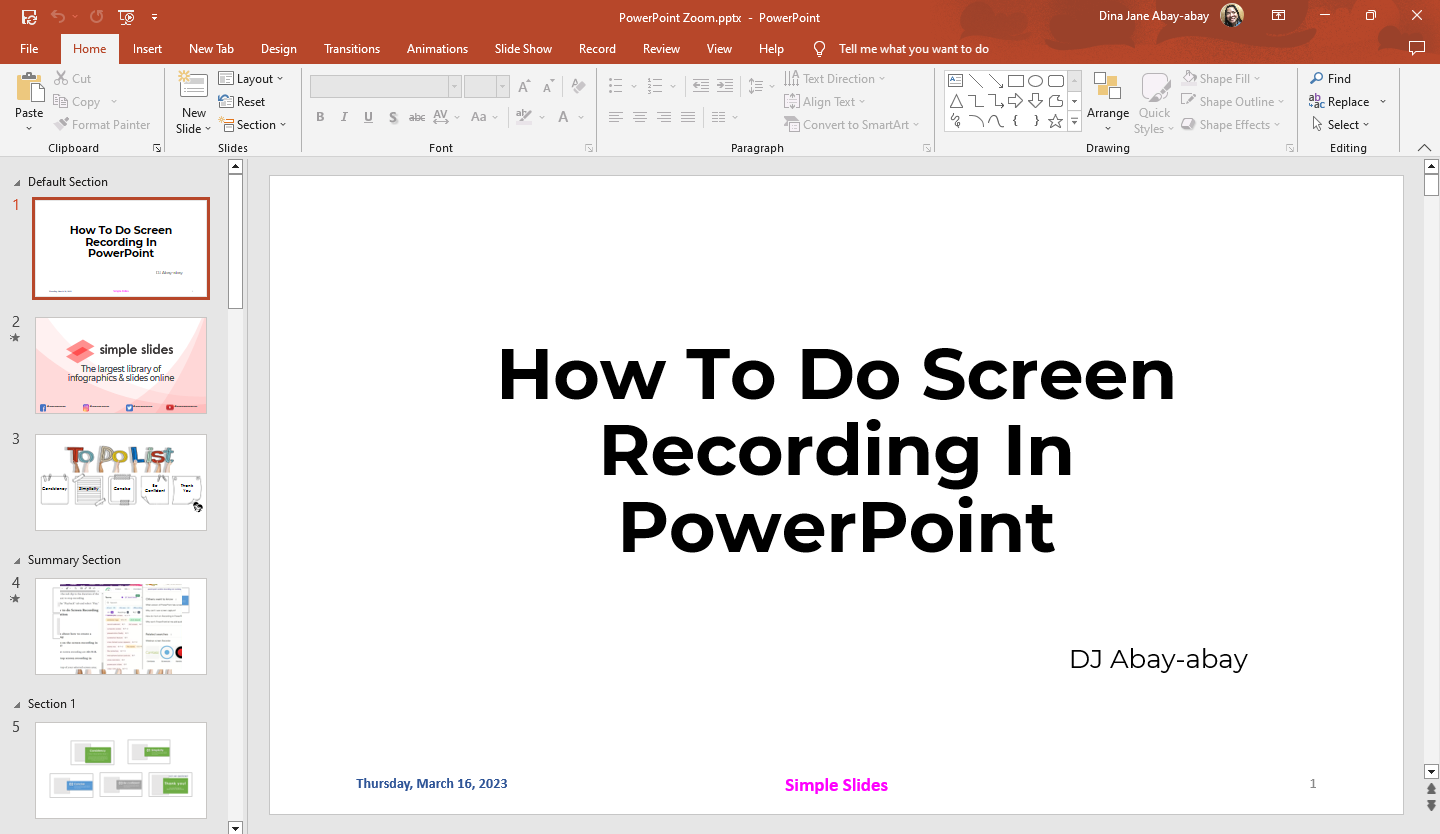
Method 2: Using Microsoft PowerPoint

If you already have Microsoft PowerPoint installed, you can use it as a screen recording tool. This method is great for users who may need to integrate the recording directly into a presentation.
Steps to Record with PowerPoint:
- Open PowerPoint: Launch PowerPoint and open a new or existing presentation.
- Navigate to the Insert Tab: In the PowerPoint menu, click on the Insert tab.
- Select Screen Recording: From the right-hand side of the toolbar, click Screen Recording.
- Choose Recording Area: Select the part of the screen you want to record by clicking and dragging. If you want to record the entire screen, just drag across the full display.
- Start Recording: Click the Record button or press Windows + Shift + R to begin recording.
- Stop Recording: Once you’re done, press Windows + Shift + Q to stop recording. The video will automatically appear on the slide. You can save it as a standalone video file by right-clicking the video and selecting Save Media As.
Method 3: Using OBS Studio

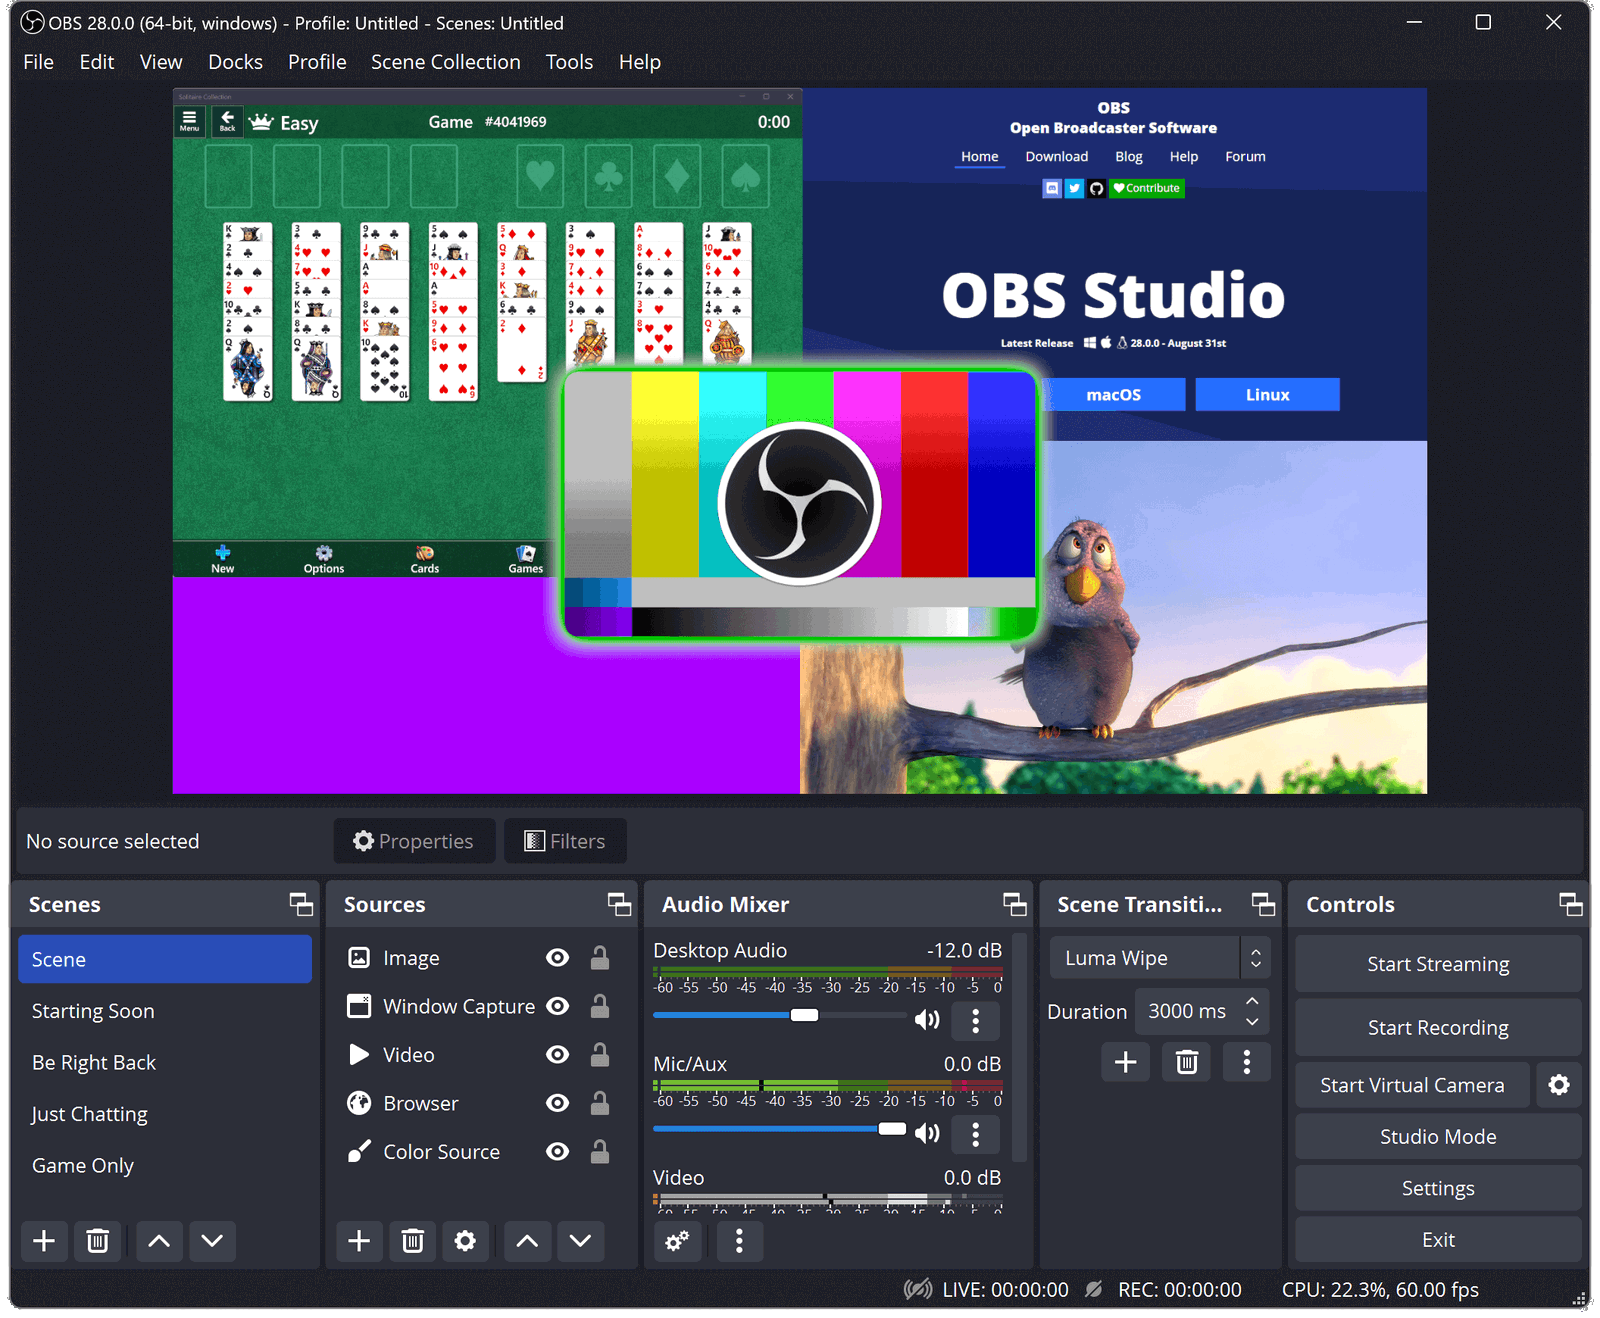
If you need more advanced recording options, OBS Studio is a free and powerful open-source software that allows for professional-level screen recording. OBS Studio offers full flexibility in terms of screen capture, audio input, and recording quality.
Steps to Record with OBS Studio:
- Download and Install OBS Studio: Head to the official OBS Studio website and download the version that matches your operating system (Windows, Mac, or Linux).
- Launch OBS Studio: Once installed, open the OBS Studio application.
- Set Up a New Scene: In the main window, click the + button in the Scenes box to create a new scene.
- Add Screen Capture Source: In the Sources box, click the + button and select Display Capture to record your entire screen, or Window Capture if you want to record a specific window.
- Configure Settings: Click on Settings in the bottom-right corner. Under the Output tab, you can adjust the recording quality, format, and file location.
- Start Recording: Press the Start Recording button to begin capturing your screen.
- Stop Recording: Click Stop Recording when you’re done. The recorded file will be saved in the location you specified in the settings.
Method 4: Using Snip & Sketch (For Basic Recording Needs)
Snip & Sketch is another lightweight built-in Windows tool, but it’s mainly designed for screenshots. While it doesn’t natively support video recording, it can be used in combination with other apps if you only need a quick screen capture to accompany your recordings.
Tips for Effective Screen Recording
- Plan Ahead: Before you start recording, plan out what you want to show. This will ensure you don’t waste time on unnecessary content.
- Close Unnecessary Apps: Close all non-essential applications to avoid interruptions or notifications during recording.
- Check Audio: If you need to record audio along with the video, make sure your microphone is set up properly. Test the audio levels before starting.
- Choose the Right Resolution: For better video quality, make sure your screen resolution is set to a level that matches your recording needs, especially if you’re recording tutorials or professional content.
Conclusion
Recording your screen on Windows 10 and 11 is simple and can be accomplished using a variety of tools depending on your needs. The built-in Xbox Game Bar is perfect for quick recordings, while PowerPoint provides an easy solution for presentations. For more advanced users, OBS Studio offers a full suite of features for professional-level recordings. Whichever method you choose, follow the steps in this guide to successfully capture your screen and share your content.
Now that you know how to record your screen, you can start creating tutorials, capturing gameplay, or troubleshooting problems with ease!
