How to Adjust Fan Speed on Windows PCs

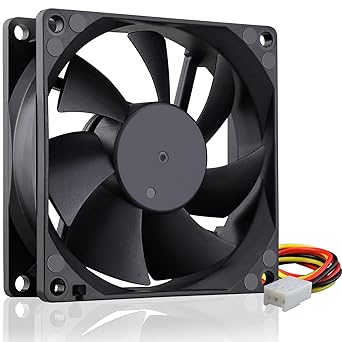
Managing fan speed on your Windows computer is crucial for maintaining optimal performance and ensuring the longevity of your hardware. Overheating can lead to reduced performance, hardware damage, or even system shutdowns. By controlling fan speed, you can balance noise levels with cooling efficiency. This guide will walk you through various methods to control fan speed on Windows computers using built-in options, third-party software, and BIOS settings.
1. Why Control Fan Speed?
Controlling fan speed can help achieve a balance between performance and noise. Here are a few reasons why adjusting fan speed is important:
- Reduce Noise: Lowering fan speed can reduce the noise level, which is beneficial for quieter environments.
- Improve Cooling Efficiency: Increasing fan speed can enhance cooling, especially when performing resource-intensive tasks like gaming or video editing.
- Prolong Hardware Life: Proper cooling helps maintain safe operating temperatures, extending the lifespan of your components.
2. Using BIOS/UEFI Settings to Control Fan Speed

One of the most reliable ways to control fan speed is through the BIOS or UEFI settings.
Steps to Adjust Fan Speed in BIOS/UEFI:
- Access BIOS/UEFI:
- Restart your computer and press the BIOS key (usually F2, F10, Delete, or Esc) repeatedly during startup.
- Navigate to Fan Control Settings:
- Look for options like Hardware Monitor, Smart Fan Control, or Fan Speed Control. The exact name may vary based on your motherboard.
- Adjust Fan Speeds:
- Set fan profiles such as Silent, Standard, Performance, or Manual. In Manual mode, you can customize fan curves based on temperature readings.
- Save Changes and Exit:
- After making adjustments, save your changes and exit BIOS/UEFI. Your computer will reboot with the new fan settings.
3. Using Third-Party Software to Control Fan Speed

If BIOS adjustments are not sufficient or unavailable, third-party software can offer more precise control over fan speeds.
Popular Fan Control Software:
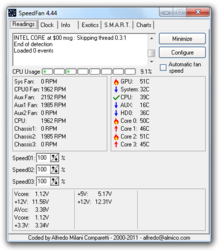
- SpeedFan:
- Download and Install SpeedFan: Visit SpeedFan’s official website to download the software.
- Configure Fan Settings: Open SpeedFan, and you’ll see a list of all detected fans. Use the sliders to adjust fan speed based on your preference or set automatic fan speed adjustments based on temperature.
- MSI Afterburner (for MSI hardware):
- Download and Install MSI Afterburner: Download MSI Afterburner from MSI’s official website.
- Adjust Fan Curves: Open the app, go to the fan settings, and create a custom fan curve that adjusts the fan speed based on GPU temperature.
- Argus Monitor:
- Download and Install Argus Monitor: Get Argus Monitor from the official website.
- Set Fan Profiles: Use Argus Monitor’s user-friendly interface to set fan speeds manually or let it adjust automatically based on your CPU and GPU temperatures.
4. Controlling Fan Speed via Windows Power Options

Windows allows limited fan speed control through its power settings, which primarily adjust performance modes affecting cooling.
Steps to Use Windows Power Options:
- Open Control Panel:
- Search for Control Panel in the Start menu and open it.
- Go to Power Options:
- Click on Hardware and Sound > Power Options.
- Select a Power Plan:
- Choose from options like Balanced, Power Saver, or High Performance. High Performance mode usually increases fan speed to maintain optimal cooling.
- Change Advanced Power Settings:
- Click on Change plan settings next to your selected plan, then Change advanced power settings.
- Expand Processor power management and adjust System cooling policy to Active for increased fan speed, or Passive for lower speed.
5. Using Manufacturer-Specific Software

Many computer manufacturers provide their own software for hardware management, which includes fan control:
- Dell Command Center: For Dell desktops and laptops.
- HP Command Center: For HP devices.
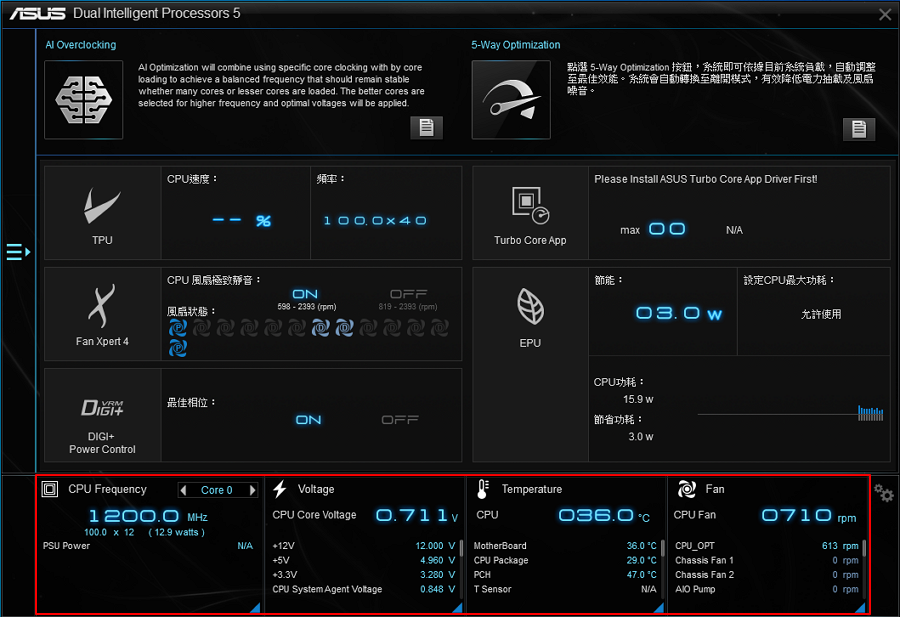
- ASUS AI Suite: For ASUS motherboards.
Steps Using ASUS AI Suite:
- Download ASUS AI Suite:
- Download the software from ASUS’s official support page.
- Install and Open AI Suite:
- Navigate to the Fan Xpert tab within the software.
- Adjust Fan Speed:
- Use the automatic calibration feature or manually adjust the fan speed curves according to your cooling needs.
6. Troubleshooting Fan Control Issues
If you are unable to control fan speed, consider the following troubleshooting steps:
- Check Compatibility: Ensure your motherboard supports fan speed control. Some older models may not offer this feature.
- Update BIOS/UEFI: An outdated BIOS/UEFI can limit fan control options. Check your motherboard manufacturer’s website for updates.
- Inspect Fan Connections: Ensure all fans are properly connected to the motherboard fan headers.
Conclusion
Controlling fan speed on your Windows computer is a straightforward process that can significantly impact your system’s performance and noise levels. Whether using BIOS/UEFI settings, third-party software like SpeedFan, or manufacturer-specific tools, there are multiple methods to achieve the desired balance between cooling efficiency and noise reduction. Regularly monitoring and adjusting fan speeds will help keep your system running smoothly and prolong the life of your components.
