How to Add New Fonts in Windows 10
Installing fonts in Windows 10 is a simple process that can enhance your projects, whether you’re working on a presentation, graphic design, or document editing. Custom fonts allow you to give a unique touch to your documents, and Windows 10 provides several easy ways to add new fonts to your system.
In this guide, we’ll walk you through the steps of installing fonts in Windows 10 and using them in your applications.
Why Install New Fonts?
While Windows 10 comes with a wide selection of fonts, sometimes you might want a different style for your documents or design projects. Installing custom fonts allows you to:
- Personalize your documents: Add a unique flair to your reports, presentations, or marketing materials.
- Improve design projects: Custom fonts can enhance your branding and graphic design work.
- Support multiple languages: Some fonts are specifically designed for different languages or symbols.
Methods to Install Fonts in Windows 10
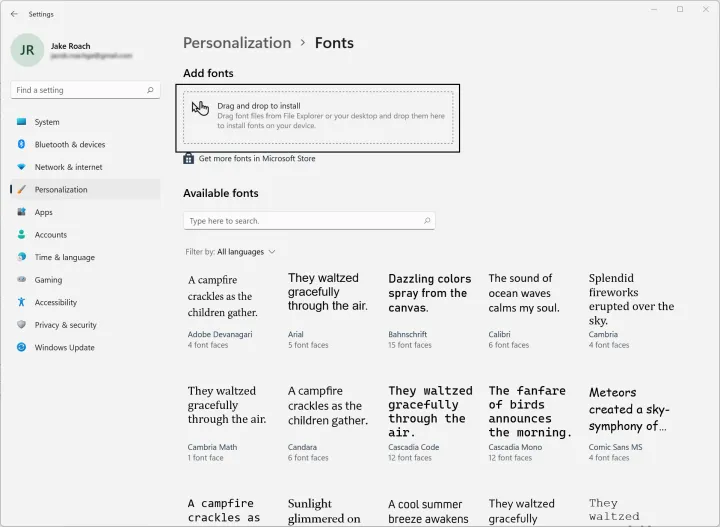
There are several methods for installing fonts in Windows 10. You can use the Microsoft Store, download fonts from the web, or install fonts through the Control Panel.
Method 1: Installing Fonts from the Microsoft Store
The Microsoft Store offers a wide range of fonts that are easy to download and install directly.
Step 1: Open the Microsoft Store
- Click on the Start menu and open the Microsoft Store from the list of apps or search for it.
Step 2: Search for Fonts
- In the Microsoft Store, type fonts in the search bar.
- Browse through the available fonts in the Fonts category.
Step 3: Download and Install the Font
- Click on the font you want to install.
- Click Get to download and install the font.
Once installed, the font will be available for use in all applications, such as Microsoft Word, PowerPoint, and Adobe Photoshop.
Method 2: Installing Fonts from Downloaded Files

Many fonts are available online from sites like Google Fonts or other font repositories. Here’s how you can install them:
Step 1: Download the Font File
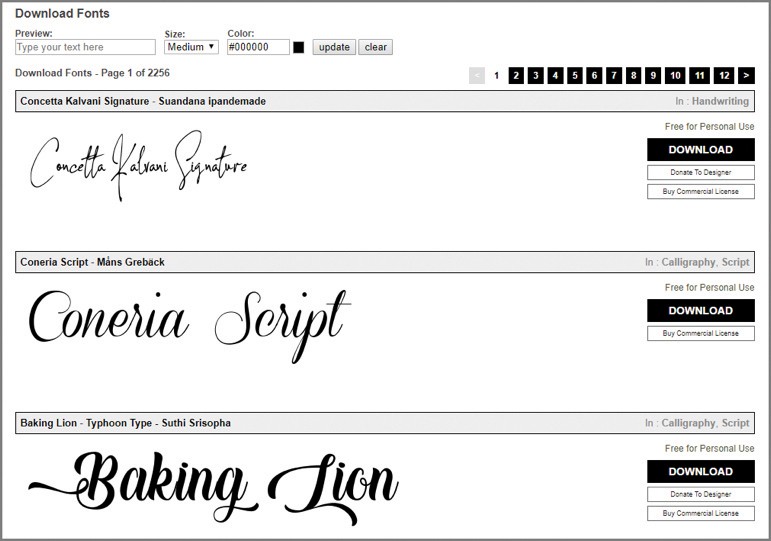
- Visit a trusted font website, such as Google Fonts or DaFont.
- Choose the font you want to download and click the Download button. The font will be downloaded as a ZIP file or a
.ttf(TrueType Font) file.
Step 2: Extract the Font (If Needed)
- If the font is in a ZIP file, right-click on the file and select Extract All to extract the contents.
- Look for the
.ttfor.otf(OpenType Font) file in the extracted folder.
Step 3: Install the Font

- Right-click on the font file and select Install from the menu.
- Alternatively, you can double-click the font file to preview it, and then click the Install button in the preview window.
The font will now be installed and ready to use in your programs.
Method 3: Installing Fonts via the Control Panel

You can also install fonts through the Control Panel. This method is useful if you want to manage multiple fonts at once.
Step 1: Open the Fonts Control Panel
- Open the Start menu and type Control Panel in the search bar.
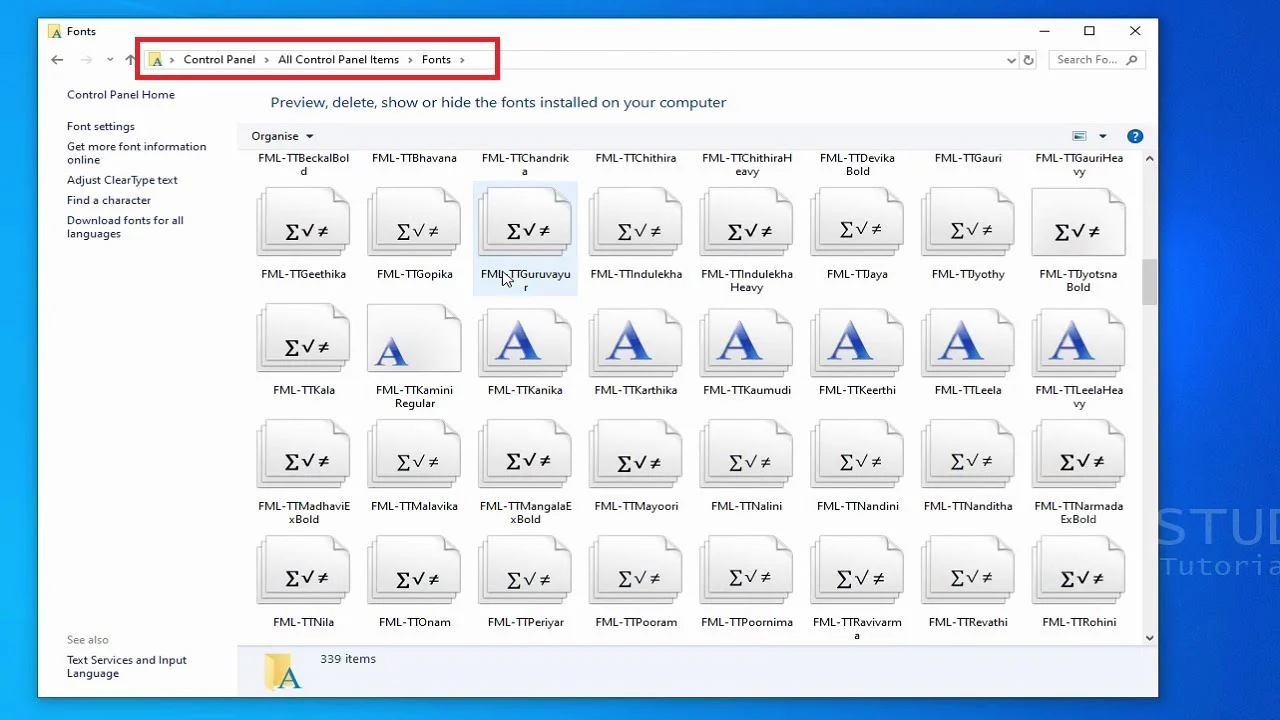
- In the Control Panel, navigate to Appearance and Personalization > Fonts.
Step 2: Drag and Drop Fonts
- Download and extract your font files as described in the previous section.
- Drag the
.ttfor.otffont files into the Fonts window to install them.
The fonts will automatically be installed and ready for use across your system.
Method 4: Installing Fonts for Specific Users

In some cases, you may want to install fonts only for a specific user account rather than the entire system. Here’s how:
- Download the font file and extract it if necessary.
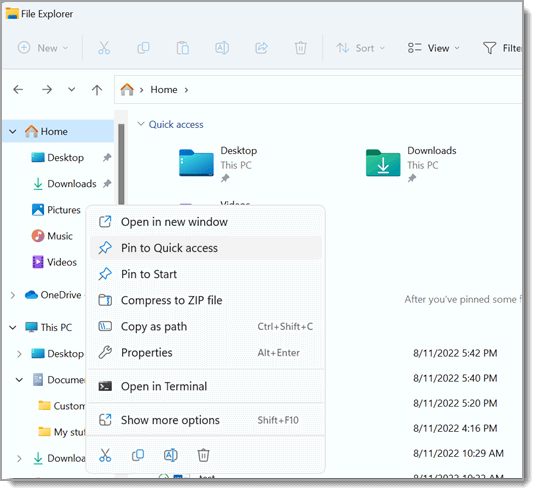
- Open File Explorer and navigate to
C:\Users\YourUsername\AppData\Local\Microsoft\Windows\Fonts. - Drag the
.ttfor.otffile into this folder.
The font will now only be available for the current user account.
How to Use Installed Fonts
Once you’ve installed a font, it will automatically appear in the font list of most programs like Microsoft Word, Excel, and PowerPoint. To use your new font:
- Open the application where you want to use the font (e.g., Microsoft Word).
- Click on the font dropdown menu and scroll down to find your newly installed font.
- Select the font and start typing.
Troubleshooting Font Installation
If you encounter any issues when installing fonts, here are some tips:
- Make sure the file format is correct: Fonts should be in
.ttfor.otfformat. - Check for administrator privileges: Installing fonts system-wide requires admin access.
- Restart the application: If the font doesn’t appear immediately, try restarting the program.
Conclusion
Installing fonts in Windows 10 is an easy way to customize your documents and designs with unique styles. Whether you’re using the Microsoft Store, downloading from the web, or managing fonts through the Control Panel, these methods will help you install and use custom fonts efficiently.
With the ability to add new fonts, you can enhance your creativity and make your projects stand out.
