How to Add Calendars to Microsoft Outlook
Microsoft Outlook is a versatile tool that not only helps you manage your email but also provides robust calendar features. Importing calendars into Outlook can help you integrate schedules, collaborate with teams, or keep track of personal and professional events. This guide will walk you through the process of importing calendars into Microsoft Outlook step by step.

1. Understanding Calendar Importing in Outlook
Importing a calendar into Outlook allows you to integrate data from other applications or services into your Outlook calendar. Common scenarios for importing calendars include:
- Transferring events from another email platform like Google Calendar.
- Importing calendars shared by colleagues or teams.
- Adding downloaded holiday or event calendars.
Outlook supports several formats for calendar imports, including ICS (iCalendar) and CSV (Comma-Separated Values) files.
2. Preparing to Import a Calendar
Before you start importing a calendar into Outlook, ensure that you have the necessary file or link. Common sources for calendar files include:
- ICS Files: These are standard calendar files used by most email and calendar applications.
- CSV Files: These files store event data in a spreadsheet format, which can be imported into Outlook.
- Shared Calendar URLs: Some platforms allow you to share calendars via a URL link.
3. Importing a Calendar Using an ICS or CSV File
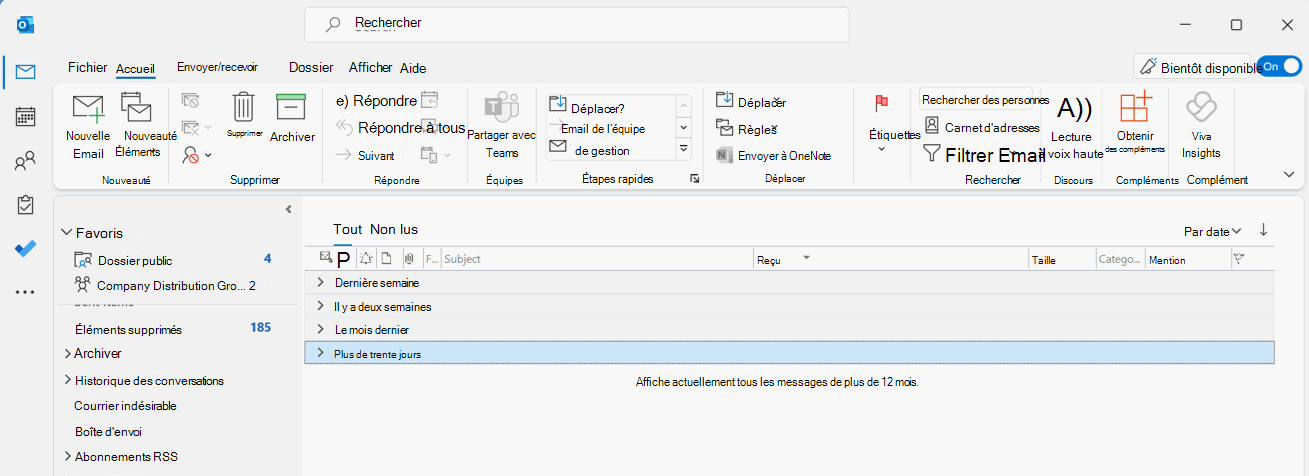
Step 1: Open Microsoft Outlook
- Launch Microsoft Outlook on your computer.
- Ensure that you’re signed into the account where you want to import the calendar.
Step 2: Locate the Import Option
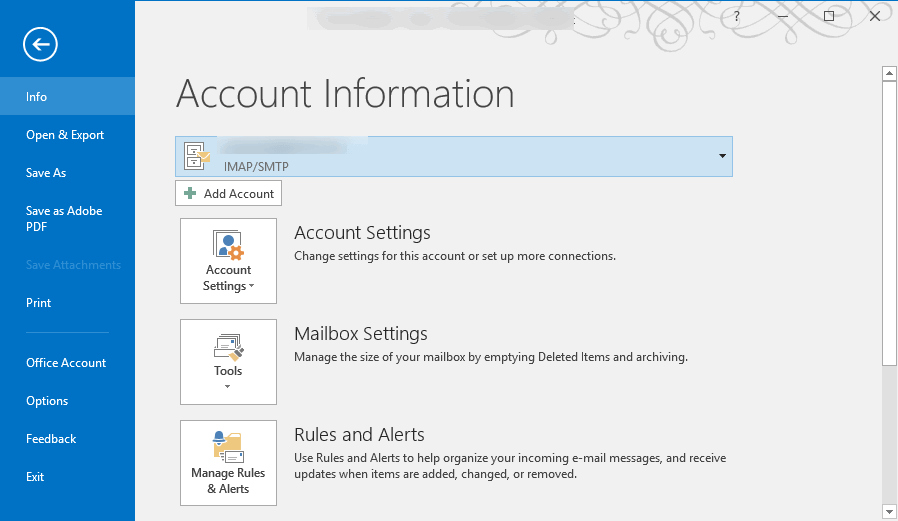
- Click on the File tab in the top-left corner.

- Select Open & Export from the menu.

- Click on Import/Export.
Step 3: Select the File Type
- In the Import and Export Wizard, choose the option Import an iCalendar (.ics) or vCalendar file if you have an ICS file.
- If you have a CSV file, select Import from another program or file, then choose Comma Separated Values.
- Click Next.
Step 4: Browse and Select the File
- Use the file explorer window to locate your ICS or CSV file.
- Select the file and click Open.
Step 5: Choose a Calendar
- When prompted, select the specific calendar in Outlook where you want to import the events.
- Click OK to confirm.
Step 6: Complete the Import
- For ICS files, the events will be added to your calendar immediately.
- For CSV files, map the fields (e.g., event title, date, time) if necessary and click Finish.
4. Importing a Calendar via a Shared URL
Step 1: Obtain the Calendar URL
- Ensure you have the link to the shared calendar. URLs typically end with
.ics.
Step 2: Add the Calendar
- In Outlook, switch to the Calendar view.
- Click on Add Calendar in the toolbar or from the ribbon menu.
- Select From Internet.

Step 3: Paste the URL
- Paste the URL of the shared calendar into the provided field.
- Click OK.
Step 4: Confirm the Import
- Outlook will ask if you want to add the calendar and subscribe to updates (if available).
- Confirm your choice. The calendar will now appear under Other Calendars in the calendar view.
5. Troubleshooting Common Issues
Issue 1: Incorrect File Format
- Ensure that the file is in the correct format (ICS or CSV). If it’s not, convert it using a compatible application.
Issue 2: Missing Events After Import
- Check the source calendar to ensure all events are included in the file before importing.
Issue 3: Duplicate Entries
- When importing recurring events, duplicates may occur. Use the Remove Duplicates feature or manually delete them.
Issue 4: Error Messages
- If Outlook displays an error during import, verify that the file is not corrupted and matches the required format.
6. Managing Imported Calendars
After importing a calendar, you can manage it like any other calendar in Outlook:
Renaming the Calendar
- Right-click on the calendar name under My Calendars or Other Calendars.
- Select Rename Calendar and type a new name.
Color Coding Events
- Right-click on the calendar and select Color.
- Assign a color to differentiate this calendar from others.
Sharing Imported Calendars
- Open the calendar.
- Click Share in the toolbar and follow the prompts to share it with others.
7. Exporting a Calendar from Outlook
If you need to transfer your Outlook calendar to another platform, you can export it as an ICS or CSV file:
- Click on File, then Open & Export.
- Select Import/Export and choose Export to a file.
- Follow the prompts to save the file on your device.
8. Benefits of Importing Calendars into Outlook
- Centralized Scheduling: Manage all your events in one place.
- Seamless Collaboration: Import shared team calendars for better coordination.
- Enhanced Organization: Use features like reminders and color coding to keep track of events effectively.
Conclusion
Importing calendars into Microsoft Outlook is a simple yet powerful way to streamline your scheduling and improve productivity. Whether you’re transferring data from another app, integrating a shared calendar, or importing event files, Outlook offers flexible options to suit your needs. With the steps outlined in this guide, you can easily import, manage, and optimize your calendars in Outlook, ensuring you stay organized and on top of your commitments.
