How to Remove the “Activate Windows” Watermark in Windows 10
The “Activate Windows” watermark in Windows 10 can be distracting, especially when you’re trying to focus on work or enjoy content. It appears when your Windows license isn’t activated, and while Microsoft encourages activation, there are ways to remove the watermark temporarily or permanently. This guide outlines several methods to help you resolve the issue.
Why Does the Activate Windows Watermark Appear?
The watermark appears for the following reasons:
- Unactivated Windows: You haven’t entered a valid product key.
- Expired License: Your license has expired, or you’re using an evaluation version of Windows.
- Hardware Changes: Replacing hardware, like a motherboard, may deactivate Windows.
Methods to Remove the Activate Windows Watermark
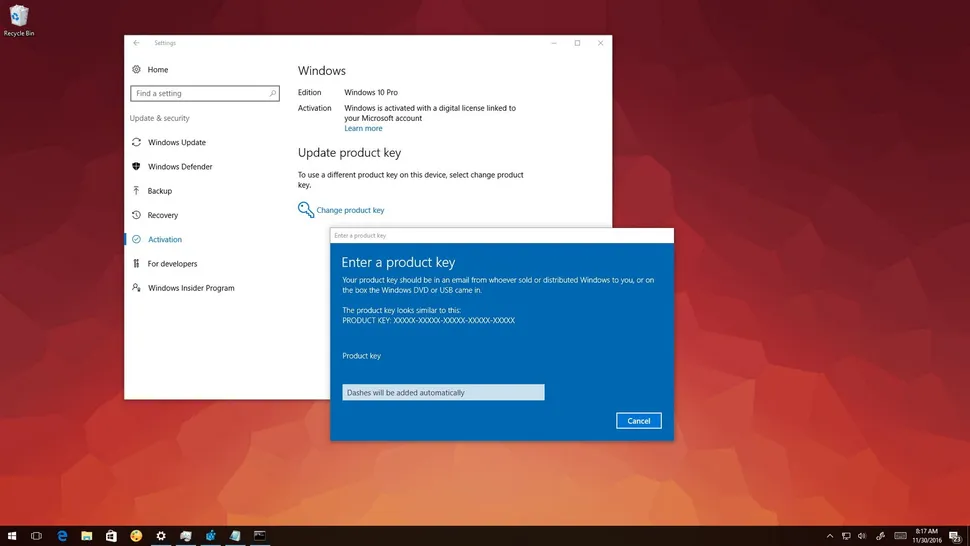
Method 1: Activate Windows Using a Product Key

- Press Windows + I to open Settings.
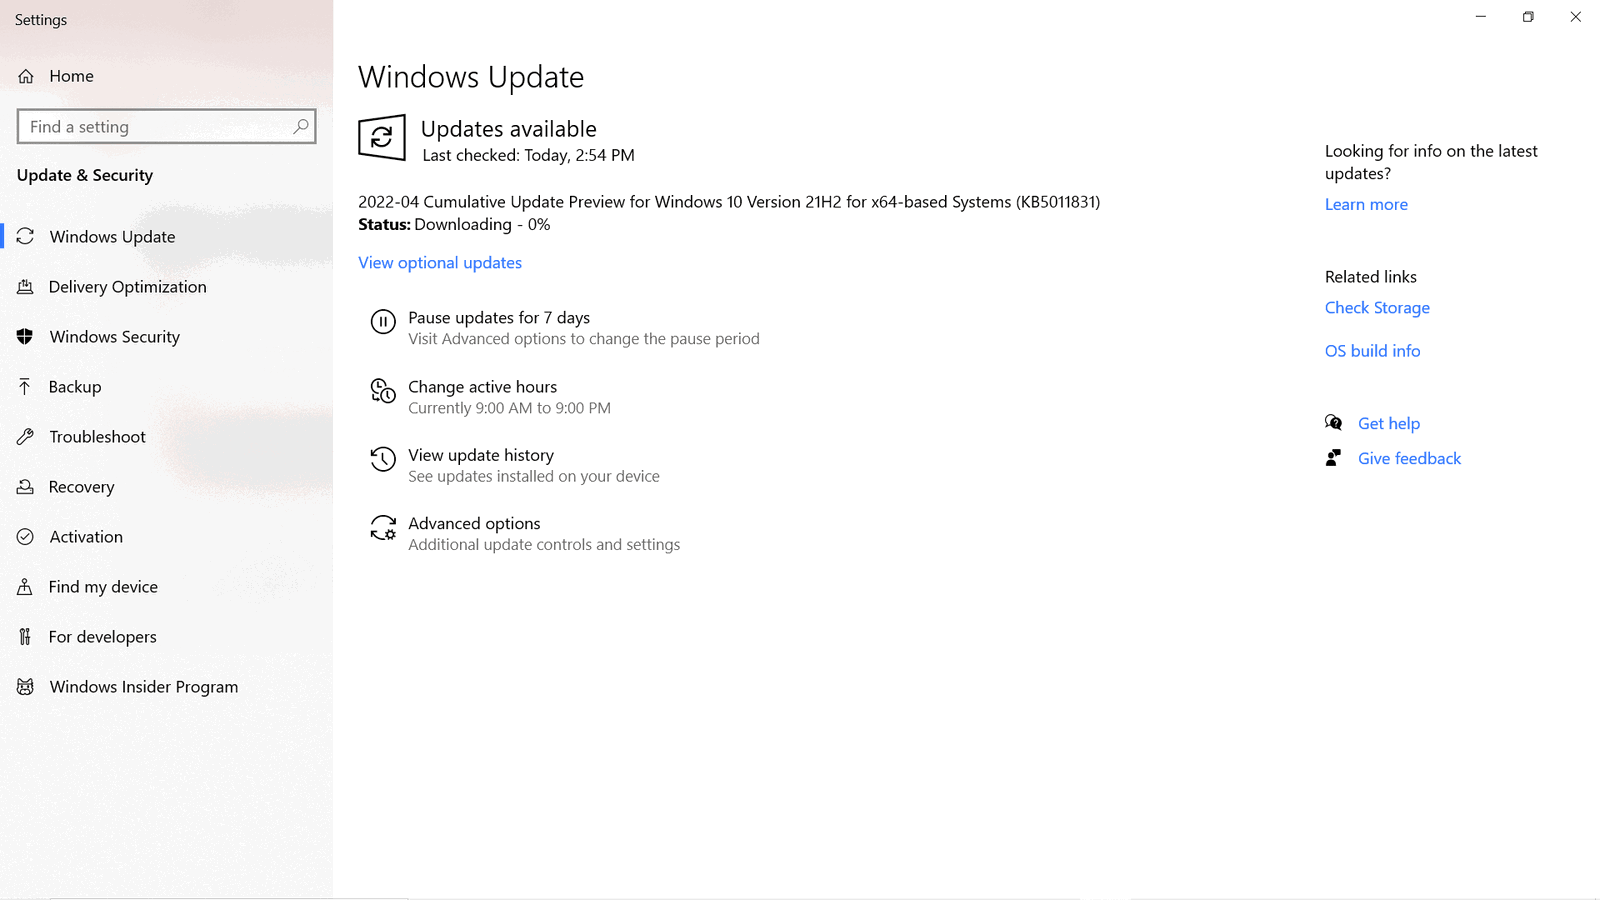
- Navigate to Update & Security > Activation.
- Click Change product key.
- Enter a valid product key and click Next.
- If the key is valid, your Windows will be activated, and the watermark will disappear.
Method 2: Use the Activation Troubleshooter

- Open Settings by pressing Windows + I.
- Go to Update & Security > Activation.
- Click Troubleshoot (if available).
- Follow the on-screen instructions to resolve activation issues.
Method 3: Modify the Registry (Temporary Solution)

- Press Windows + R, type
regedit, and hit Enter to open the Registry Editor. - Navigate to the following path:
HKEY_CURRENT_USER\Control Panel\Desktop - Locate PaintDesktopVersion in the right pane.
- Double-click it and change its value from
1to0. - Restart your computer.
Note: This method only temporarily hides the watermark and doesn’t activate Windows.
Method 4: Use Command Prompt (Temporary Solution)
- Open Command Prompt as an administrator by searching for it in the Start menu and selecting Run as administrator.
- Type the following command and press Enter:
slmgr /renew - Restart your computer to see if the watermark is gone.
Method 5: Disable the Watermark Using Group Policy Editor
- Press Windows + R, type
gpedit.msc, and hit Enter to open the Group Policy Editor. - Navigate to the following path:
User Configuration > Administrative Templates > Desktop - Double-click Disable all desktop items and set it to Enabled.
- Click Apply and then OK.
- Restart your computer.
Note: The Group Policy Editor is only available in Windows 10 Pro and Enterprise editions.
Method 6: Purchase a Windows License
To permanently remove the watermark, purchasing a valid Windows license is the most reliable solution:
- Open Settings and go to Update & Security > Activation.
- Click Go to the Store.
- Purchase a genuine Windows 10 license.
- Once activated, the watermark will disappear permanently.
Method 7: Third-Party Tools (Not Recommended)
Some third-party tools claim to remove the watermark. However, these methods can compromise your system’s security and violate Microsoft’s terms of service. Use them at your own risk.
Why Activating Windows Is Important
- Access to Features: Some features, like personalization settings, are unavailable in unactivated Windows.
- Regular Updates: Activation ensures that your system receives critical updates and security patches.
- Legal Compliance: Using a valid license ensures compliance with Microsoft’s policies.
Conclusion
Removing the “Activate Windows” watermark can improve your user experience, but it’s always best to activate Windows legally to unlock all features and maintain security. Follow the methods above to resolve the issue, and consider purchasing a valid license for a permanent solution.
