How to Compose and Deliver Emails in Outlook
Microsoft Outlook is one of the most widely used email applications, offering a robust set of tools for creating, sending, and managing emails. Whether you are using Outlook for work, school, or personal purposes, understanding how to compose and send emails effectively is essential for efficient communication. This guide walks you through the process of creating and sending emails in Outlook step by step.
Why Use Outlook for Email Communication?
Outlook provides a range of features that enhance email communication, including:
- Ease of Use: An intuitive interface that makes composing and managing emails straightforward.
- Integration: Seamless integration with calendars, contacts, and tasks.
- Customization: Options to personalize your emails with formatting, signatures, and attachments.
Getting Started: How to Open the Compose Email Window

Before creating an email, you need to access the email composition screen. Here’s how to do that:
On the Desktop App
- Open Outlook on your computer.
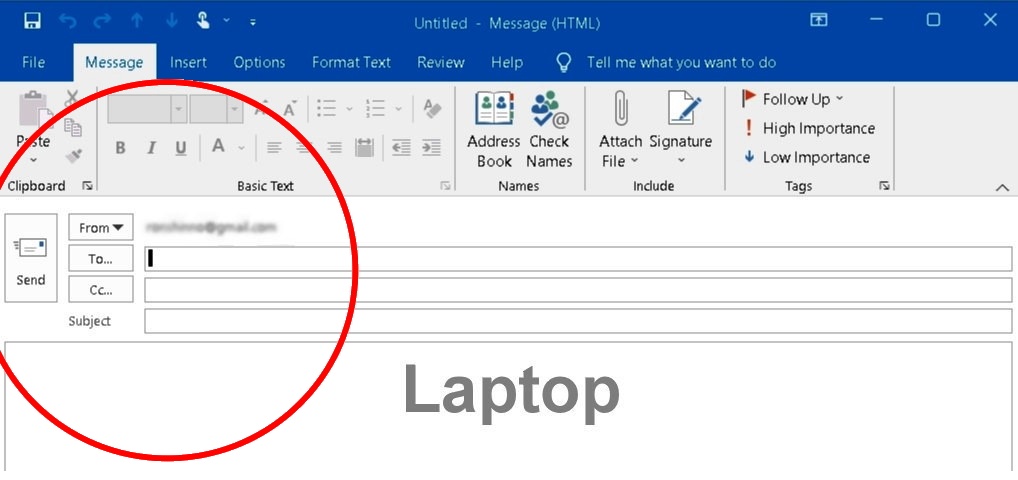
- Click on the New Email button located in the top-left corner of the screen.
- A new email window will appear.
In the Web Version (Outlook.com)
- Log in to your Outlook account.
- Click on the New Message button located in the top-left corner of the web interface.
- The email composition panel will open on the right side of the screen.
On the Mobile App
- Open the Outlook app on your phone or tablet.
- Tap the Compose button, usually represented by a pencil icon.
- The email composition screen will open.
Step-by-Step Guide to Creating an Email

1. Add Recipients
You can send an email to one person or multiple recipients. Outlook provides the following fields:
- To: Enter the primary recipient’s email address.
- Cc (Carbon Copy): Add recipients who should receive a copy of the email but are not the primary audience.
- Bcc (Blind Carbon Copy): Add recipients who receive a copy of the email without others knowing they were included.
2. Enter a Subject
The subject line should briefly describe the purpose of the email. A clear subject helps recipients quickly understand the email’s content. For example:
- “Meeting Agenda for March 3”
- “Invoice for February Services”
3. Compose the Body of the Email
Write the main content of your email in the large text box provided. You can format the text using the toolbar above the message body. Options include:
- Font Style and Size: Choose a readable font like Arial or Calibri.
- Bold, Italic, Underline: Use these features to emphasize important points.
- Bullet Points or Numbered Lists: Organize information clearly.
- Hyperlinks: Add clickable links by selecting text and clicking the hyperlink icon.
4. Add Attachments (Optional)
To attach files, follow these steps:
- On Desktop: Click on the Attach File button in the toolbar, then browse and select the file you want to include.
- On Web: Click the paperclip icon and upload the file.
- On Mobile: Tap the paperclip icon or the “Attach” button and choose files from your device.
Common attachments include documents, images, or PDFs. Ensure your attachment size does not exceed the email client’s limit (usually around 20-25 MB).
Step-by-Step Guide to Sending an Email

1. Review Your Email
Before sending, double-check the following:
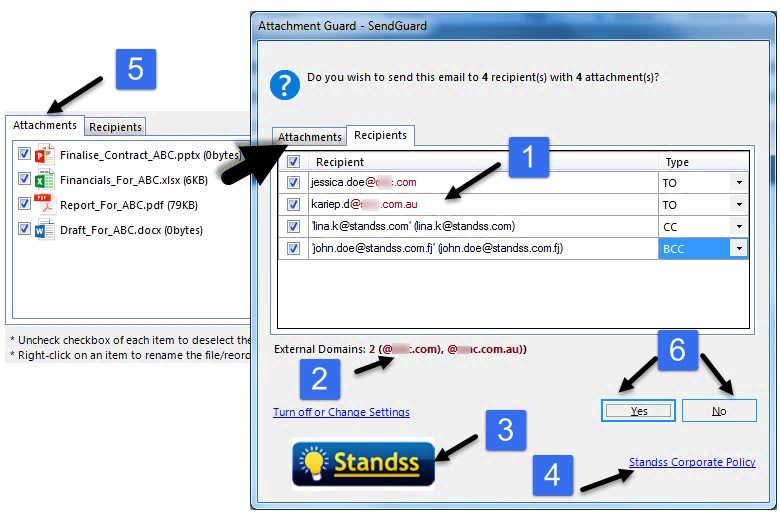
- Recipient Addresses: Ensure all email addresses are correct.
- Subject Line: Confirm it is clear and relevant.
- Attachments: Verify that you have included the correct files.
- Spelling and Grammar: Use the built-in spell checker or proofread manually.
2. Click Send
Once you are satisfied with your email, click the Send button:
- On Desktop: Located in the top-left corner of the email window.
- On Web: Found at the bottom of the compose panel.
- On Mobile: Tap the paper plane icon.
Advanced Tips for Creating and Sending Emails

1. Use an Email Signature
A professional email signature saves time and ensures consistency. To set up a signature in Outlook:
- Go to File > Options > Mail.
- Click Signatures and create a new one.
- Include your name, job title, company, and contact information.
2. Schedule Emails
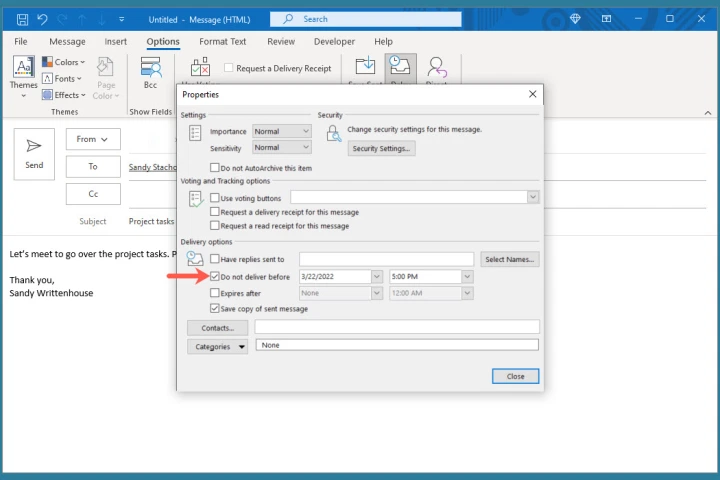
Outlook allows you to send emails at a later time:
- After composing your email, go to the Options tab.
- Click Delay Delivery and set the desired date and time.
- Click Send—the email will remain in your Outbox until the scheduled time.
3. Save Drafts
If you need more time to finish writing an email, you can save it as a draft. Outlook automatically saves drafts periodically, but you can manually save one by clicking Save or closing the email window and selecting Save Changes.
Troubleshooting Common Issues
Problem: Email Not Sending
- Check your internet connection.
- Verify the recipient’s email address.
- Ensure your email account is not over its storage limit.
Problem: Missing Attachments
- Double-check that you’ve attached the correct file before sending.
- If the attachment exceeds the size limit, consider using a cloud service like OneDrive or Dropbox to share the file.
Best Practices for Email Communication
- Be Concise: Keep your emails clear and to the point.
- Use a Professional Tone: Avoid informal language unless appropriate.
- Include a Call to Action: Clearly state what you expect from the recipient. For example, “Please confirm your availability by Friday.”
- Respect Privacy: Use Bcc for group emails to protect recipients’ identities.
Conclusion
Mastering the process of creating and sending emails in Outlook is an essential skill for professional and personal communication. By following these steps and tips, you can ensure your messages are clear, well-organized, and delivered successfully. Whether you’re sending a quick note or a detailed report, Outlook provides the tools you need for effective email management.
