How to Make a Bootable USB Drive with Rufus
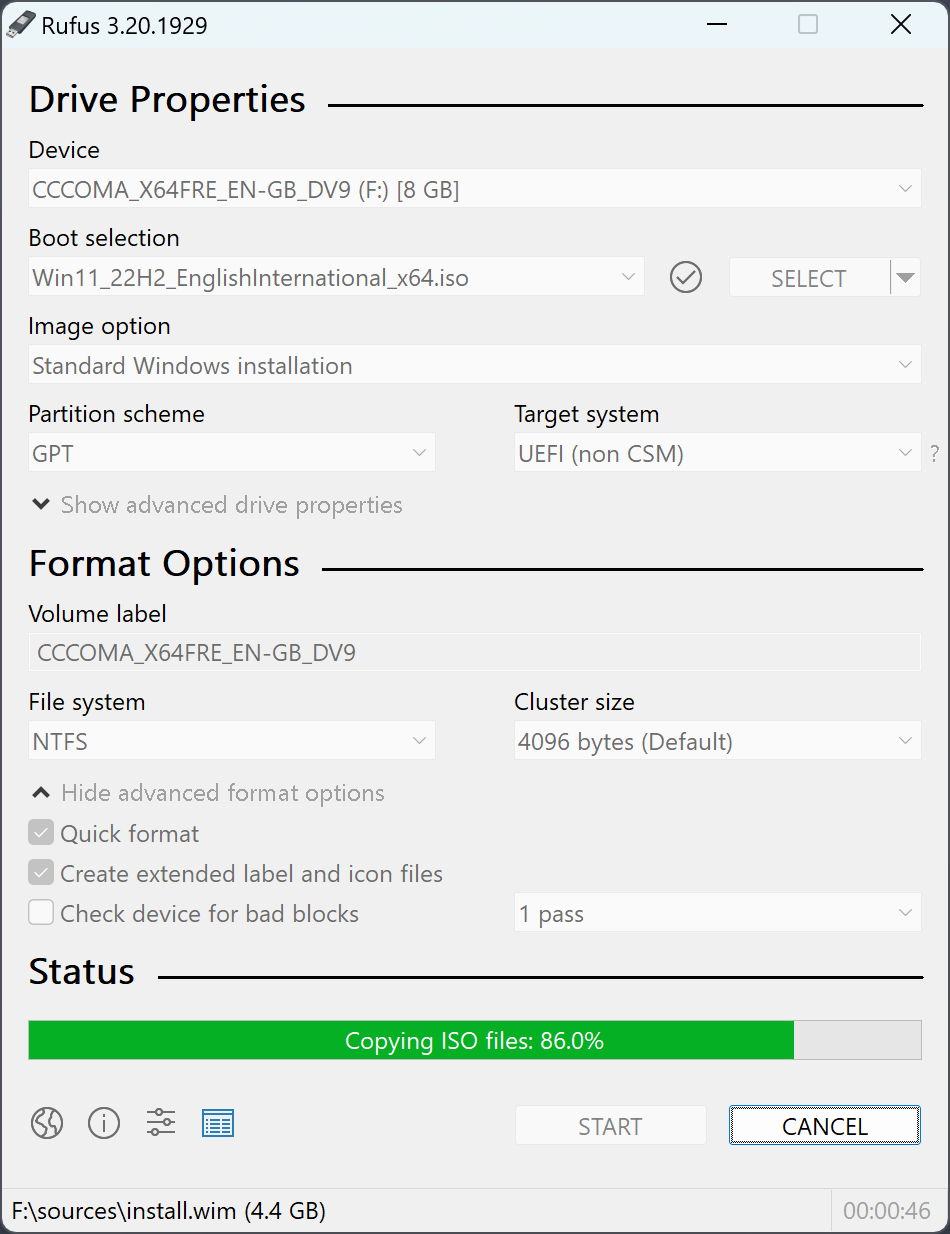
Creating a bootable USB drive is essential for installing or troubleshooting operating systems like Windows or Linux. Rufus is one of the most reliable tools for this task, offering simplicity and efficiency. In this guide, we’ll walk you through the process of creating a bootable USB drive using Rufus.
What Is Rufus?
Rufus is a free, lightweight application that allows you to create bootable USB drives from ISO image files. It is widely recognized for its speed and compatibility with multiple operating systems. Rufus works on Windows and supports bootable drives for Windows, Linux, and other platforms.
What You Need Before You Begin
Before you start, make sure you have the following:
- A USB Flash Drive
- At least 8 GB of storage is recommended.
- Note: All data on the USB will be erased during the process.
- An ISO File of the Operating System
- Obtain the official ISO image of the operating system you want to install. For example, Windows ISO files can be downloaded from the Microsoft website, while Linux distributions are available on their respective sites.
- Rufus Application
- Download Rufus from its official website (rufus.ie).
- A Windows PC
- Rufus is a Windows-based application, so you’ll need a Windows computer to create the bootable USB.
Step-by-Step Guide to Create a Bootable USB Using Rufus
Step 1: Download and Install Rufus
- Visit the official Rufus website (rufus.ie).
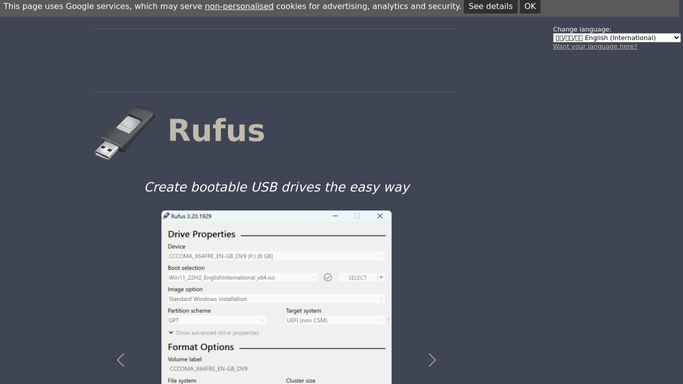
- Click on the latest version of Rufus to download the executable file.
- Run the downloaded file to launch Rufus. (No installation is required as Rufus is portable software.)
Step 2: Insert the USB Drive
- Plug the USB flash drive into your computer.
- Ensure that the drive is detected by your computer.
Step 3: Launch Rufus
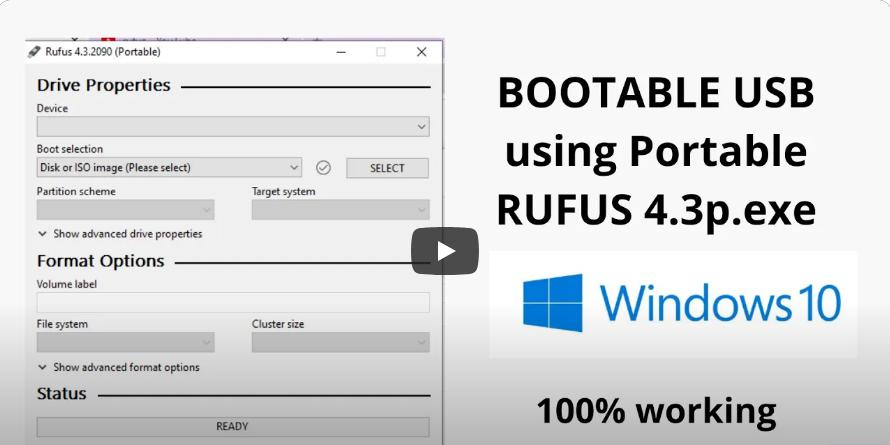
- Open the Rufus application.
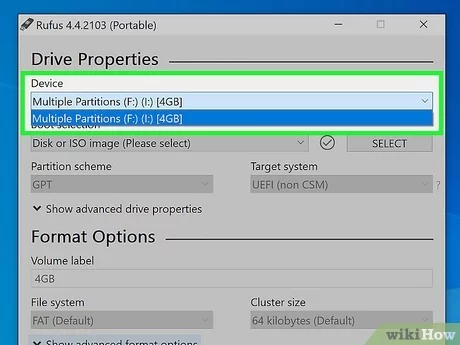
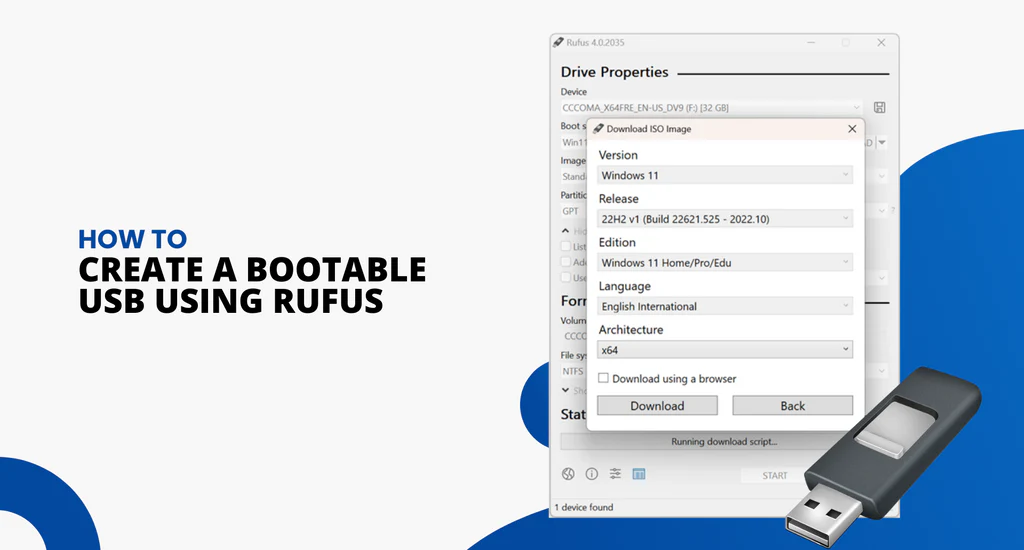
- Rufus will automatically detect your USB drive. Verify that the correct drive is selected in the Device dropdown menu.
Step 4: Select the ISO File
- Click on the SELECT button next to the Boot selection field.
- Browse to the location of the ISO file you downloaded earlier and select it.
- Rufus will analyze the ISO and automatically adjust the settings (e.g., partition scheme and file system) based on the ISO file.
Step 5: Choose Partition Scheme and Target System
Rufus supports different partition schemes. Choose the one compatible with your system:
- Partition Scheme
- Select MBR for older BIOS systems.
- Select GPT for newer UEFI systems.
- Target System
- Rufus will set this automatically based on the ISO and partition scheme.
Step 6: Configure File System and Cluster Size
- File System
- Use NTFS for Windows.
- Use FAT32 for Linux or systems requiring FAT32.
- Cluster Size
- Leave it as the default unless specified otherwise.
Step 7: Customize Optional Settings (If Needed)
- Volume Label
- Rufus will generate a default label for the USB drive. You can rename it if desired.
- Format Options
- Check the box for Quick format (enabled by default).
- Ensure Create extended label and icon files is checked if you want a customized label.
Step 8: Start the Process
- Click START to begin creating the bootable USB drive.
- If prompted, Rufus may ask to download additional files (e.g., syslinux for Linux ISOs). Accept and proceed.
Step 9: Confirm Warnings
- Rufus will display a warning that all data on the USB drive will be erased. Confirm by clicking OK.
- The process will begin, and Rufus will display a progress bar.
Step 10: Wait for Completion
- Once the process is complete, Rufus will display a Ready message.
- Close Rufus and safely eject your USB drive.
Testing Your Bootable USB
After creating the bootable USB, it’s a good idea to test it:
- Insert the USB into the computer where you want to install the operating system.
- Restart the computer and access the boot menu (usually by pressing a key like F12, Esc, or Del during startup).
- Select the USB drive as the boot device.
- Verify that the installation or live environment launches successfully.
Tips for Using Rufus
- Backup Your USB Drive
Before using Rufus, back up any important data on the USB drive as it will be erased. - Check Compatibility
Ensure the ISO file you’re using matches your system’s architecture (e.g., 32-bit or 64-bit). - Stay Updated
Use the latest version of Rufus to ensure compatibility with newer ISO files. - Use High-Quality USB Drives
A reliable and fast USB drive can significantly reduce the time required for creating the bootable drive and improve overall performance.
Troubleshooting Common Issues
- USB Not Detected
- Reinsert the USB drive or try a different USB port.
- Ensure the USB drive is formatted correctly.
- ISO File Not Compatible
- Verify the ISO file’s integrity by downloading it again from a trusted source.
- Boot Issues
- Ensure the target computer’s BIOS/UEFI is configured correctly to boot from USB.
Conclusion
Rufus is a powerful and user-friendly tool for creating bootable USB drives. Whether you’re installing a new operating system or running diagnostics, following this guide ensures a smooth process. With Rufus, you can quickly create a bootable USB drive and take the first step toward setting up your desired system.
