How to Design and Include Social Media Icons in Your Email Signature
![]()
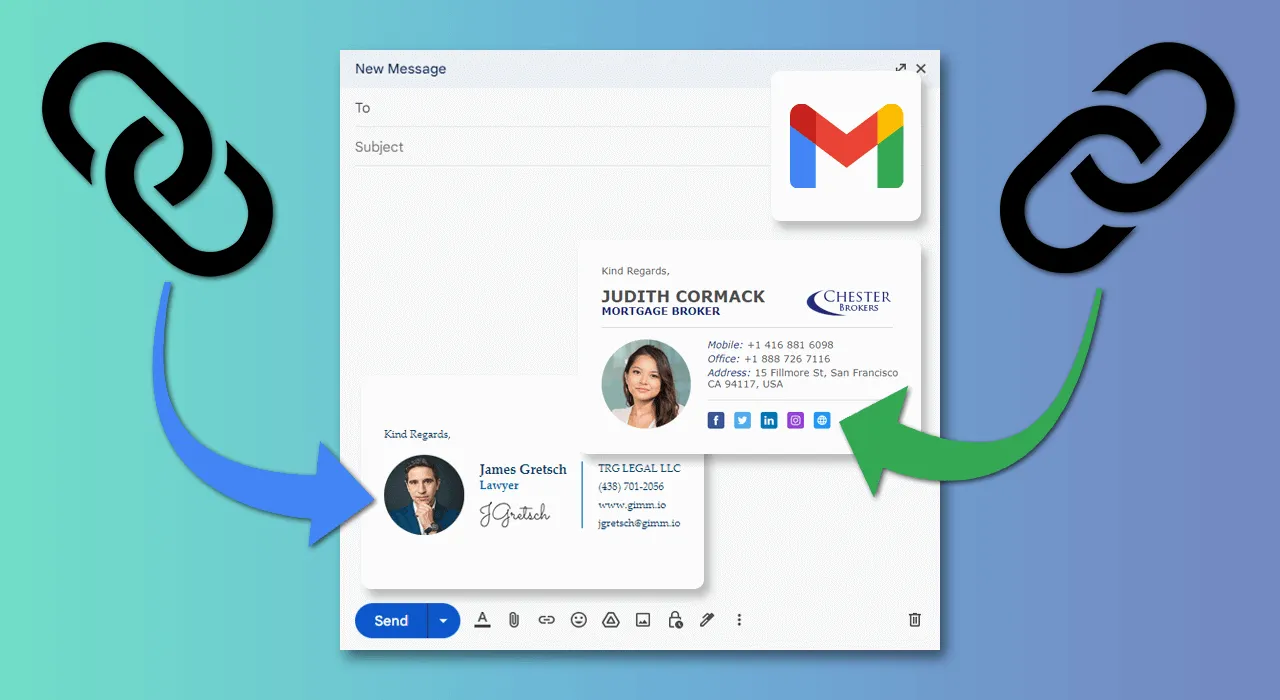
Adding social media icons to your email signature is an excellent way to make your emails more professional and interactive. These icons allow recipients to quickly access your social media profiles, helping you build connections and boost your online presence. In this guide, we’ll walk you through the process of creating and adding social media icons to your email signature in a step-by-step manner.
Step 1: Prepare Your Social Media Links
Before you add social media icons to your email signature, gather the following:
- URLs of Your Social Media Profiles
Ensure you have the direct links to your accounts, such as Facebook, Twitter, LinkedIn, Instagram, or any other platforms you wish to include. - Email Platform Details
Identify the email client or platform you’re using (e.g., Gmail, Outlook, Apple Mail) since the process may vary slightly. - Social Media Icons
You’ll need small icons representing each platform. You can download these for free from sites like Icons8 or Flaticon. Choose icons that are clear and consistent in design.
Step 2: Download and Customize Social Media Icons
Follow these steps to get the icons you need:
- Find High-Quality Icons
Visit a trusted icon resource site and search for icons for platforms like Facebook, LinkedIn, Twitter, and Instagram. Many websites offer customizable icons in different styles (flat, rounded, minimalistic).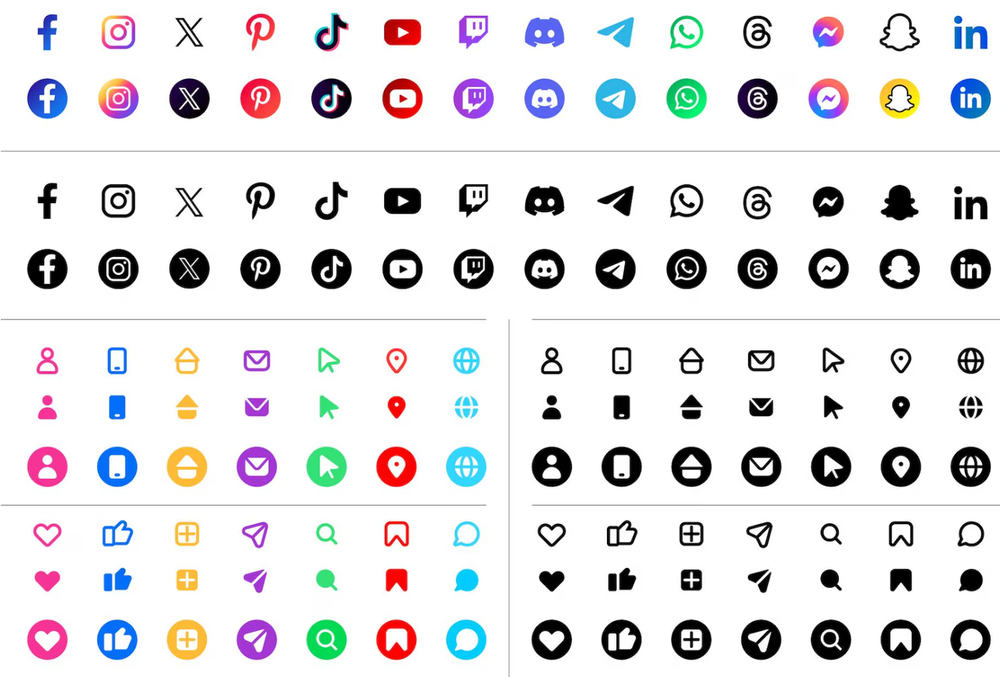
- Customize the Icons
If customization is allowed, choose:- A consistent color scheme (e.g., monochrome or the platform’s official colors).
- A size that fits well within your email signature, typically 20×20 or 30×30 pixels.
- Download the Icons
Save the icons in PNG format for the best quality. Ensure the file names correspond to the platforms (e.g., “Facebook.png” or “LinkedIn.png”).
Step 3: Upload the Icons Online
To use the icons in your email signature, you’ll need to upload them online. This allows the icons to appear as clickable links in your emails. Here’s how:
- Use a Hosting Service
Upload the icons to an image-hosting service like:- Google Drive
- Dropbox
- Imgur
- Your website’s media library (if you manage one)
- Copy the Image URLs
Once the icons are uploaded, get the direct URL for each icon. Most services provide a “Share” or “Copy Link” option.
Step 4: Create Your Email Signature
Now it’s time to build your email signature with text, images, and social media icons. Here are instructions for popular email platforms:
For Gmail
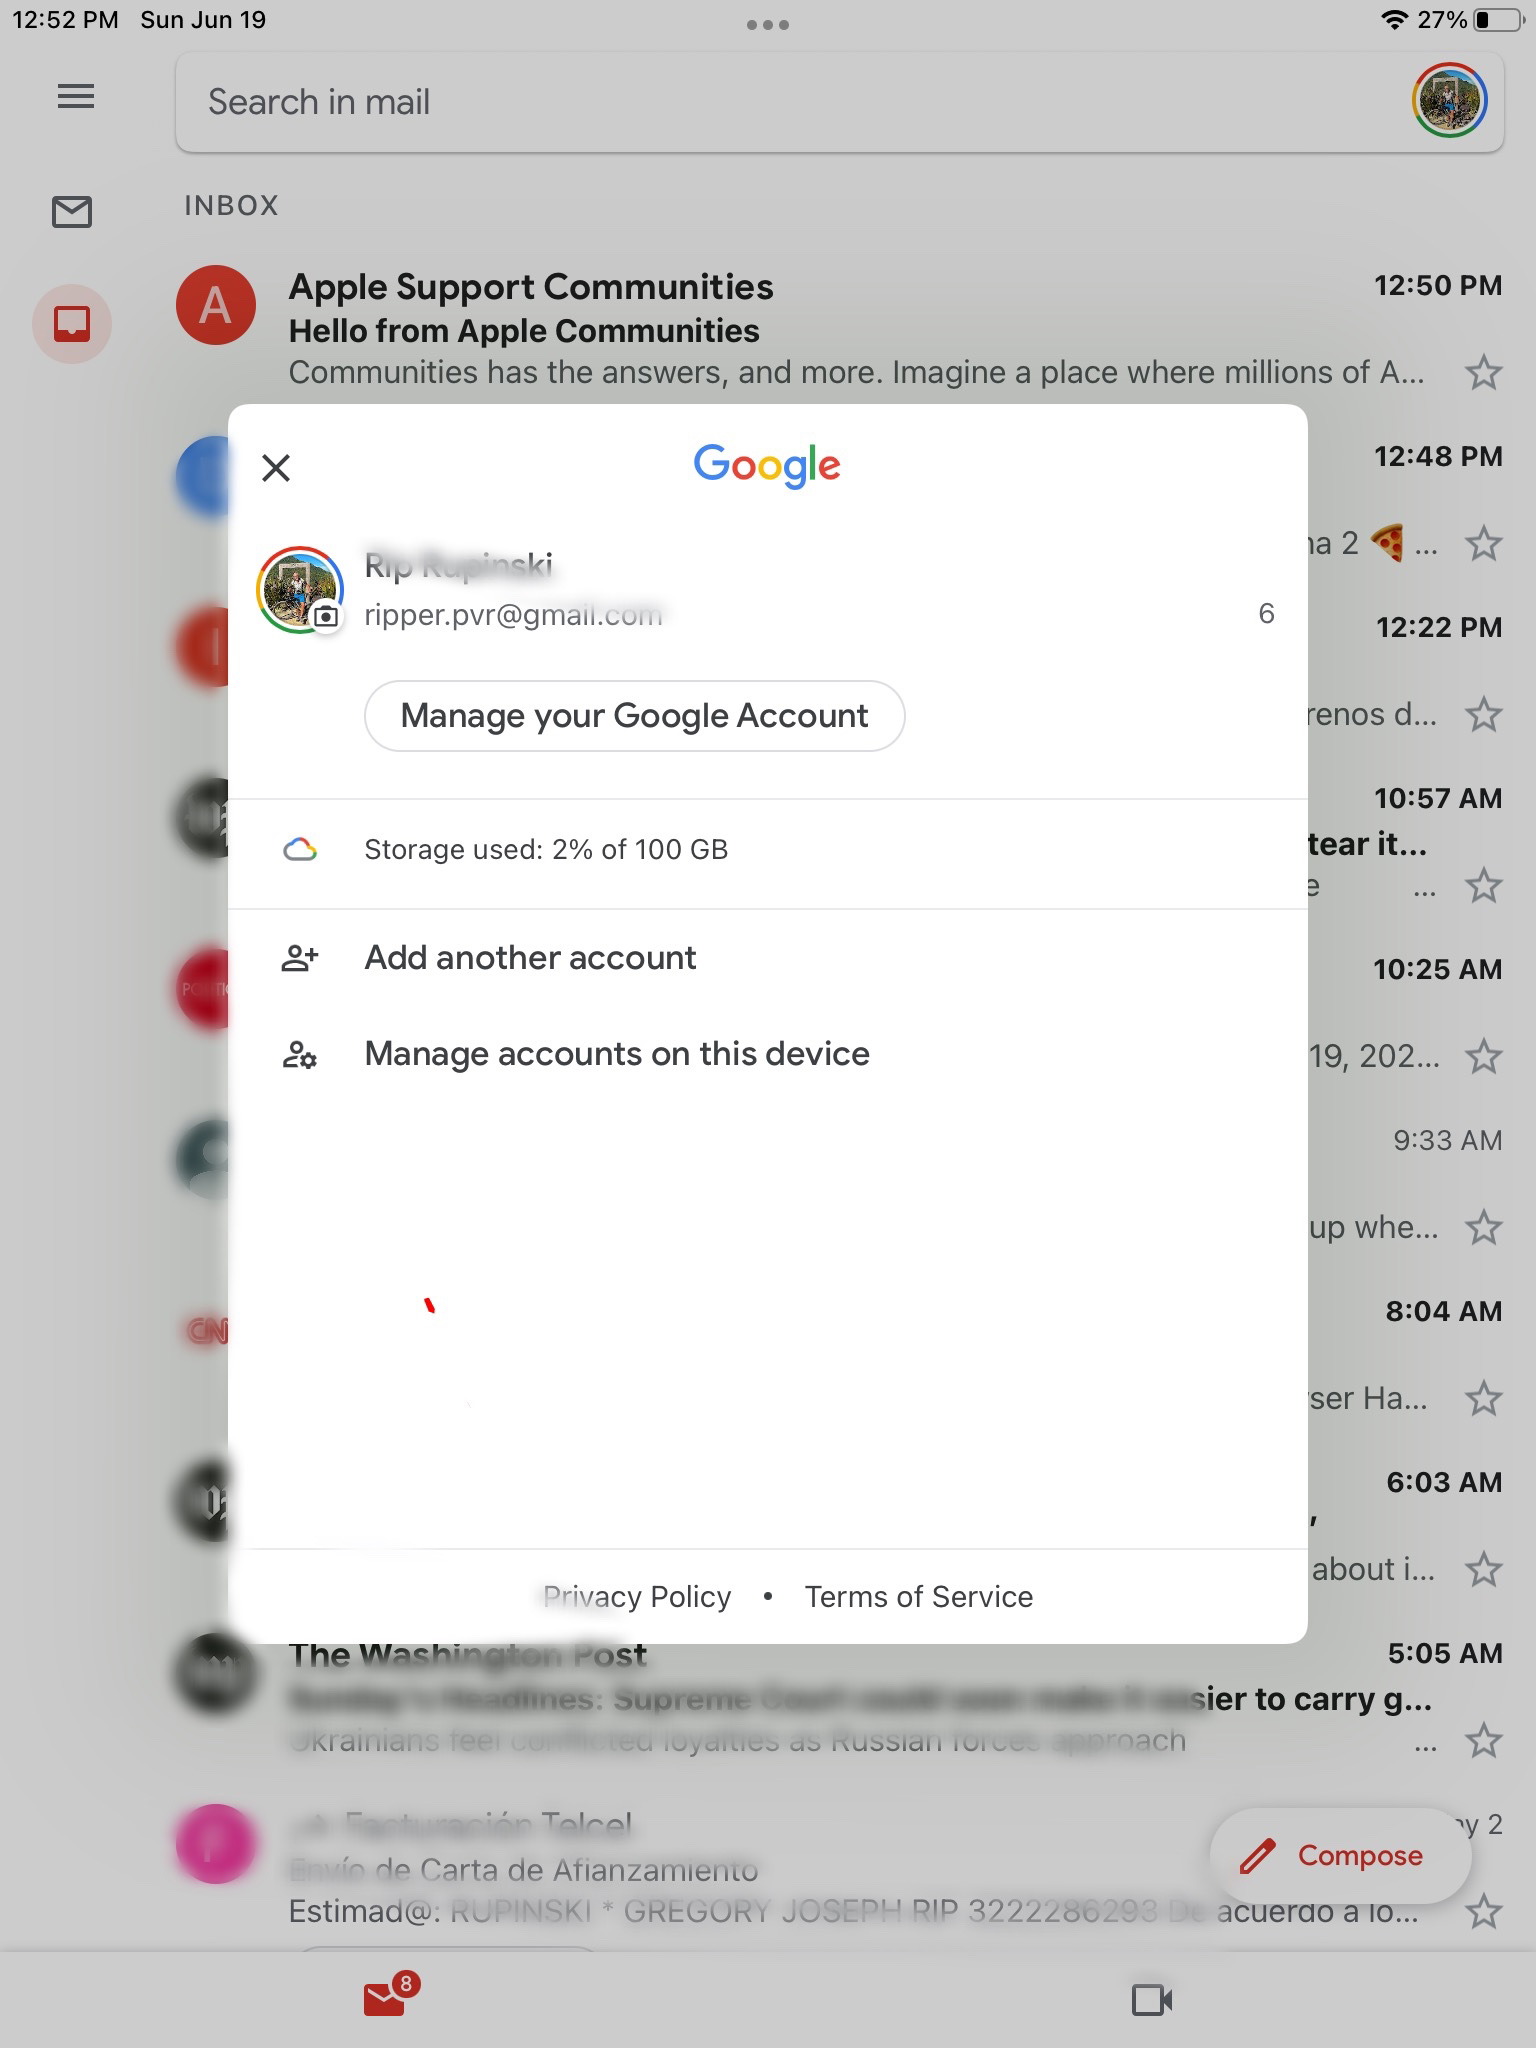
- Open Gmail Settings
- Click the gear icon in the top-right corner of Gmail.
- Select See All Settings.
- Navigate to the Signature Section
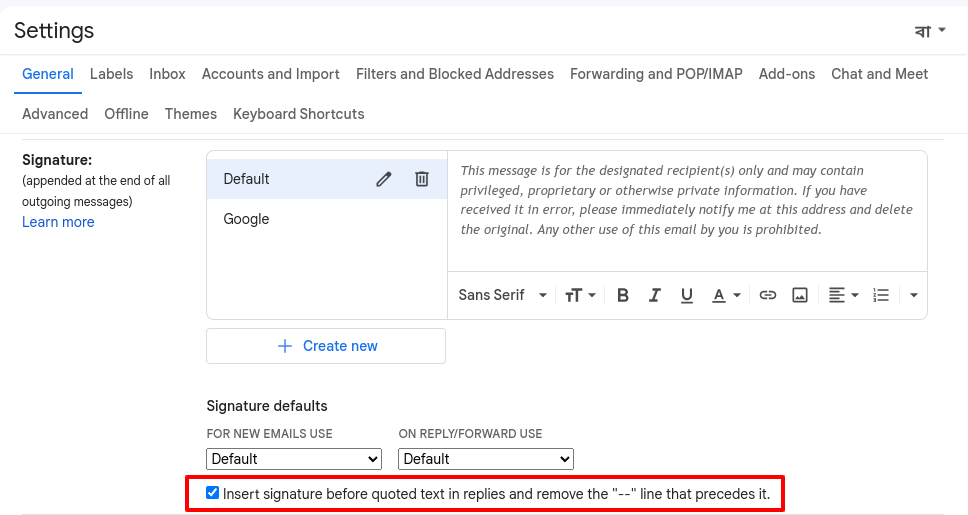
- Scroll down to the Signature section under the General tab.
- Click Create New and name your signature.
- Add Your Information
- Type your name, title, company name, and any other relevant details.
- Insert Social Media Icons
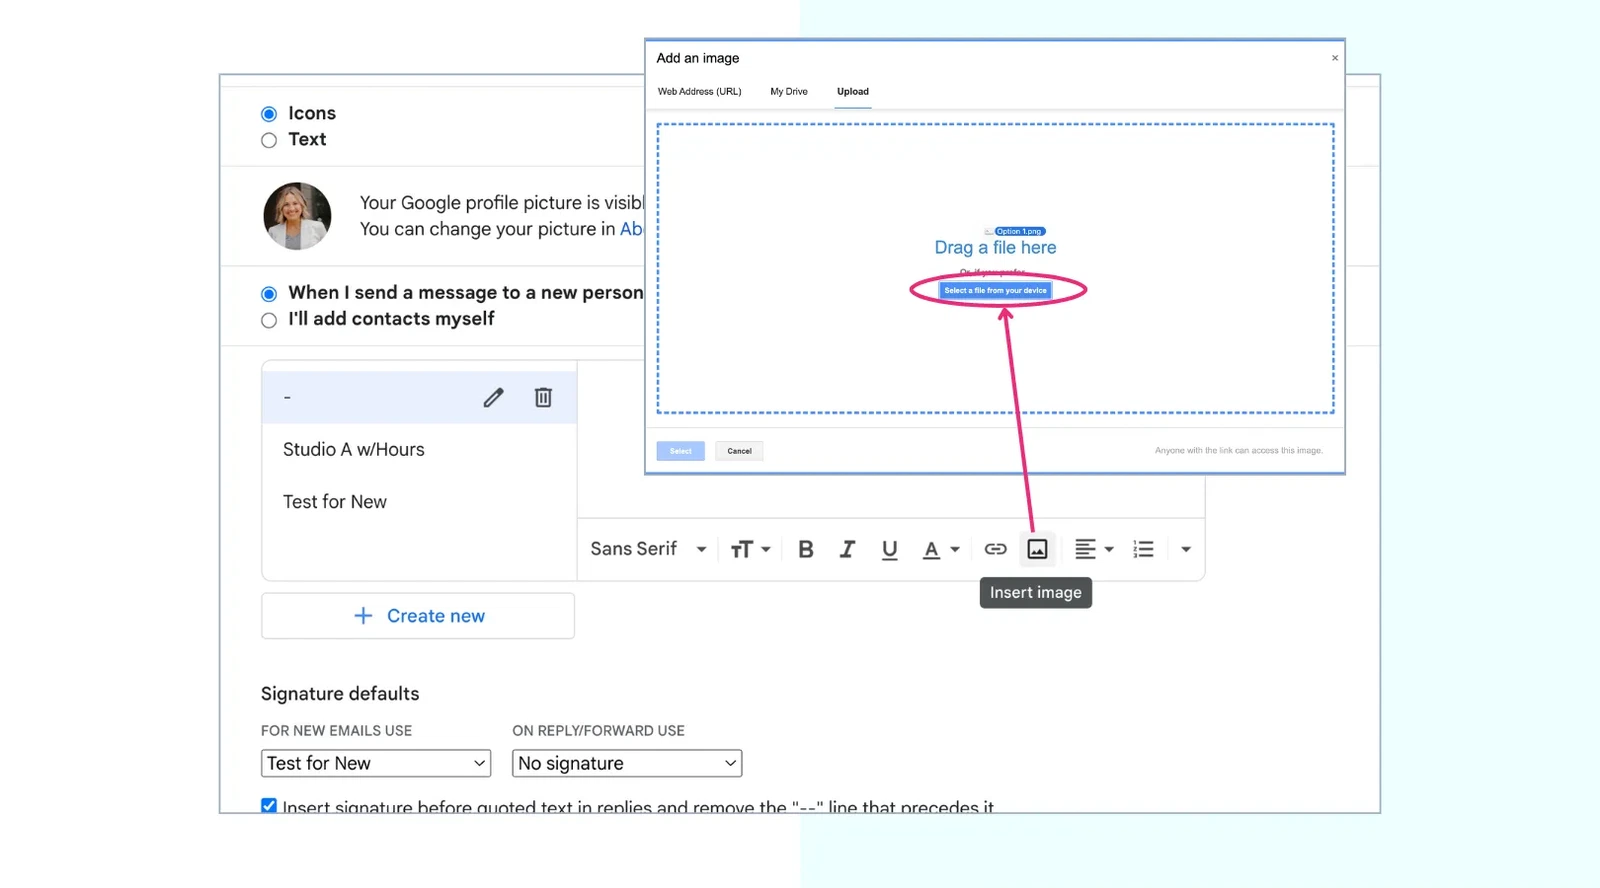
- Click the Insert Image icon in the editor toolbar.
- Paste the URL of each social media icon and adjust the size if needed.
- Make the Icons Clickable
- Highlight the inserted icon.
- Click the Link icon in the toolbar.
- Paste the corresponding social media profile URL.
- Save Changes
Scroll to the bottom of the settings page and click Save Changes.
For Outlook
- Open Outlook Settings
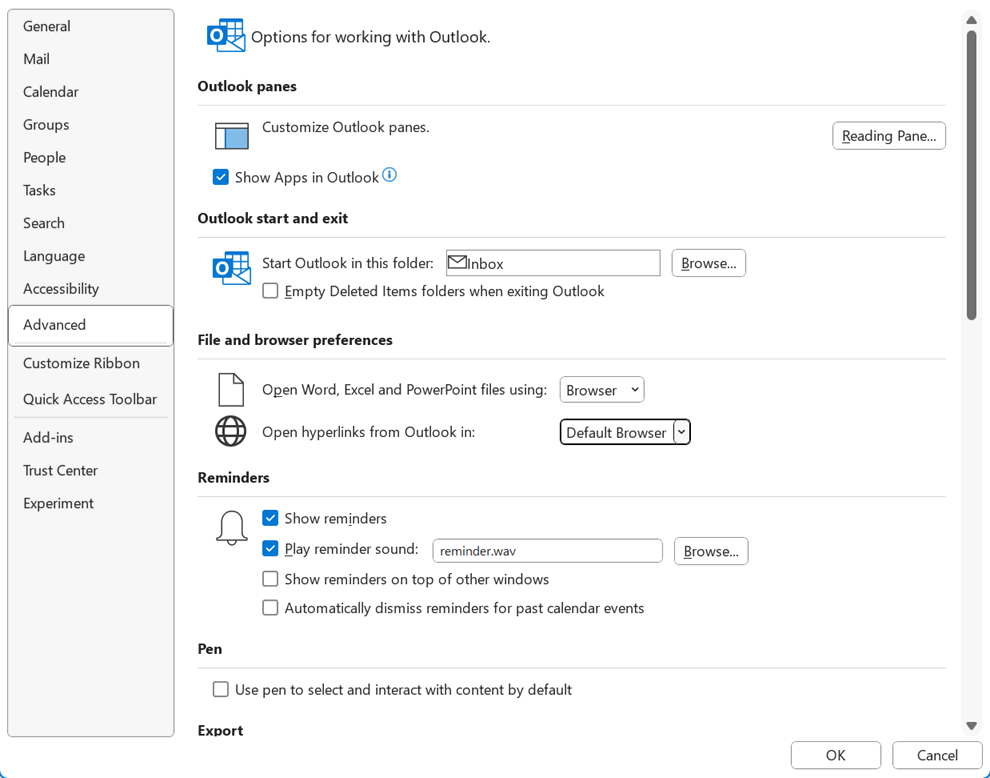
- Click File > Options > Mail.
- Click Signatures.
- Create a New Signature
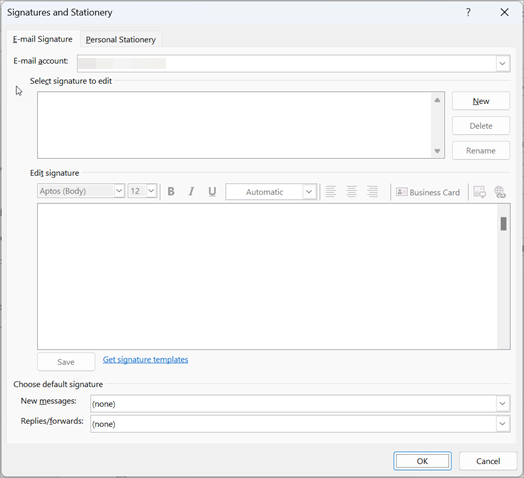
- In the Email Signature tab, click New to create a signature.
- Add your personal details, such as name and contact information.
- Insert Social Media Icons
- Click the Image icon to upload icons directly from your computer.
- Add Hyperlinks
- Select each icon.
- Click the Hyperlink button and paste the relevant social media URL.
- Save and Apply
- Click OK to save your signature.
- Set it as your default signature for new messages and replies.
For Apple Mail
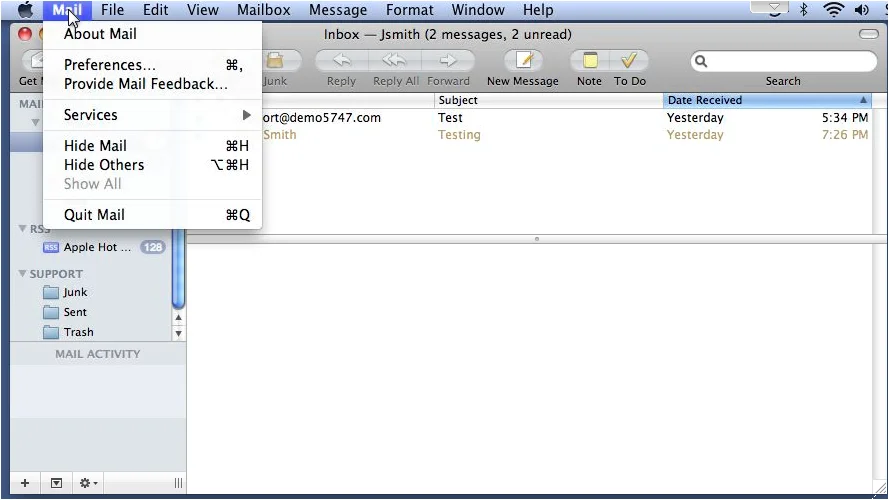
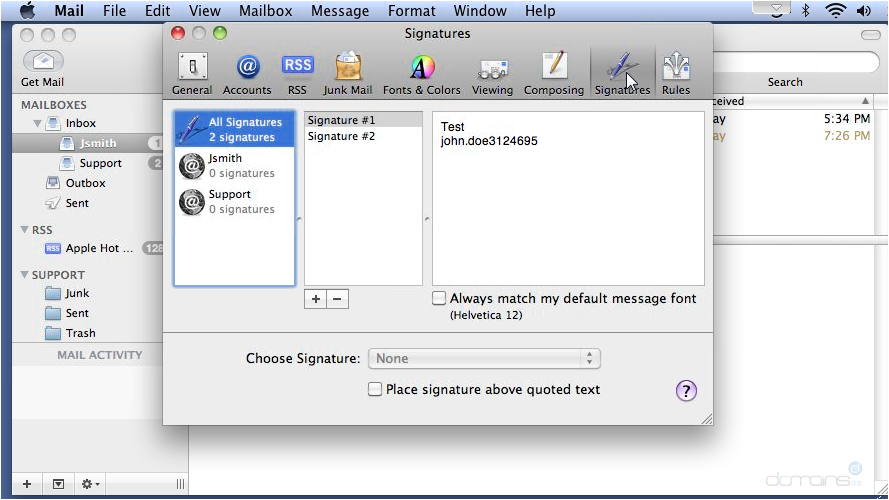
- Go to Preferences
- Open Mail and go to Preferences.
- Click on the Signatures tab.
- Create a Signature
- Select the email account where you want to add the signature.
- Click the + button to create a new signature.
- Add Social Media Icons
- Drag and drop the icons directly into the signature editor.
- Link the Icons
- Highlight an icon, right-click, and choose Add Link.
- Paste the corresponding social media URL.
- Save the Signature
- Close the Preferences window, and your changes will be saved.
Step 5: Test Your Signature
After setting up your signature, send a test email to yourself or a colleague to ensure everything appears correctly. Check the following:
- The icons are visible and properly aligned.
- The hyperlinks are working and redirecting to the correct profiles.
- The email is formatted correctly across different devices.
Tips for Designing an Effective Email Signature
- Keep It Simple
Avoid clutter by limiting the number of icons and focusing on the most important platforms. - Maintain Consistency
Use uniform icon sizes and designs for a polished look. - Ensure Responsiveness
Test your email signature on mobile and desktop devices to ensure proper display. - Stay Professional
Avoid using personal social media accounts unless they’re relevant to your work.
Conclusion
Adding social media icons to your email signature enhances your email’s professionalism and provides recipients with quick access to your online presence. By following this guide, you can create a visually appealing and functional signature that represents you or your organization effectively.
