Steps to Install Microsoft Office 2010
Microsoft Office 2010 remains a popular choice for users who need reliable tools for document creation, spreadsheets, presentations, and more. If you’ve purchased a copy of Office 2010 and need guidance on installing it, this step-by-step guide will help you through the process.
This tutorial includes clear instructions and visual references to ensure a smooth installation.
Requirements for Installing Microsoft Office 2010
System Requirements
Before you begin the installation, make sure your computer meets the minimum system requirements:
- Operating System: Windows XP SP3, Windows Vista SP1, Windows 7, or later.
- Processor: 500 MHz or faster.
- RAM: 256 MB or more.
- Disk Space: 3 GB available.
What You Need
- Microsoft Office 2010 Installation Media: This can be a CD/DVD or an ISO file.
- Product Key: A 25-character alphanumeric key included with your purchase.
- Administrator Rights: You must have admin privileges on your computer.
Step 1: Insert the Installation Media
For CD/DVD Installation
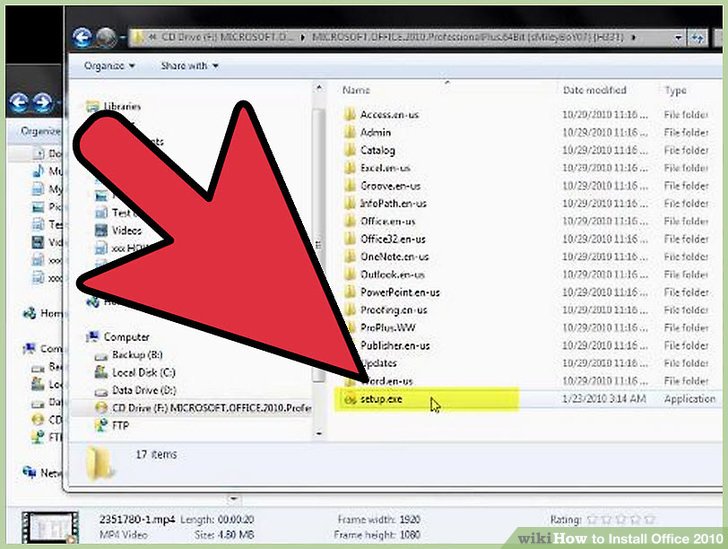
- Insert the Office 2010 installation DVD into your computer’s CD/DVD drive.
- The installation should start automatically. If not, navigate to the drive in File Explorer and double-click setup.exe.
For Downloaded Files
- If you downloaded Office 2010, locate the installation file (usually an ISO).
- Double-click the file to mount it.
- Run setup.exe to begin.
Step 2: Enter the Product Key
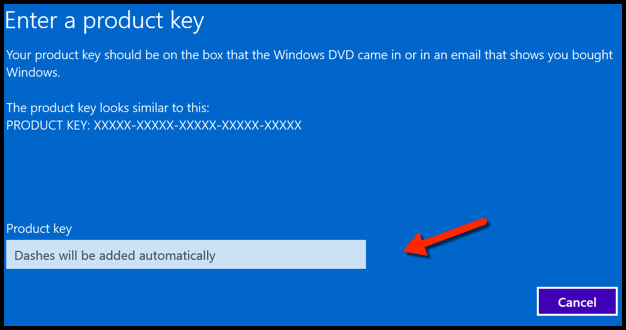
- Once the setup starts, you will be prompted to enter your 25-character product key.
- Carefully type the key found on your product packaging or confirmation email.
- Click Continue to proceed.
Step 3: Accept the License Terms
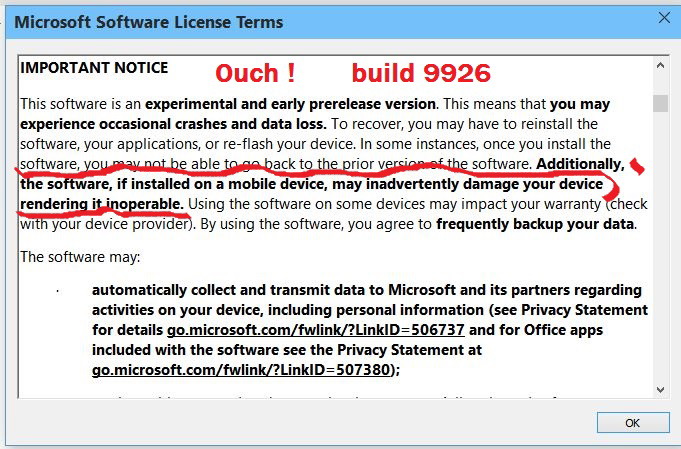
- Review the Microsoft Software License Terms.
- Check the box to accept the terms.
- Click Continue to proceed to the installation options.
Step 4: Choose the Installation Type
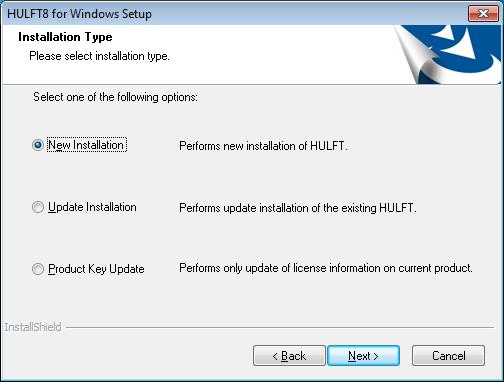
Install Now
This option installs the default programs, including Word, Excel, PowerPoint, and Outlook.
Customize
Select this option to choose which programs and features you want to install.
- Click Customize to view the list of programs.
- Uncheck any programs you don’t need to save space.
- Click Install when ready.
Step 5: Wait for the Installation to Complete
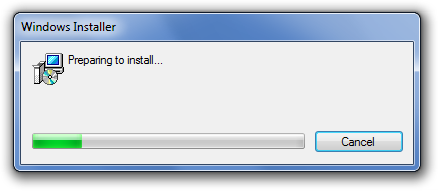
The installation process may take several minutes, depending on your system. During this time:
- Do not turn off your computer.
- Avoid running other programs to prevent interference.
When the installation is complete, you will see a confirmation screen.
Step 6: Activate Microsoft Office 2010
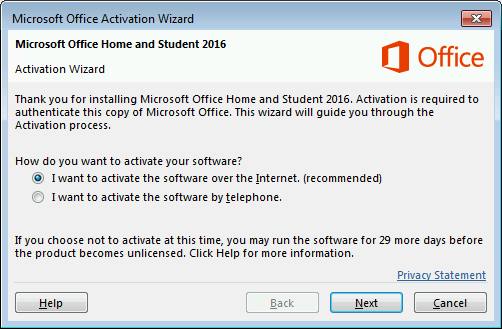
- Open any Office application, such as Word or Excel.
- You will be prompted to activate Office. Choose one of the following methods:
- Online Activation: Follow the prompts to activate Office using your internet connection.
- Telephone Activation: Call the Microsoft activation center and provide the required information.
Step 7: Update Microsoft Office 2010
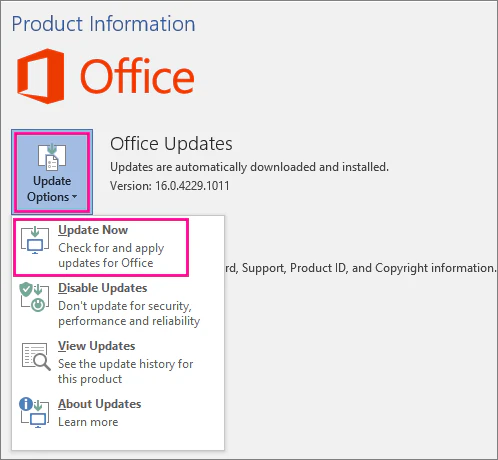
To ensure optimal performance, update Office 2010 after installation:
- Open any Office program.
- Go to File > Help > Check for Updates.
- Follow the prompts to download and install the latest updates.
Troubleshooting Common Issues
Installation Errors
- Solution: Restart your computer and run the setup as an administrator.
Product Key Issues
- Solution: Verify that you entered the product key correctly. If the problem persists, contact Microsoft Support.
Activation Problems
- Solution: Use the telephone activation method or check your internet connection.
Conclusion
Installing Microsoft Office 2010 is a straightforward process when you follow these steps. Once installed, you’ll have access to powerful tools that can handle all your productivity needs.
Keep your product key safe for future reference and ensure your software stays updated to maintain security and compatibility.
