How to Remove Office via the Windows Control Panel
Uninstalling Microsoft Office through the Windows Control Panel is a straightforward process that can help you free up space or resolve software issues. Whether you’re uninstalling Office to reinstall it, troubleshoot problems, or upgrade to a newer version, this guide will walk you through the process step by step.
Step 1: Open Windows Control Panel

Before you can uninstall Microsoft Office, you need to access the Control Panel, which is where most programs on your PC are listed.
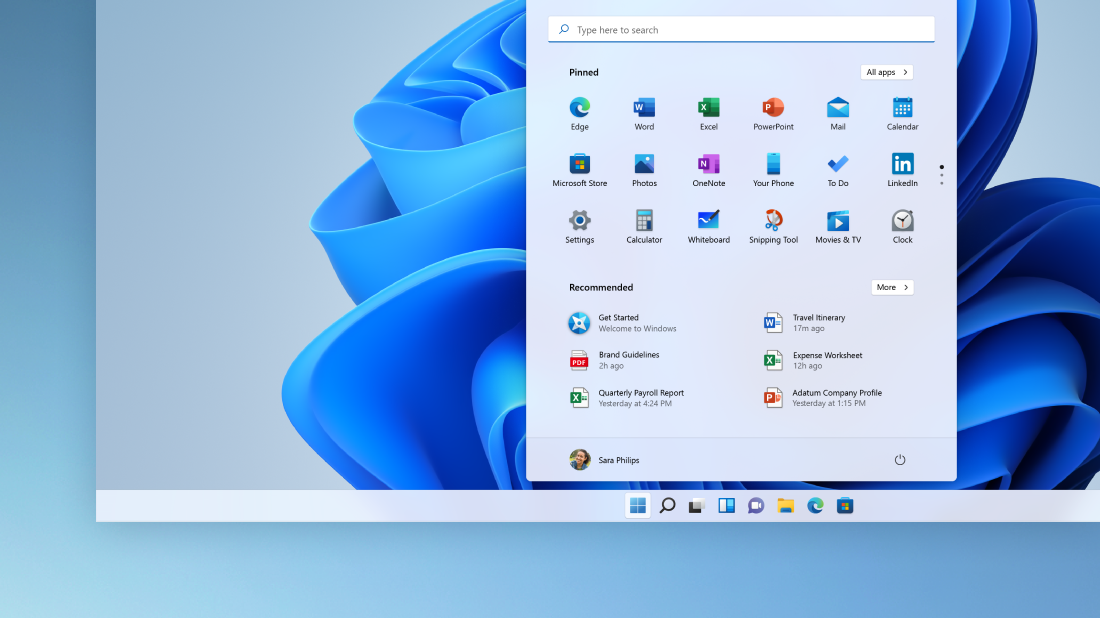
- Open the Start Menu
- Click on the Start button (Windows logo) in the bottom-left corner of your screen.
- Search for Control Panel
- In the search bar, type Control Panel and press Enter.
- Select Control Panel
- From the search results, click on Control Panel.
Step 2: Go to Programs and Features

Once you have opened the Control Panel, you need to navigate to the section where installed programs are listed.
- Click on Programs
- In the Control Panel window, click on the Programs link.
- Select Programs and Features
- Under Programs, click on Programs and Features.
Step 3: Locate Microsoft Office

Now that you’re in the Programs and Features section, you will see a list of all installed programs on your computer.
- Scroll Through the List
- Scroll down to find Microsoft Office. It may appear as Microsoft Office 365, Microsoft Office 2019, or another version depending on your installation.
- Select Microsoft Office
- Click on Microsoft Office to highlight it.
Step 4: Uninstall Microsoft Office

With Microsoft Office selected, you are ready to begin the uninstallation process.
- Click on Uninstall
- At the top of the Programs and Features window, click the Uninstall button.
- Confirm Uninstallation
- A prompt will appear asking if you’re sure you want to uninstall Microsoft Office. Click Yes to confirm.
Step 5: Follow the Office Uninstallation Wizard
Once you’ve confirmed, the Office uninstallation wizard will guide you through the rest of the process.
- Wait for the Process to Complete
- The uninstallation process may take several minutes, depending on the version of Office and your system’s performance.
- Restart Your Computer
- After the uninstallation is complete, it is recommended to restart your computer to ensure all Office files are fully removed.
Step 6: Verify Office Is Uninstalled

After restarting your computer, check that Microsoft Office has been successfully removed.
- Open Programs and Features
- Go back to Control Panel > Programs > Programs and Features.
- Check the List of Installed Programs
- Scroll through the list again to confirm that Microsoft Office is no longer listed.
Troubleshooting Common Issues
While the process is generally simple, you might encounter a few issues when uninstalling Office. Here are solutions to common problems:
- Error Messages: If you see an error message during uninstallation, try running the uninstaller as an administrator by right-clicking on Control Panel and selecting Run as Administrator.
- Office Not Showing Up: If Microsoft Office doesn’t appear in Programs and Features, you may have a non-standard installation or it could be hidden. Try using the Microsoft Support and Recovery Assistant to remove it.
- Stuck Uninstallation Process: If the uninstallation is taking too long or is stuck, try ending the Office installation process through Task Manager (press Ctrl + Shift + Esc, find the Office task, and select End Task).
Step 7: Remove Leftover Files and Settings (Optional)
If you want to ensure a complete removal of Microsoft Office, you can delete leftover files and settings manually.
- Delete Office Folders
- Navigate to the following locations and delete any remaining Office-related folders:
C:\Program Files\Microsoft OfficeC:\Program Files (x86)\Microsoft OfficeC:\Users\<Your Username>\AppData\Local\Microsoft\Office
- Navigate to the following locations and delete any remaining Office-related folders:
- Clean Up the Registry (Advanced)
- If you’re comfortable with advanced troubleshooting, you can clean up the registry using the Registry Editor (type regedit in the search bar). However, be cautious when modifying the registry.

Conclusion
Uninstalling Microsoft Office through the Windows Control Panel is a simple and efficient process. Following these steps will help you successfully remove the software from your computer, freeing up valuable space or resolving any issues. If you encounter any difficulties, try using the Microsoft Support and Recovery Assistant tool for a more thorough removal.

