How to Remove Microsoft Office from Your Computer
Uninstalling Microsoft Office software may be necessary if you are experiencing issues, upgrading to a new version, or no longer need the application suite. Whether you are using Microsoft Office 365, 2019, 2016, or earlier versions, this guide will show you how to completely uninstall the software from your Windows computer.
Step 1: Check Your Current Microsoft Office Version

Before uninstalling, confirm the version of Microsoft Office installed on your computer.
- Open a Microsoft Office Application
- Launch Word, Excel, or any Office application.
- Go to File > Account or Help (depending on your version).
- Note the version details under Product Information.
- Check Control Panel
- Press Windows + S, type Control Panel, and open it.
- Go to Programs > Programs and Features to view the installed Office version.
Step 2: Uninstall Office Using Windows Settings

- Open Settings
- Press Windows + I to open the Settings app.
- Go to Apps
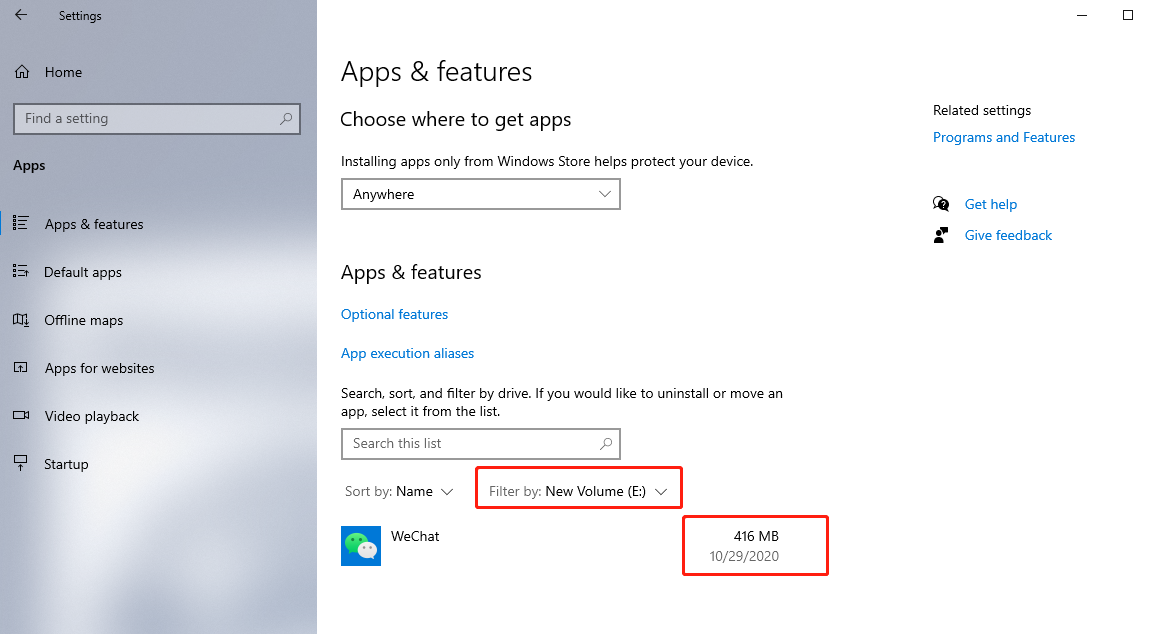
- Select Apps from the menu, then click on Apps & features.
- Find Microsoft Office
- Scroll down the list of installed apps or type “Microsoft Office” in the search bar.
- Uninstall
- Click on Microsoft Office, then select Uninstall. Confirm the action when prompted.
- Follow the Uninstallation Wizard
- Follow the on-screen instructions to complete the process.
Step 3: Use the Microsoft Support and Recovery Assistant (SaRA)
If the normal uninstallation process does not work or you encounter errors, use the Microsoft Support and Recovery Assistant tool.

- Download the SaRA Tool
- Go to the official Microsoft Support website and download the Support and Recovery Assistant tool.
- Install and Launch SaRA
- Run the downloaded file and install the tool.
- Select Uninstall Office
- Choose the Uninstall Microsoft Office option from the SaRA interface.
- Follow the Steps
- The tool will automatically detect Office installations and guide you through the removal process.
Step 4: Remove Leftover Files Manually
After uninstalling Office, some files and settings might remain on your system. To remove these:

- Delete Office Files
- Navigate to the following locations and delete the Microsoft Office folders if they exist:
C:\Program Files\Microsoft OfficeC:\Program Files (x86)\Microsoft OfficeC:\Users\<Your Username>\AppData\Local\Microsoft\Office
- Navigate to the following locations and delete the Microsoft Office folders if they exist:
- Clean Registry Entries (Optional)
- Press Windows + R, type
regedit, and press Enter. - Navigate to
HKEY_LOCAL_MACHINE\SOFTWARE\Microsoft\Officeand delete the folder. - Caution: Be careful when modifying the registry to avoid system issues.
- Press Windows + R, type

Step 5: Restart Your Computer
After completing the uninstallation process, restart your computer to ensure all changes take effect.
Step 6: Verify Office Has Been Uninstalled
- Check Installed Programs
- Go to Control Panel > Programs > Programs and Features to confirm that Microsoft Office is no longer listed.
- Reinstall or Install Another Version (Optional)
- If you plan to reinstall Office, download the desired version from your Microsoft account page or install a new alternative.
Troubleshooting Common Issues
- Uninstallation Fails in Settings: Use the Microsoft SaRA tool to force uninstall Office.
- Error Messages During Removal: Ensure all Office applications are closed before uninstalling.
- Leftover Files Won’t Delete: Boot your system into Safe Mode and try again.
Conclusion
Uninstalling Microsoft Office can be done easily using the Settings app or the Microsoft Support and Recovery Assistant. If you follow the steps outlined in this guide, you will be able to remove Office completely, whether for troubleshooting, upgrading, or freeing up space on your computer. Let me know if you encounter any difficulties, and I’ll be happy to assist further!

