How to Resolve Audio and Video Synchronization Issues in Windows 10
Audio and video synchronization issues on Windows 10 can disrupt your multimedia experience, whether you’re streaming online, playing videos, or gaming. These desyncs are often caused by outdated drivers, software bugs, or incorrect settings. Below is a detailed guide to identify and fix this issue.
Step 1: Restart Your Computer
Sometimes, a simple restart can resolve minor glitches causing audio-video desync. Restart your computer and check if the issue persists.
Step 2: Check Your Media Player or Streaming Service
The problem might not be with Windows but with the media player or streaming service you’re using.
- Try Another Media Player:
- Use a reliable media player like VLC or Windows Media Player.
- If the issue is resolved, the original player may need updating or replacing.
- Test Another Streaming Service:
- Switch to a different platform to see if the problem is specific to one service.
Step 3: Update Audio and Video Drivers
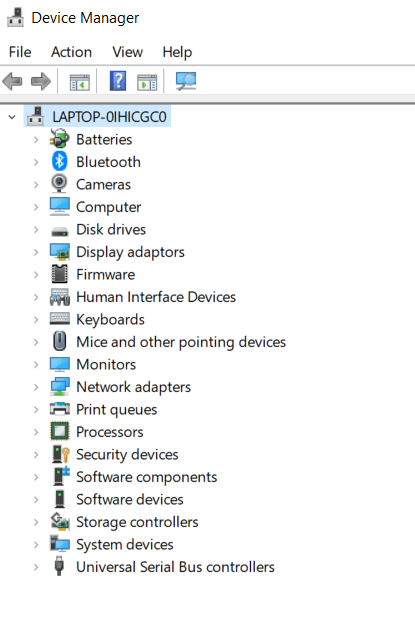
Outdated or corrupted drivers are a common cause of audio-video sync problems.
- Open Device Manager:
- Press Windows + X and select Device Manager.
- Update Audio Drivers:
- Expand Sound, video and game controllers.
- Right-click your audio device and select Update driver.
- Choose Search automatically for drivers.
- Update Video Drivers:
- Expand Display adapters.
- Right-click your graphics driver (e.g., Intel, NVIDIA, AMD) and select Update driver.
- Restart Your Computer:
- After updating, reboot your system to apply the changes.
Step 4: Adjust Audio Playback Settings
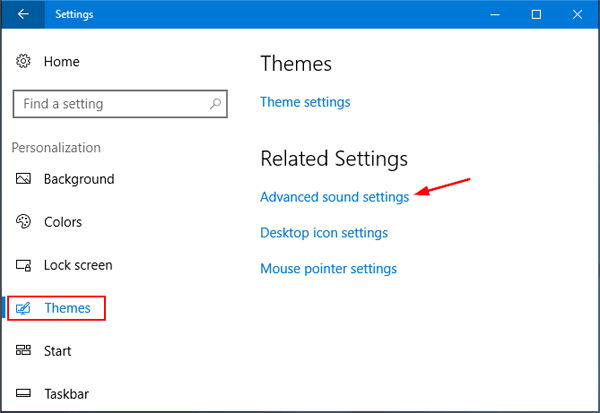
Incorrect audio settings can cause lag between audio and video.
- Open Sound Settings:
- Right-click the sound icon in the taskbar and select Sounds.
- Adjust Playback Device:
- Go to the Playback tab.
- Select your default device, click Properties, and go to the Advanced tab.
- Change the Sample Rate:
- Select a different sample rate (e.g., 24-bit, 44100 Hz) and click OK.
- Test the playback to see if the sync issue is resolved.
Step 5: Run the Audio Troubleshooter
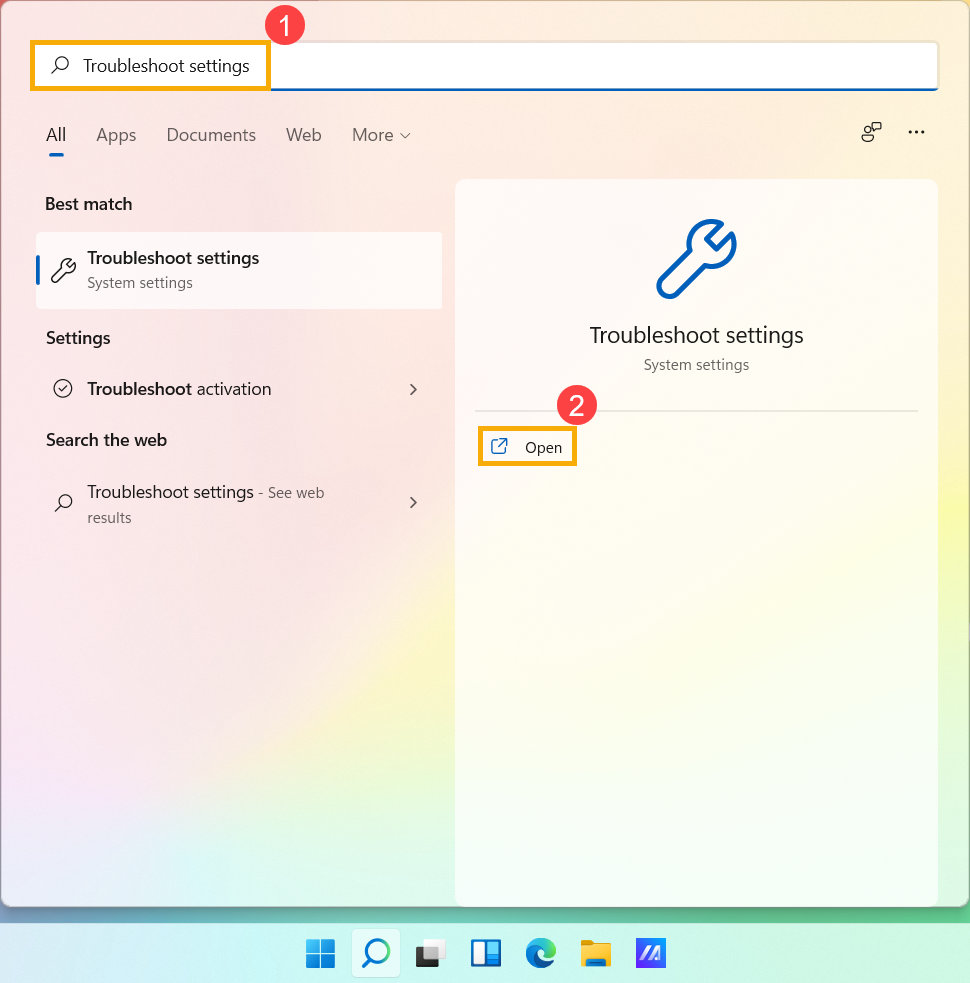
Windows 10 offers a built-in troubleshooter for audio problems.
- Open Troubleshooting Settings:
- Press Windows + I to open Settings.
- Go to Update & Security > Troubleshoot.
- Run the Audio Troubleshooter:
- Click Playing Audio and then Run the troubleshooter.
- Follow the on-screen instructions to diagnose and fix issues.
Step 6: Disable Audio Enhancements
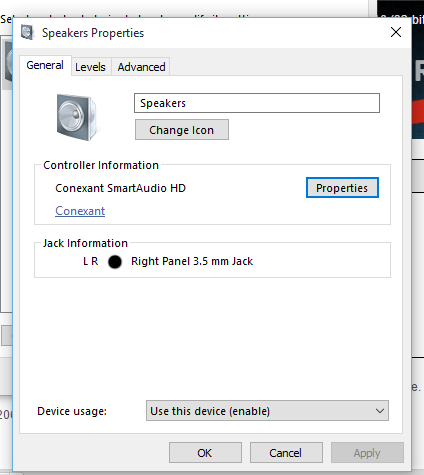
Audio enhancements might interfere with proper synchronization.
- Open Sound Settings:
- Right-click the sound icon in the taskbar and select Sounds.
- Disable Enhancements:
- In the Playback tab, select your audio device and click Properties.
- Navigate to the Enhancements tab.
- Check Disable all enhancements and click OK.
Step 7: Check for Windows Updates
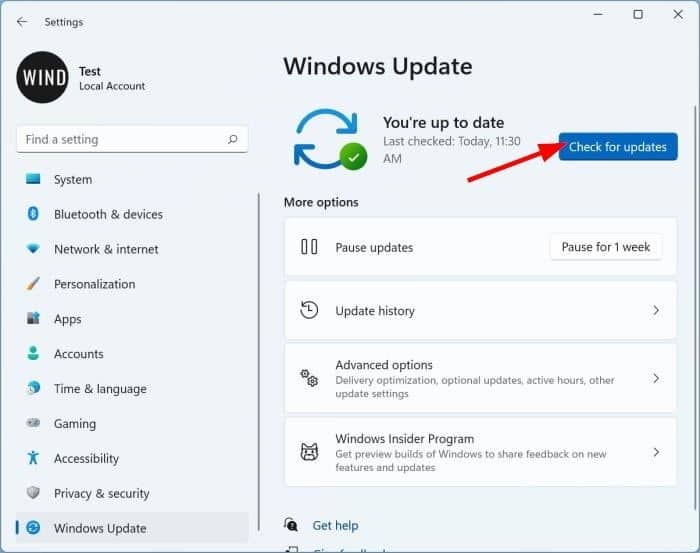
Outdated system software can also lead to audio-video sync problems.
- Open Windows Update Settings:
- Press Windows + I and go to Update & Security > Windows Update.
- Check for Updates:
- Click Check for updates and install any available updates.
- Restart Your Computer:
- Reboot after installing updates and test the audio-video sync.
Step 8: Use VLC Media Player for Local Files
VLC Media Player allows you to manually adjust audio synchronization.
- Download and Open VLC:
- Install VLC Media Player from the official website.
- Play a Video File:
- Open the video with desync issues in VLC.
- Adjust Audio Sync:
- Use J to delay the audio or K to advance it.
- Fine-tune until the audio matches the video.
Step 9: Perform a Clean Boot
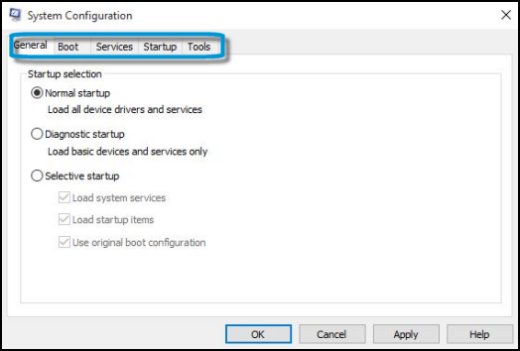
Third-party applications or background processes may cause desynchronization.
- Open System Configuration:
- Press Windows + R, type
msconfig, and press Enter.
- Press Windows + R, type
- Disable Non-Microsoft Services:
- Go to the Services tab.
- Check Hide all Microsoft services, then click Disable all.
- Disable Startup Items:
- Open Task Manager, navigate to the Startup tab, and disable unnecessary apps.
- Restart Your Computer:
- Perform a clean boot and check if the problem persists.
Conclusion
By following the steps outlined above, you should be able to resolve audio and video sync issues in Windows 10. Whether it’s updating drivers, tweaking settings, or using software like VLC, these methods provide practical solutions to improve your multimedia experience.
