How to Resolve Mouse Lag Issues on Windows 10
Mouse lag on Windows 10 can disrupt productivity and cause frustration, especially during gaming or work. This issue can be caused by outdated drivers, conflicting settings, or hardware malfunctions. Here’s a step-by-step guide to help you identify and resolve mouse lag issues on your Windows 10 computer.
Common Causes of Mouse Lag
Before troubleshooting, it’s helpful to understand some common causes of mouse lag:
- Outdated or corrupted drivers
- Wireless mouse interference
- High CPU usage or system resource conflicts
- Incorrect power management settings
- Issues with the mouse hardware or USB ports
Step-by-Step Solutions to Fix Mouse Lag
Step 1: Update Mouse Drivers

Outdated or corrupted drivers are one of the most common causes of mouse lag. To update your drivers:
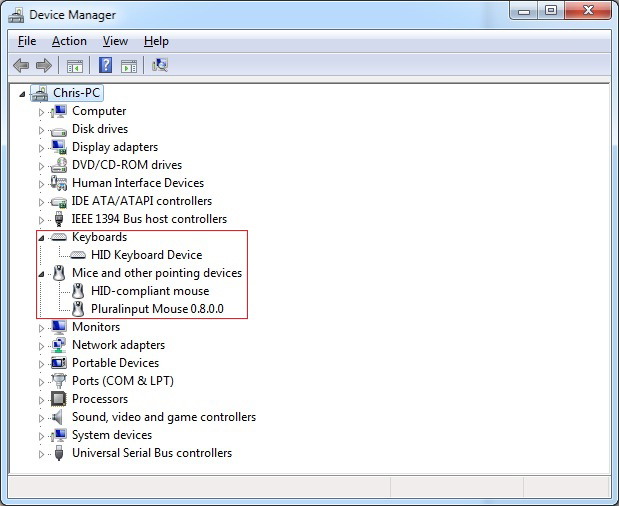
- Press Windows + X and select Device Manager.
- Expand the Mice and other pointing devices category.
- Right-click your mouse and choose Update driver.
- Select Search automatically for drivers and follow the prompts.
If Windows doesn’t find a new driver, visit the manufacturer’s website to download and install the latest driver manually.
Step 2: Check Wireless Mouse Interference
For wireless mice, interference from nearby devices or low battery power can cause lag. Try the following:
- Replace or recharge the mouse batteries.
- Move the USB receiver closer to the mouse.
- Ensure the mouse is on a smooth, non-reflective surface.
- Disconnect other wireless devices to minimize interference.
Step 3: Adjust Pointer Speed Settings

Incorrect pointer speed settings can also cause lag. To adjust these settings:
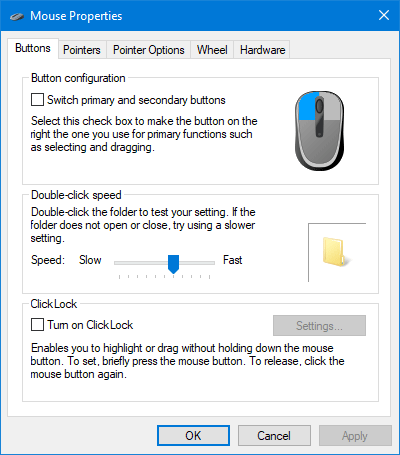
- Press Windows + S and type Mouse settings.
- Select Additional mouse options.
- In the Mouse Properties window, go to the Pointer Options tab.
- Adjust the pointer speed slider and uncheck Enhance pointer precision.
- Click Apply and OK.
Step 4: Disable Power Management for USB Ports

Windows may turn off USB ports to save power, which can lead to mouse lag. To disable this feature:
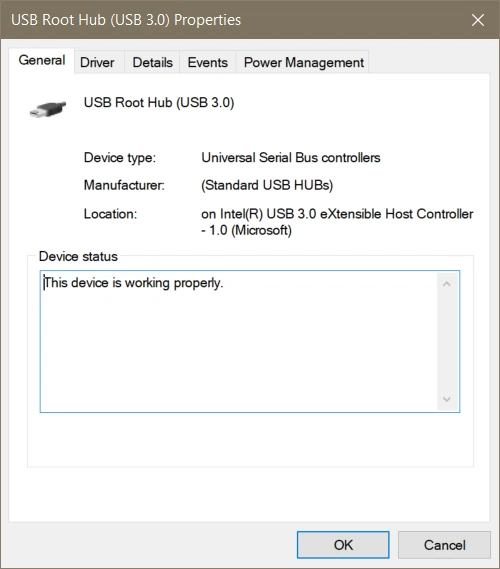
- Open Device Manager and expand Universal Serial Bus controllers.
- Right-click each USB Root Hub and select Properties.
- Go to the Power Management tab and uncheck Allow the computer to turn off this device to save power.
- Click OK and repeat for all USB Root Hubs.
Step 5: Adjust Graphics Settings (For Gamers)
High graphics settings or a slow refresh rate can cause mouse lag during gaming. To optimize these settings:
- Right-click on the desktop and select Display settings.
- Scroll down to Advanced display settings.
- Ensure the refresh rate matches your monitor’s specifications.
- Lower the in-game graphics settings if the issue persists.
Step 6: Check for High CPU Usage

High CPU or RAM usage can cause system-wide lag, affecting your mouse. To check and resolve this:
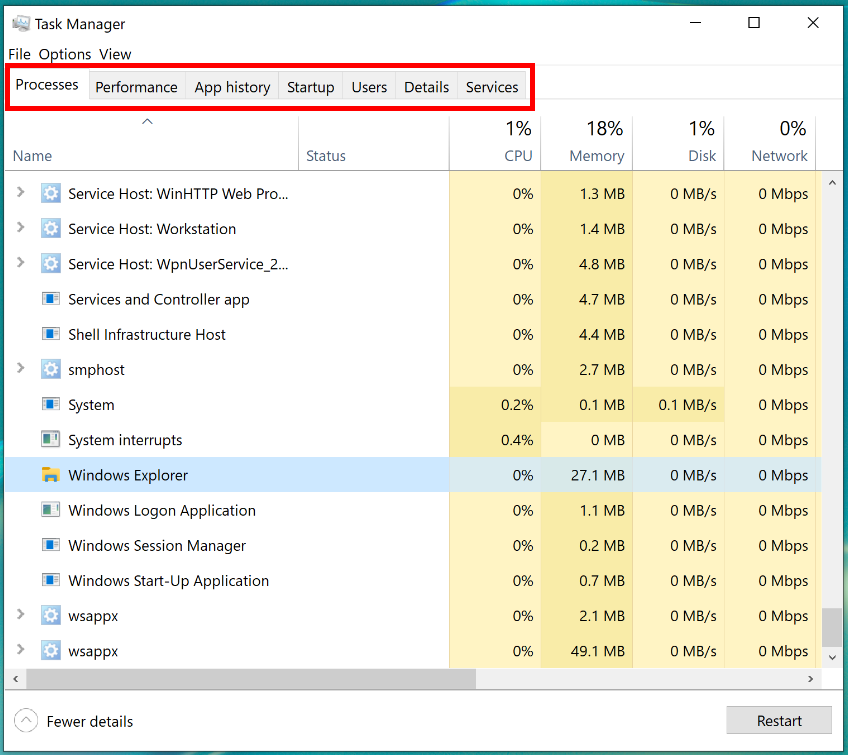
- Press Ctrl + Shift + Esc to open Task Manager.
- Go to the Processes tab and sort by CPU usage.
- Identify and end high-resource processes by selecting them and clicking End task.
Step 7: Test the Mouse on Another Computer
If the above steps don’t resolve the issue, your mouse may be faulty. Test it on another computer:
- If the mouse works correctly, the issue lies with your system.
- If the problem persists, consider replacing the mouse.
Step 8: Run Windows Troubleshooter

Windows 10 includes a built-in troubleshooter for hardware and devices:
- Press Windows + S and type Troubleshoot settings.
- Select Additional troubleshooters.
- Click Hardware and Devices and run the troubleshooter.
- Follow the on-screen instructions to resolve any detected issues.
Conclusion
Mouse lag on Windows 10 can often be resolved through simple troubleshooting steps like updating drivers, adjusting settings, and checking hardware. By following this guide, you should be able to identify and fix the issue, ensuring smooth and responsive mouse performance. If the problem persists, it may be time to invest in a new mouse or consult a professional for further assistance.
