How to Resolve High CPU Usage Issues on Windows 10
The Windows Update Standalone Installer (WUSA) is a tool designed to install Windows updates manually. However, it can occasionally get stuck at “Searching for Updates,” preventing the installation process from proceeding. This guide will walk you through various methods to resolve the issue.
Common Causes of the Problem
- Corrupted Windows Update Files: Damaged or incomplete update files can lead to the installer freezing.
- Background Processes: Conflicting processes may interfere with WUSA’s functionality.
- Outdated Update Components: Older update services or components may be incompatible with new updates.
- Software Conflicts: Security software or third-party applications might block the installer.
Step-by-Step Solutions
Restart Your Computer
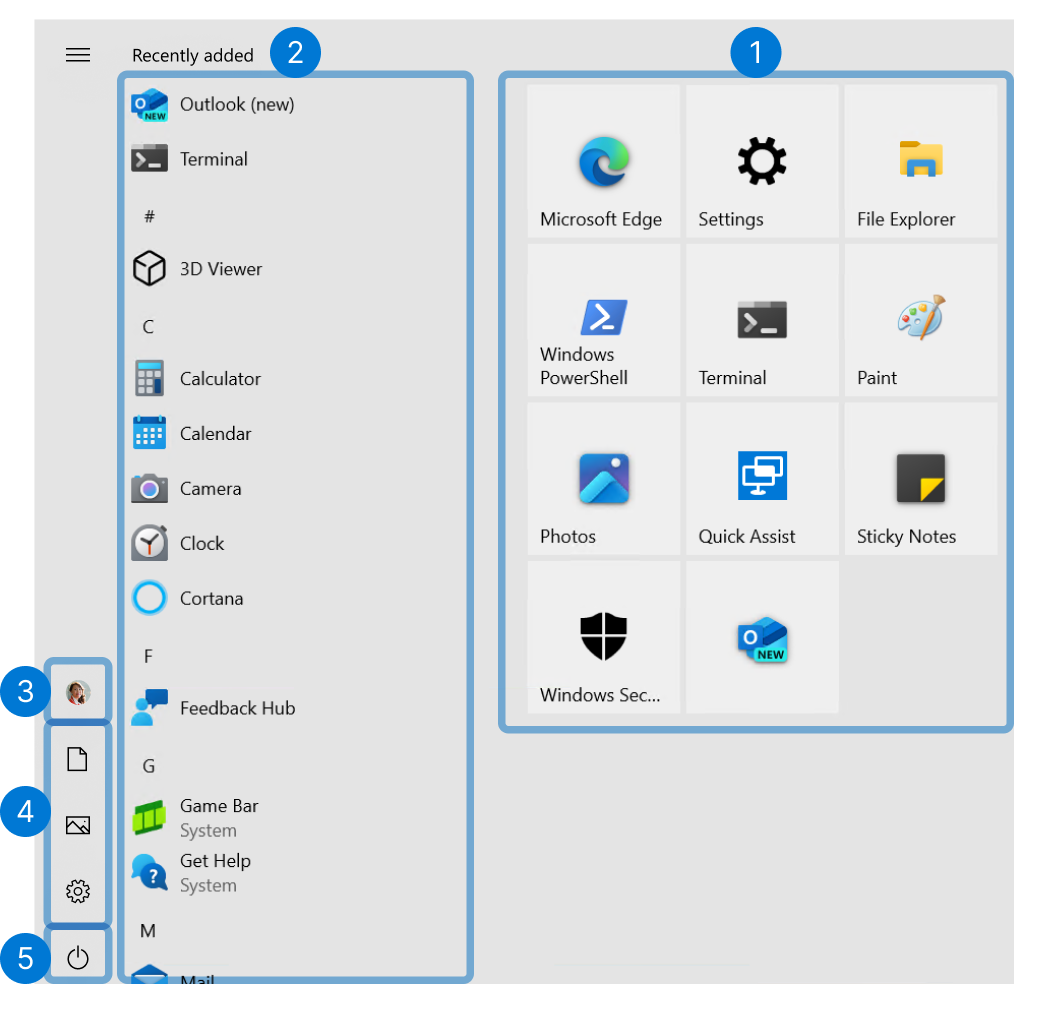
A simple restart can clear temporary glitches and conflicts that might be causing the issue.
- Save your work.
- Click the Start menu, select Power, and choose Restart.
Temporarily Disable Windows Update Service
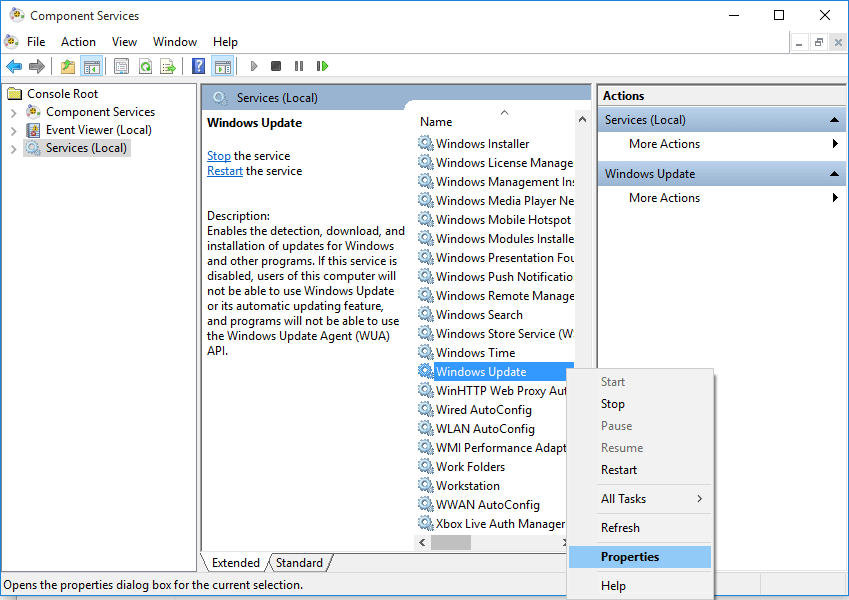
Stopping the Windows Update service can help refresh the update process.
- Press Windows + R, type services.msc, and hit Enter.
- Find Windows Update in the list.
- Right-click it and select Stop.
- Retry using the Windows Update Standalone Installer.
Clear Windows Update Cache
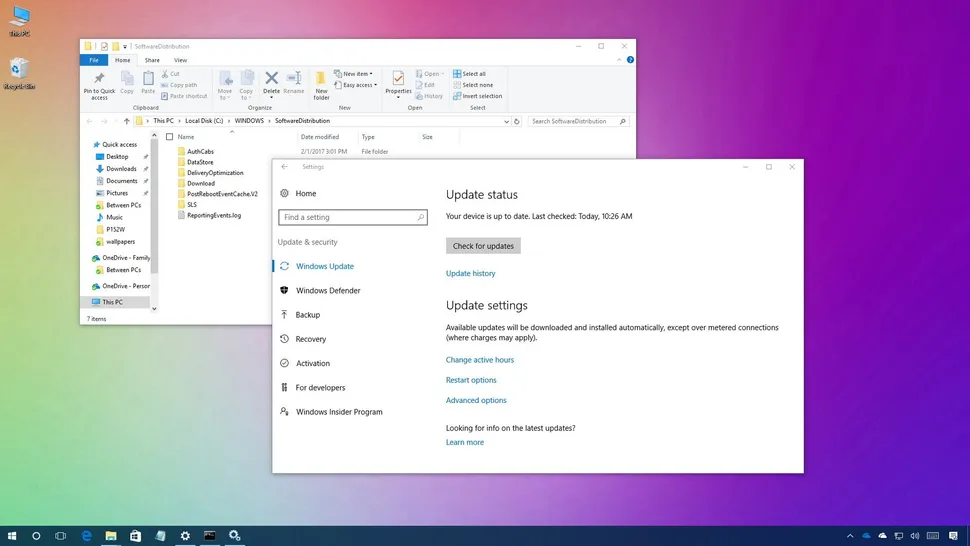
Clearing the SoftwareDistribution folder can remove corrupted update files.
- Stop the Windows Update service as described above.
- Navigate to
C:\Windows\SoftwareDistribution. - Delete all files and folders inside the SoftwareDistribution folder.
- Restart the Windows Update service.
Run Windows Update Troubleshooter
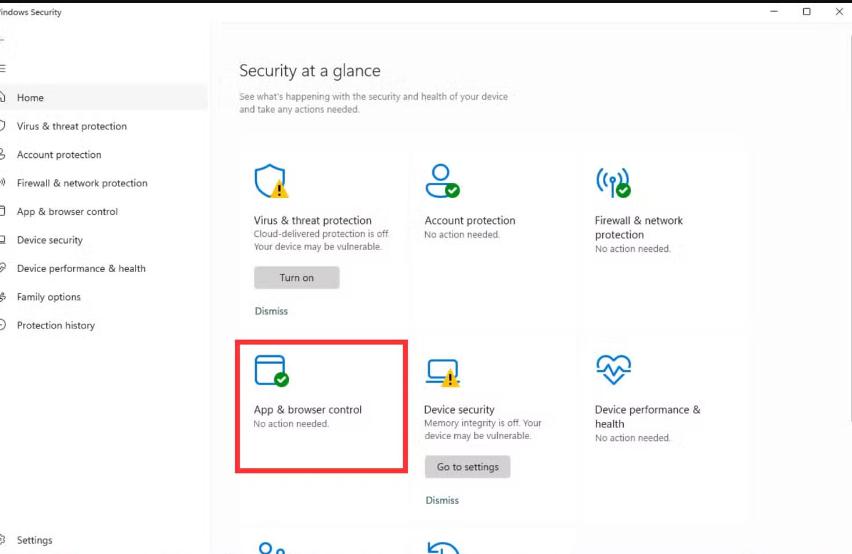
Windows Update Troubleshooter is a built-in tool to diagnose and fix update issues.
- Press Windows + I to open Settings.
- Go to Update & Security > Troubleshoot > Windows Update.
- Click Run the troubleshooter and follow the on-screen instructions.
Update Windows Update Agent
The Windows Update Agent manages the update process. Updating it can resolve compatibility issues.
- Download the latest version of the Windows Update Agent from the Microsoft website.
- Install the update and restart your computer.
Use the Command Prompt to Reset Update Components
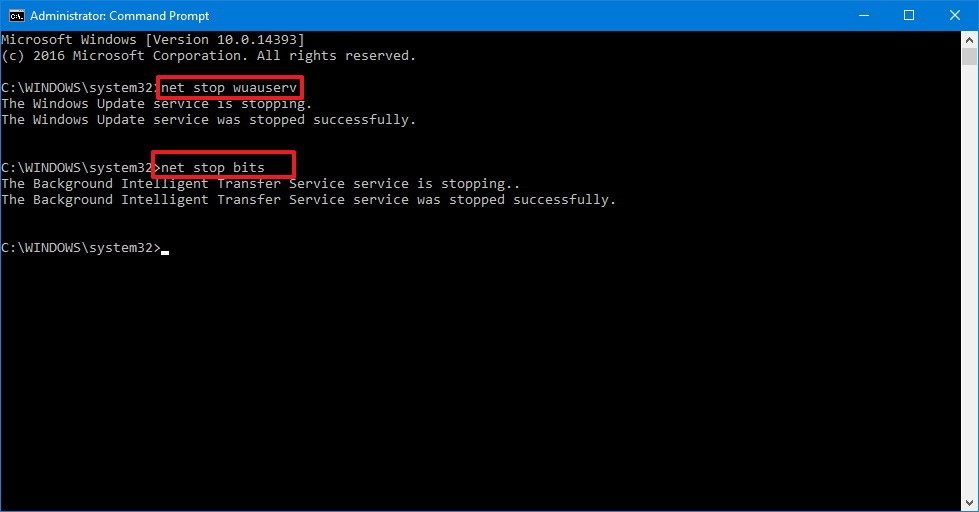
Resetting update components can fix errors in the Windows Update system.
- Open Command Prompt as an administrator by pressing Windows + X and selecting Command Prompt (Admin).
- Type the following commands one by one and press Enter after each:
net stop wuauserv net stop cryptSvc net stop bits net stop msiserver ren C:\Windows\SoftwareDistribution SoftwareDistribution.old ren C:\Windows\System32\catroot2 Catroot2.old net start wuauserv net start cryptSvc net start bits net start msiserver - Restart your computer and retry the standalone installer.
Manually Install Updates via Microsoft Update Catalog
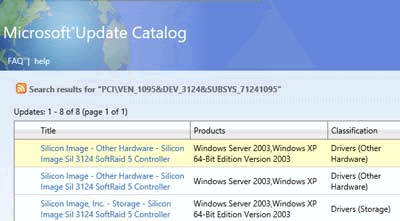
If the issue persists, manually downloading and installing updates can bypass the problem.
- Visit the Microsoft Update Catalog.
- Search for the update you need by its KB number.
- Download the update file matching your system version (32-bit or 64-bit).
- Run the downloaded file to install the update.
Perform a Clean Boot
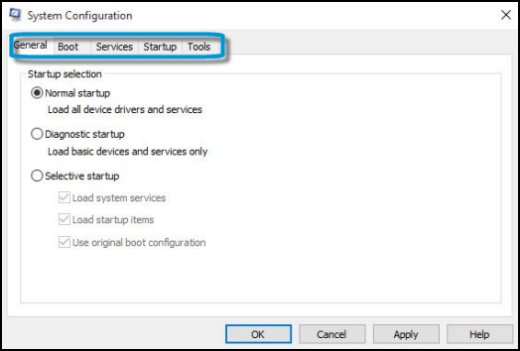
A clean boot starts Windows with minimal programs and services, eliminating potential software conflicts.
- Press Windows + R, type msconfig, and press Enter.
- In the System Configuration window, go to the Services tab.
- Check Hide all Microsoft services and click Disable all.
- Go to the Startup tab and click Open Task Manager.
- Disable all startup programs and restart your computer.
Check for Malware

Malware may block or interfere with the update process. Run a full system scan using Windows Security or your preferred antivirus software.
- Press Windows + I to open Settings.
- Go to Update & Security > Windows Security > Virus & Threat Protection.
- Click Quick Scan or Full Scan.
Reinstall Windows 10
If all else fails, reinstalling Windows 10 can resolve persistent update issues.
- Back up your important files.
- Create a bootable Windows 10 USB drive using the Media Creation Tool.
- Boot from the USB drive and follow the on-screen instructions to reinstall Windows 10.
Conclusion
The Windows Update Standalone Installer getting stuck at “Searching for Updates” can be frustrating, but the methods outlined above should help resolve the issue. Start with simple solutions like restarting your computer and work your way up to more advanced fixes like resetting update components or reinstalling Windows.
