Solutions for Resolving Keyboard Issues in Windows 10
A non-functioning keyboard can be frustrating, especially if you rely on it for everyday tasks. There are many reasons why your keyboard may not work on Windows 10, ranging from hardware issues to software misconfigurations. This guide will provide step-by-step solutions to help you resolve the problem.
Common Causes of Keyboard Not Working
- Faulty keyboard drivers.
- Loose or damaged connections.
- Incorrect system settings.
- Malware or software conflicts.
- Outdated Windows 10 updates.
Step-by-Step Solutions
Check the Physical Connection
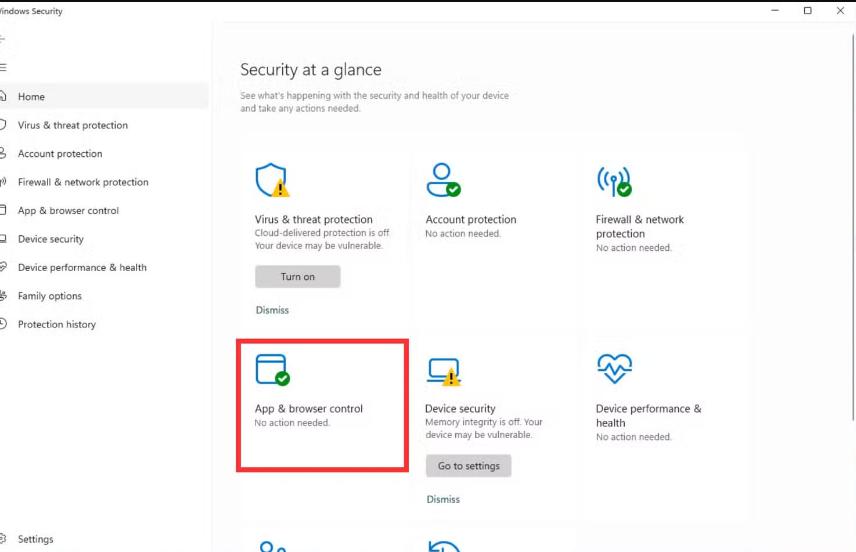
- Inspect the Keyboard Connection: Ensure that the keyboard is securely connected to your computer. For wired keyboards, check the USB port. For wireless keyboards, ensure the batteries are charged, and the receiver is plugged in.
- Test on Another Device: Plug your keyboard into another computer to verify if the problem lies with the keyboard or your Windows 10 system.
Restart Your Computer
Sometimes, a simple restart can resolve temporary glitches. Restart your computer and check if the keyboard starts working.
Use the Troubleshooter
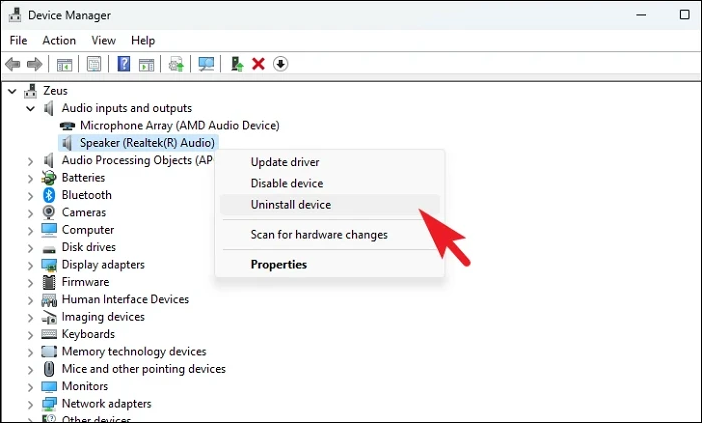
- Press Windows + I to open Settings.
- Go to Update & Security > Troubleshoot.
- Select Keyboard under the “Find and fix other problems” section.
- Click Run the troubleshooter and follow the instructions.
Update or Reinstall Keyboard Drivers
Update Drivers
- Press Windows + X and select Device Manager.
- Expand Keyboards.
- Right-click on your keyboard device and select Update driver.
- Choose Search automatically for updated driver software.
Reinstall Drivers
- In Device Manager, right-click your keyboard and select Uninstall device.
- Restart your computer. Windows will automatically reinstall the default drivers.
Check for Windows Updates
- Press Windows + I and navigate to Update & Security.
- Click Check for updates.
- Install any pending updates and restart your computer.
Disable Filter Keys
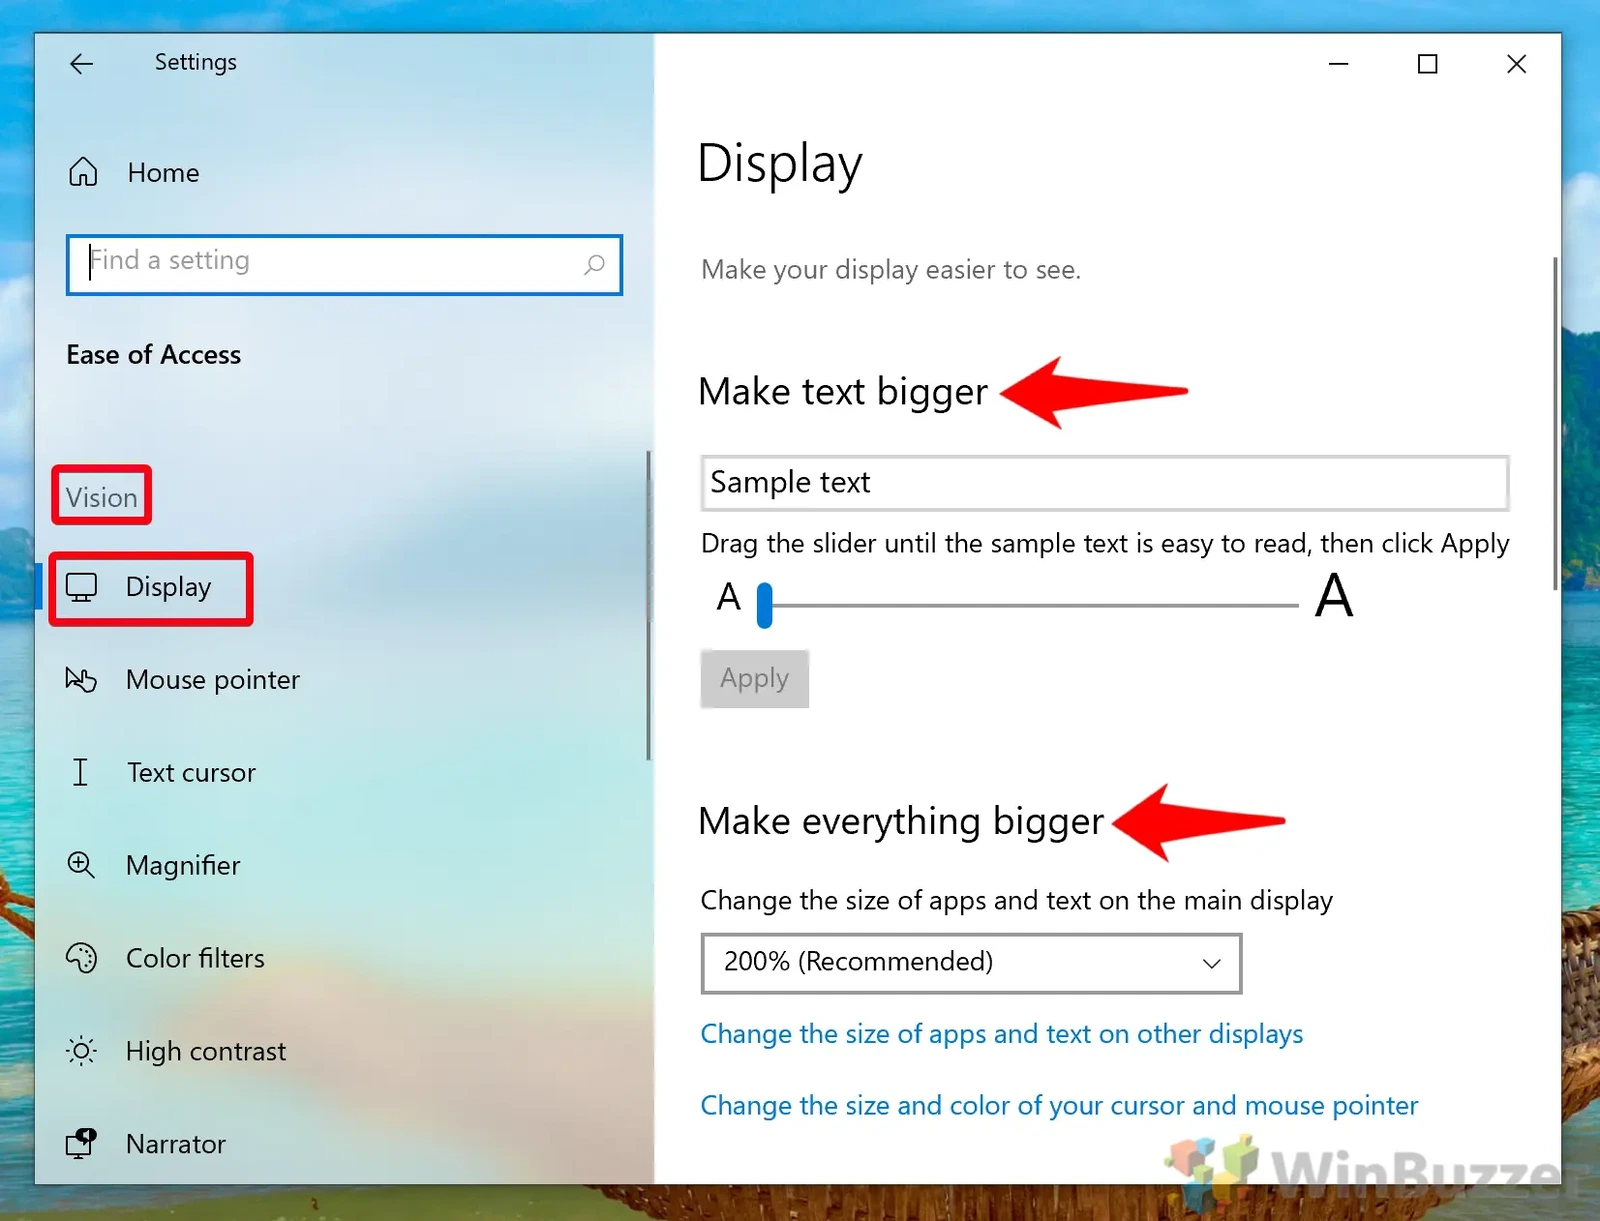
Filter Keys is a Windows feature that can sometimes interfere with keyboard functionality.
- Press Windows + I and go to Ease of Access > Keyboard.
- Toggle off Filter Keys under “Use Filter Keys.”
Test in Safe Mode
Booting into Safe Mode can help determine if a third-party application or driver is causing the issue.
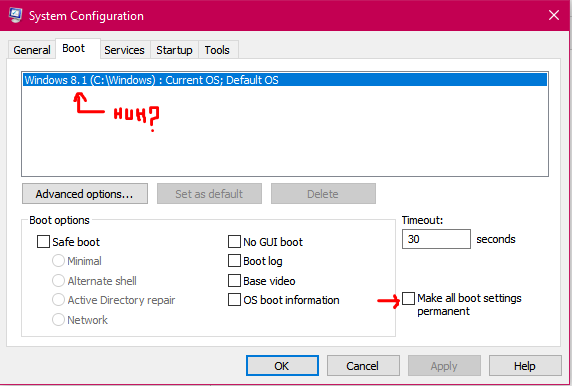
- Press Windows + R, type msconfig, and press Enter.
- Go to the Boot tab, select Safe boot, and click OK.
- Restart your computer.
- Test the keyboard in Safe Mode. If it works, a third-party application may be causing the problem.
Run a Malware Scan
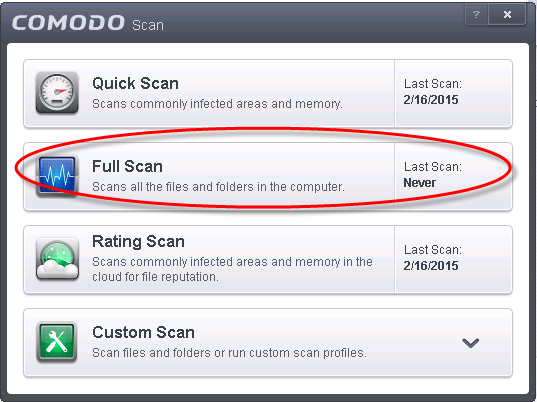
Malware can sometimes disable peripherals, including keyboards.
- Open your antivirus software or Windows Defender.
- Perform a full system scan.
- Remove any detected threats and restart your computer.
Reset Your Keyboard Settings
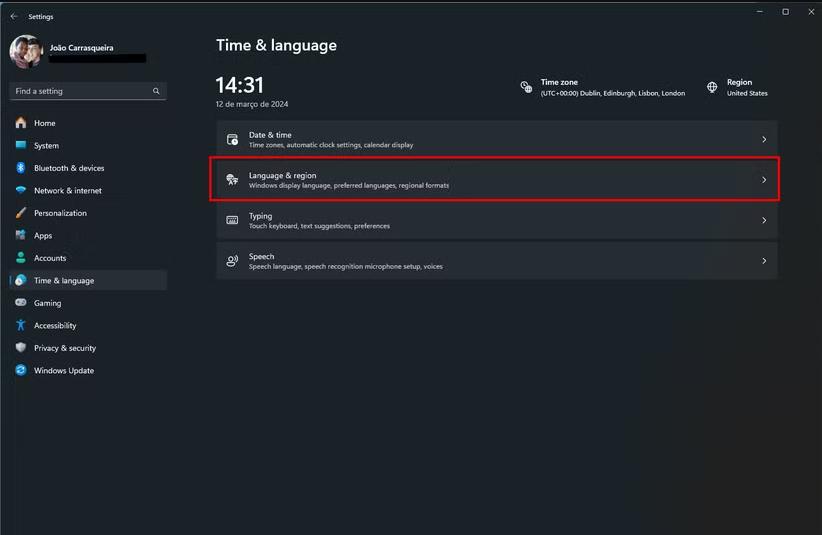
- Press Windows + I and go to Devices > Typing.
- Scroll down and click Advanced keyboard settings.
- Ensure that your input language is set correctly.
- Reset the keyboard to its default settings if necessary.
Hardware Troubleshooting
If none of the above methods work, the keyboard may have hardware damage. Consider:
- Testing a different keyboard on your computer.
- Replacing the keyboard if it’s found to be defective.
Conclusion
By following these steps, you should be able to resolve most issues with a non-functioning keyboard in Windows 10. Whether the problem is due to software or hardware, this guide provides comprehensive solutions to help you get your keyboard back in working order.
