How to Lock a Row in Excel on Mac
Freezing rows in Excel for Mac is an essential skill for anyone working with large spreadsheets. It allows you to lock specific rows at the top, ensuring they stay visible while you scroll through the data. This guide will walk you through the steps to freeze rows in Excel on Mac, complete with detailed instructions and illustrative images.
Why Freeze Rows in Excel?
Freezing rows is particularly helpful when you have headers or labels at the top of a spreadsheet. By freezing them:
- You can quickly reference column titles as you scroll.
- It improves navigation and organization in large datasets.
- Enhances data analysis by keeping essential information visible.
Steps to Freeze a Row in Excel for Mac
Step 1: Open Your Excel Spreadsheet
- Launch Excel on your Mac and open the file where you want to freeze rows.
- Make sure your data is organized, with headers in the first row.
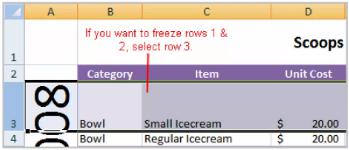
Step 2: Select the Row Below the One You Want to Freeze
- Identify the row you want to freeze (e.g., Row 1 for headers).
- Click on the row number directly below the one you want to freeze. For example:
- If you want to freeze Row 1, select Row 2.

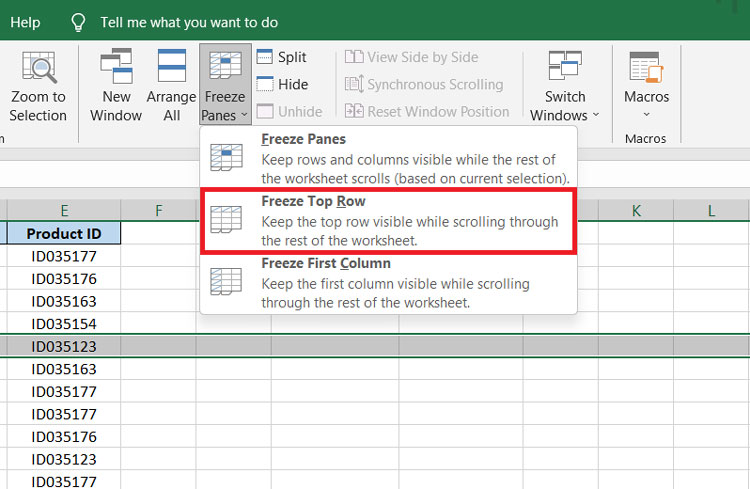
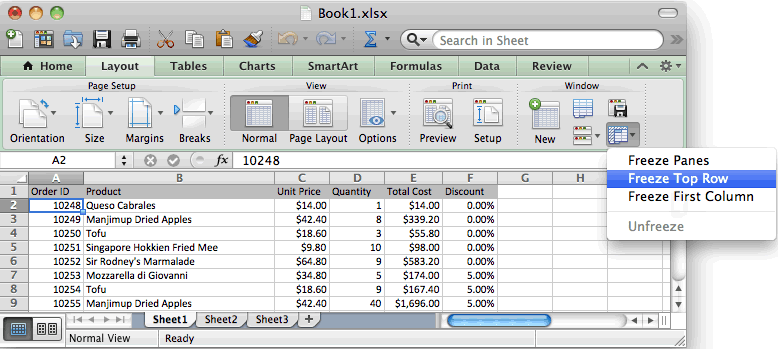
Step 3: Access the Freeze Panes Option
- Go to the Window menu in the top menu bar.
- From the dropdown, click on Freeze Top Row.
Note: This option freezes the first row of the spreadsheet by default.

Step 4: Verify the Freeze
- Scroll down in your worksheet to ensure the top row remains visible.
- You should see a solid gray line below the frozen row, indicating it’s locked.

How to Unfreeze Rows
If you need to unfreeze the rows, follow these steps:
- Navigate back to the Window menu.
- Select Unfreeze Panes from the dropdown.
- The solid gray line will disappear, and all rows will scroll freely again.
Tips for Freezing Rows in Excel
- Multiple Rows: Excel for Mac does not allow freezing multiple rows directly. However, you can achieve this by splitting the panes (via the same Window menu).
- Freezing Both Rows and Columns: You can freeze rows and columns simultaneously by selecting a cell below the row and to the right of the column you want to lock.
- Check Excel Version: Ensure you’re using an updated version of Excel, as older versions may have different options.
Frequently Asked Questions
Can I freeze rows in the middle of the sheet?
No, freezing works from the top of the sheet. For specific areas, consider splitting panes instead.
Why is the “Freeze Panes” option grayed out?
Ensure the worksheet is active and that you’re not in editing mode. Also, confirm no filters or protections are interfering with the functionality.
Visual Guide
Freeze Rows in Excel Mac
Unfreeze Rows in Excel Mac
Conclusion
Freezing rows in Excel for Mac is a simple yet powerful feature that enhances productivity, especially when handling large datasets. By following the steps above, you can easily lock rows and focus on your work without losing track of essential headers. If you encounter any issues, revisit the tips and FAQs section for solutions.
