Ways to Resolve High CPU Usage by Windows Modules Installer Worker on Windows 10
The Windows Modules Installer Worker (TiWorker.exe) is an essential service in Windows 10 that allows for the installation, modification, and removal of Windows updates and system files. While it’s crucial for keeping your system updated, sometimes the process can consume a high amount of CPU, which can slow down your system or even make it unusable. This guide covers various methods to fix the Windows Modules Installer Worker high CPU usage issue.
Why Does Windows Modules Installer Worker Use High CPU?
High CPU usage by the Windows Modules Installer Worker usually happens when:
- The service is actively downloading or installing Windows updates.
- The Windows Update process is stuck or running improperly.
- System files or updates are corrupted.
- There’s a background conflict with other services.
Solutions to Fix Windows Modules Installer Worker High CPU on Windows 10
1. Manually Check for Windows Updates
The Windows Modules Installer Worker might be consuming high CPU because it’s trying to install pending updates. Checking for updates manually can sometimes resolve the issue.
- Open Settings by pressing Windows + I.
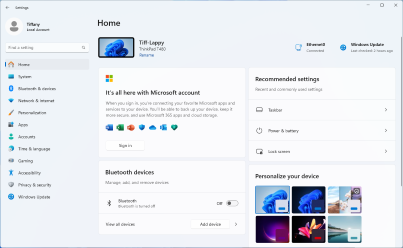
- Go to Update & Security.
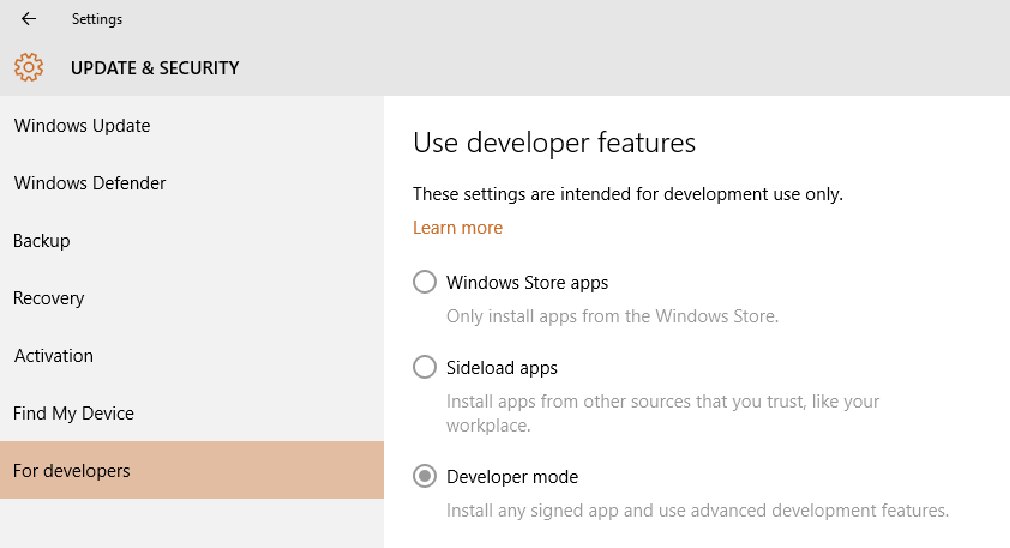
- Click Check for updates and let Windows install any available updates.
- After the update completes, restart your computer to apply the changes.
If high CPU usage continues after updating, proceed with the other solutions.
2. Use Windows Update Troubleshooter
The Windows Update Troubleshooter can help fix issues with the Windows Update service, which might also resolve high CPU usage.
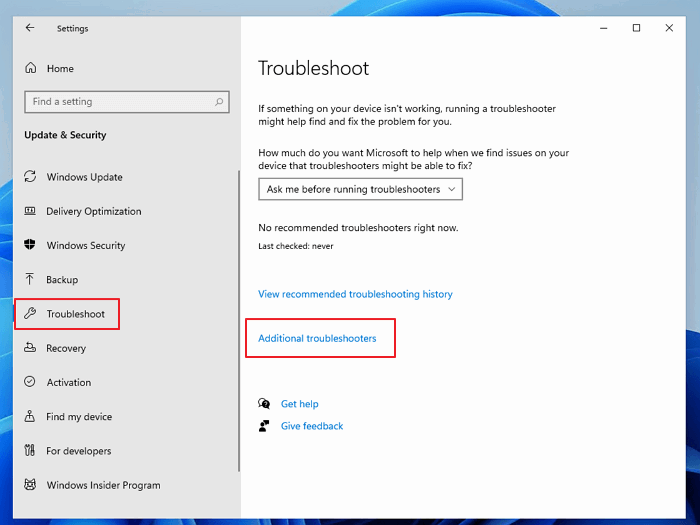
- Open Settings and go to Update & Security.
- Select Troubleshoot from the left pane, then choose Additional troubleshooters.
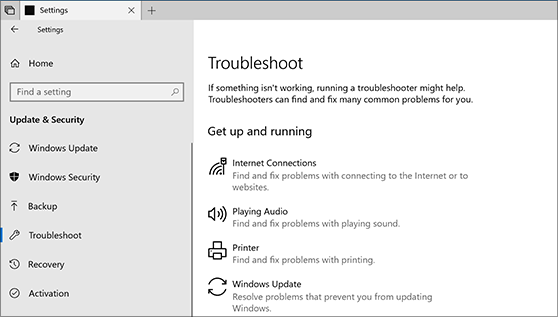
- Click Windows Update and select Run the troubleshooter.
- Follow the on-screen instructions, then restart your computer.
3. Disable Windows Modules Installer Worker Temporarily
Disabling the Windows Modules Installer Worker service can help temporarily, but be aware that Windows won’t install updates while the service is disabled.
- Press Windows + R to open the Run dialog, type services.msc, and hit Enter.
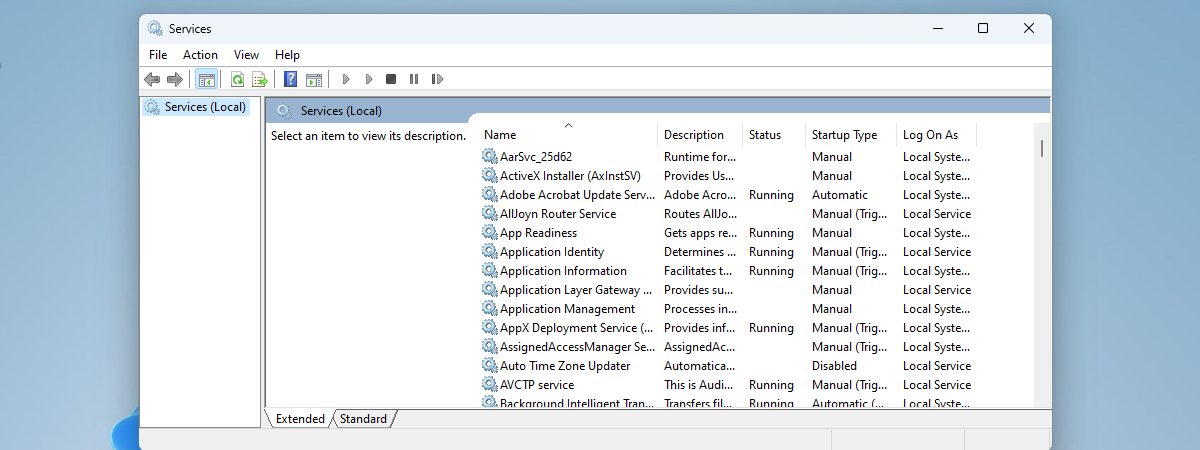
- Scroll down to find Windows Modules Installer.
- Right-click on it, select Properties, and set the Startup type to Manual.
- Click Apply and then OK.
Restart your computer to check if the high CPU usage has stopped. Remember to re-enable the service if you need Windows updates later.
4. Limit CPU Usage for Windows Modules Installer Worker
You can set CPU usage limits on the Windows Modules Installer Worker process by using Task Manager.
- Open Task Manager by pressing Ctrl + Shift + Esc.
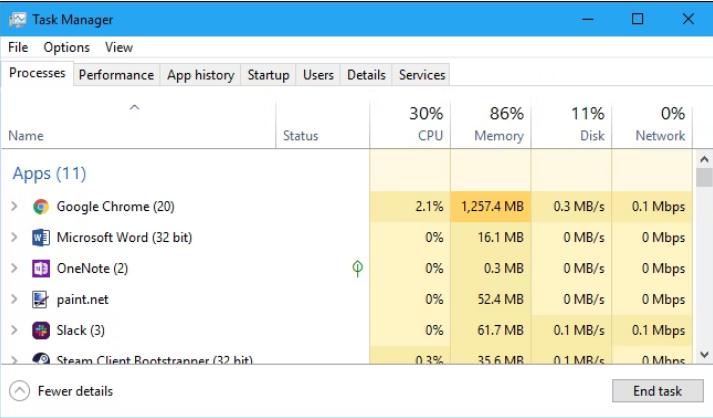
- Go to the Processes tab, locate Windows Modules Installer Worker or TiWorker.exe.
- Right-click on the process and select Set affinity.

- Deselect some CPU cores to limit CPU usage and click OK.
5. Use the System File Checker (SFC) and DISM Tools
Corrupted system files can cause Windows Modules Installer Worker to malfunction. Running SFC and DISM can repair these files.
- Type cmd in the search box, right-click Command Prompt, and select Run as administrator.
- In Command Prompt, type sfc /scannow and press Enter. Wait for the scan to complete.
- Once done, type the following command to use DISM and press Enter:
- Restart your computer after both scans finish.
6. Perform a Clean Boot
A clean boot can help identify if a third-party application or service is causing the high CPU usage by Windows Modules Installer Worker.
- Press Windows + R, type msconfig, and press Enter.
- In the System Configuration window, go to the Services tab and check Hide all Microsoft services.
- Click Disable all.
- Go to the Startup tab, then open Task Manager.
- Disable each startup item, then close Task Manager and click OK in the System Configuration window.
- Restart your computer.
If this reduces the CPU usage, it indicates a third-party application was causing the problem. You can re-enable each service one at a time to find the culprit.
7. Set Windows Update Service to Manual
By setting the Windows Update service to manual, you can control when updates are downloaded and installed, which may reduce CPU usage spikes from Windows Modules Installer Worker.
- Press Windows + R, type services.msc, and press Enter.
- Scroll down to find Windows Update.
- Right-click on Windows Update, select Properties, and set Startup type to Manual.
- Click Apply and OK.
Restart your computer to apply the changes.
8. Delete the SoftwareDistribution Folder
The SoftwareDistribution folder contains temporary files for Windows Updates. Deleting its contents can help resolve issues with high CPU usage caused by corrupted files.
- Press Windows + R, type services.msc, and press Enter.
- Right-click on Windows Update and select Stop.
- Open File Explorer and go to the following location:
- Delete all files and folders in the SoftwareDistribution folder.
- Go back to services.msc, right-click on Windows Update, and select Start.
9. Update Device Drivers
Outdated or incompatible drivers can sometimes lead to high CPU usage. Updating your drivers can help fix this issue.
- Open Device Manager by typing it in the Windows search bar.
- Expand each section to find any drivers with a yellow exclamation mark.
- Right-click on each and select Update driver > Search automatically for updated driver software.
10. Use Windows Update Cleanup in Disk Cleanup Tool
The Disk Cleanup tool in Windows can help clear temporary files, including those from Windows Updates, which may reduce the workload of the Windows Modules Installer Worker.
- Type Disk Cleanup in the Windows search bar and open the tool.
- Select the system drive (usually C:) and click OK.
- In the Disk Cleanup window, check Windows Update Cleanup and Temporary files.
- Click OK to start cleaning.
After the cleanup is done, restart your computer to see if the CPU usage has improved.
Conclusion
The Windows Modules Installer Worker high CPU usage issue can be frustrating, but with the steps outlined above, you can troubleshoot and resolve it effectively. From disabling services and using the Windows Troubleshooter to performing system scans and deleting temporary files, each method targets a potential cause of the problem. By following these steps, you’ll regain your system’s performance and prevent unnecessary CPU strain in Windows 10.
