How to Locate Duplicate-Large-Hidden Files on a Mac
If your Mac is running low on storage space, it can be incredibly helpful to locate and remove duplicate, large, and hidden files. These files often take up significant space and slow down your system, but finding them can be challenging without the right tools and techniques. This guide will cover effective methods for locating these files, giving you the space you need to keep your Mac running smoothly.
Finding Duplicate Files on a Mac
Duplicate files can accumulate over time, especially if you download similar items or create multiple copies of the same file. Here’s how to find and delete these duplicates:
1. Use Finder to Manually Search for Duplicate Files
While manual searching in Finder may take more time, it can be useful for specific file types, like images, videos, or documents.
- Step 1: Open Finder and navigate to All My Files.
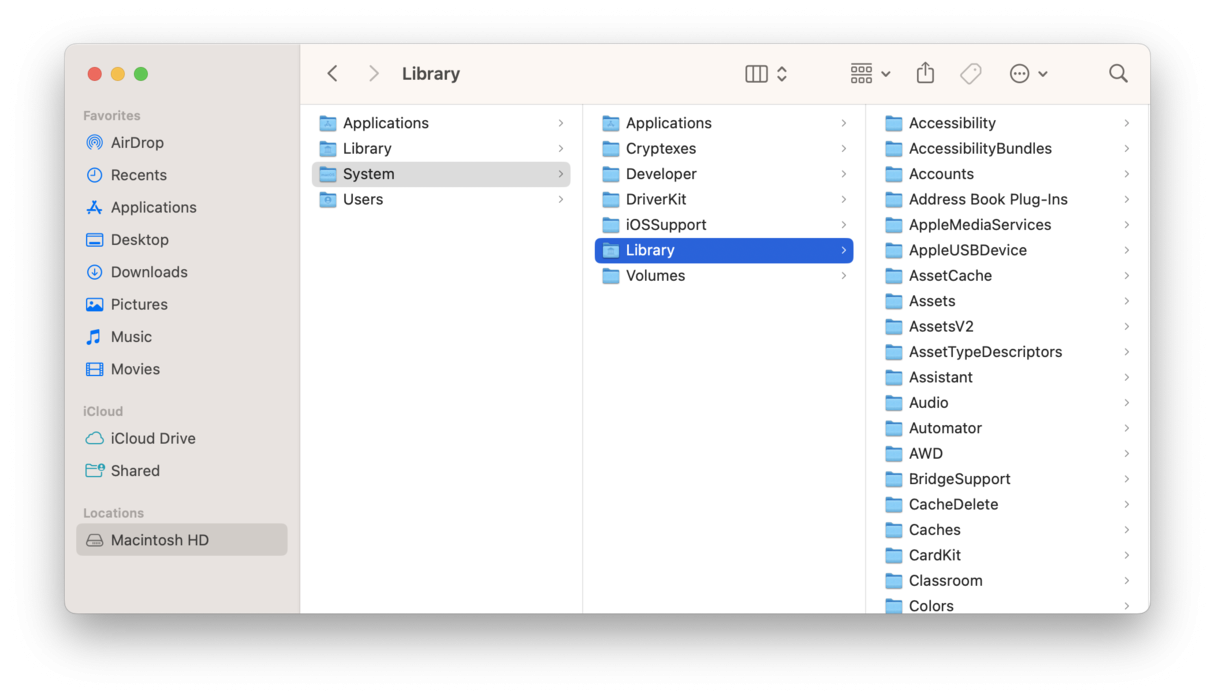
- Step 2: Sort files by Name to bring potential duplicates together.
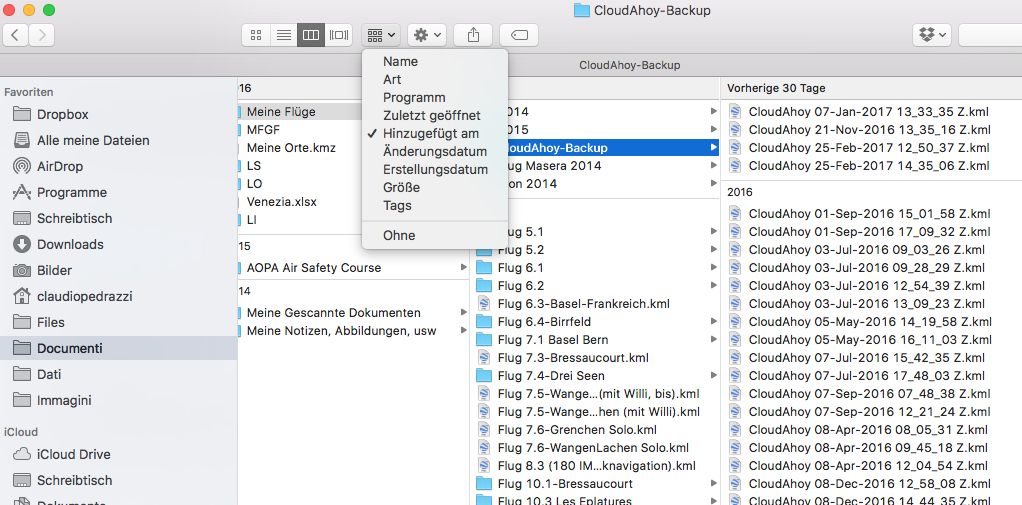
- Step 3: Visually inspect the list for files with the same name, size, or extension, and decide which duplicates to delete.
2. Use a Duplicate File Finder App
There are several third-party apps available to simplify the process of finding and removing duplicates. Gemini 2, for example, is a popular option for Mac users.
- Step 1: Download and install Gemini 2 from the Mac App Store or the developer’s website.
- Step 2: Open the app and select Scan for Duplicates. Gemini will analyze your files and present a list of duplicates.
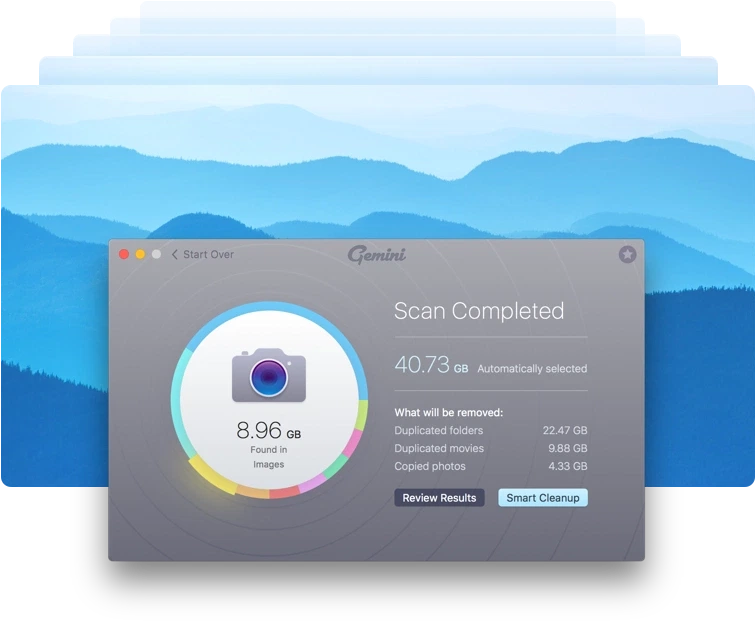
- Step 3: Review and delete the files you no longer need. Gemini provides an easy-to-use interface that lets you delete duplicates with a single click.

Using an app is typically quicker and ensures you catch all duplicates, even those in obscure folders.
Locating Large Files on a Mac
Large files can occupy considerable storage and slow down your Mac. Here’s how to locate and manage these files effectively:
1. Use the “About This Mac” Storage Tool
The About This Mac tool provides a breakdown of your storage usage, helping you identify the largest file types on your system.
- Step 1: Click on the Apple menu in the top-left corner of your screen and select About This Mac.
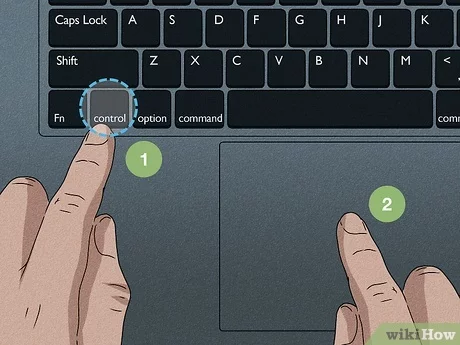
- Step 2: Go to the Storage tab, then click on Manage.
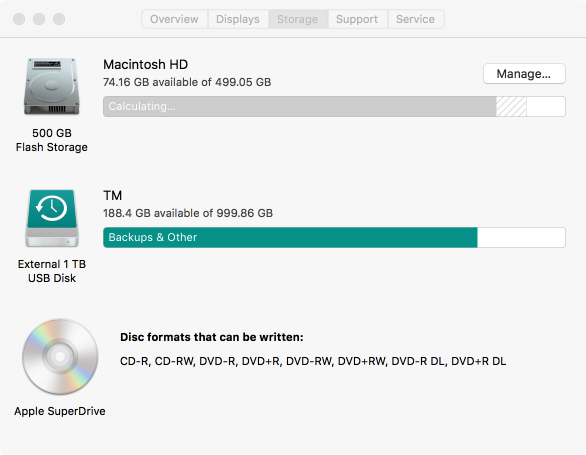
- Step 3: In the left-hand sidebar, click on Documents. Here, you can sort files by size, revealing your largest files.
Once you’ve identified these files, decide which ones you no longer need and delete them to free up space.
2. Use Finder’s Search Function for Large Files
Finder’s search feature allows you to locate large files without the need for additional software.
- Step 1: Open Finder and press Command + F to initiate a search.
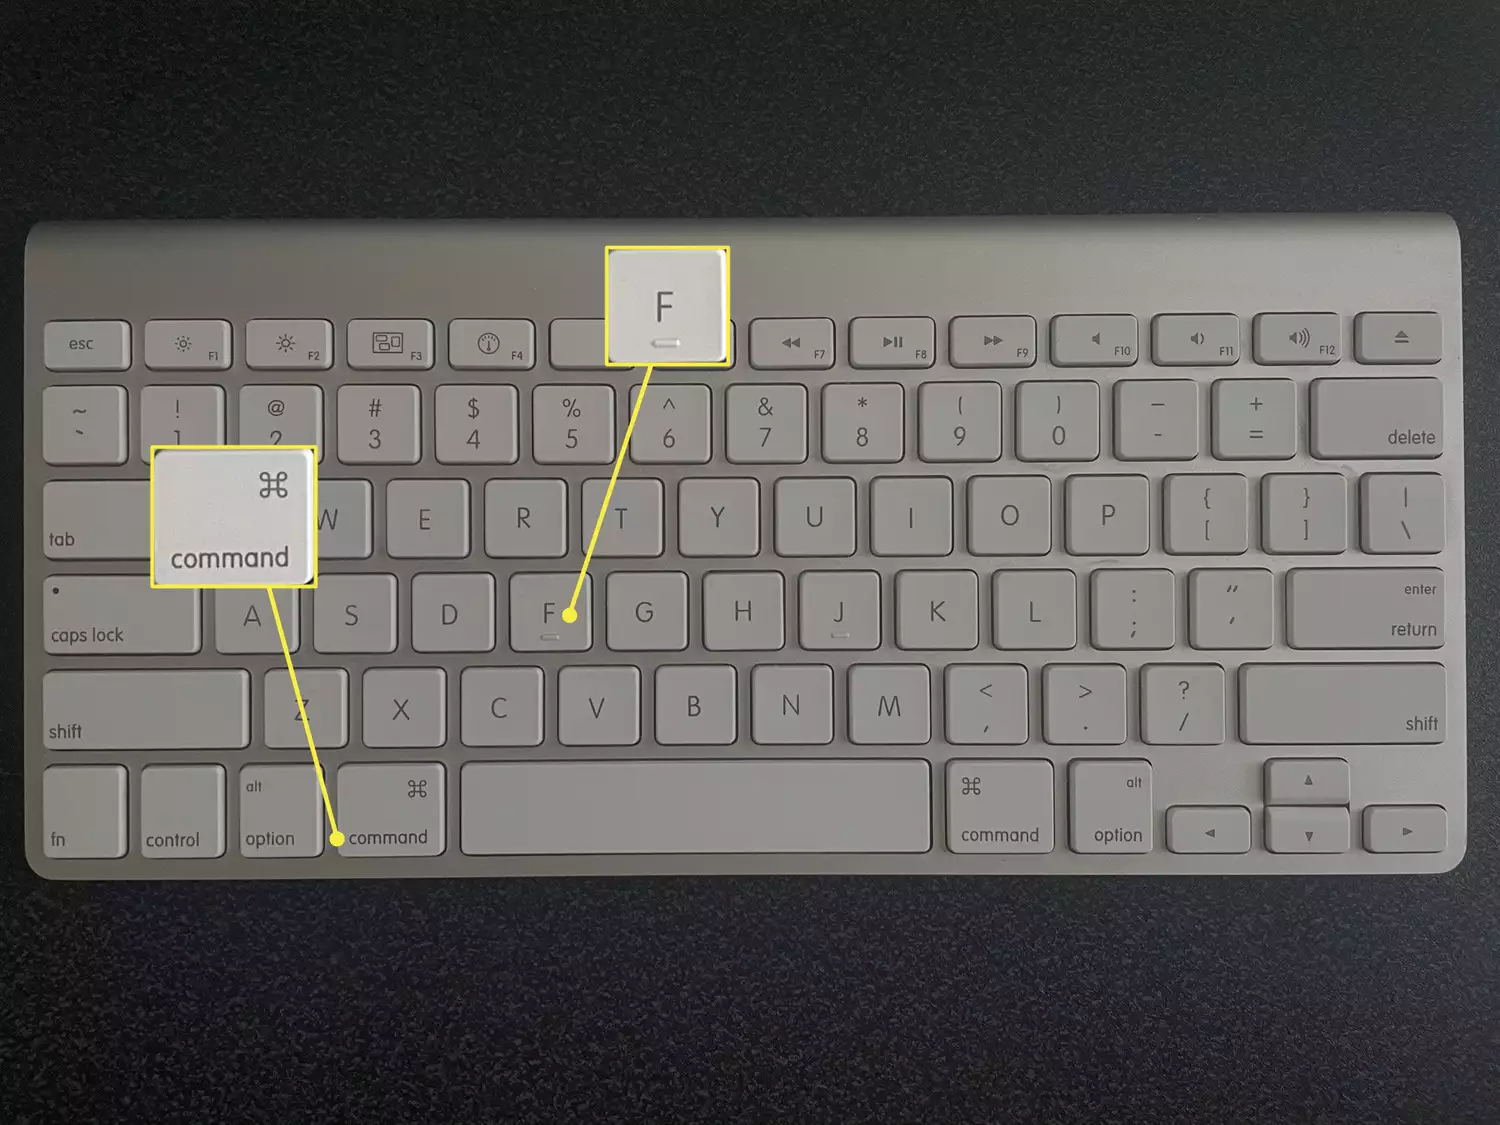
- Step 2: In the search criteria options, select File Size and set it to is greater than a specific size, such as 100 MB.
- Step 3: Review the results and delete or move large files that are taking up excessive space.
This method provides more control and allows you to customize the file size threshold to suit your needs.
3. Use a Third-Party App to Locate Large Files
For a more detailed analysis, try using a third-party app like DaisyDisk.
- Step 1: Download and install DaisyDisk from the Mac App Store or the developer’s site.
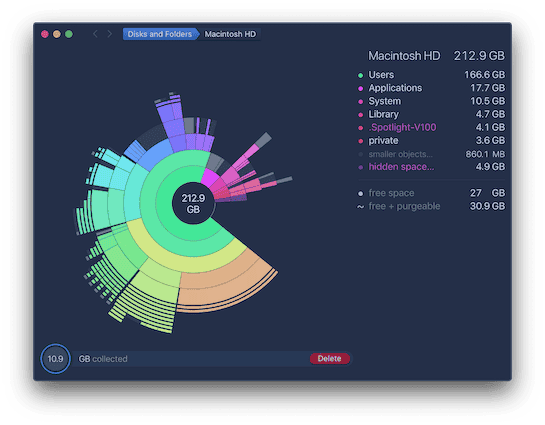
- Step 2: Open DaisyDisk and let it scan your Mac. It will provide a visual map of your storage, highlighting the largest files and folders.
- Step 3: Delete unnecessary files directly from the app interface to quickly free up space.
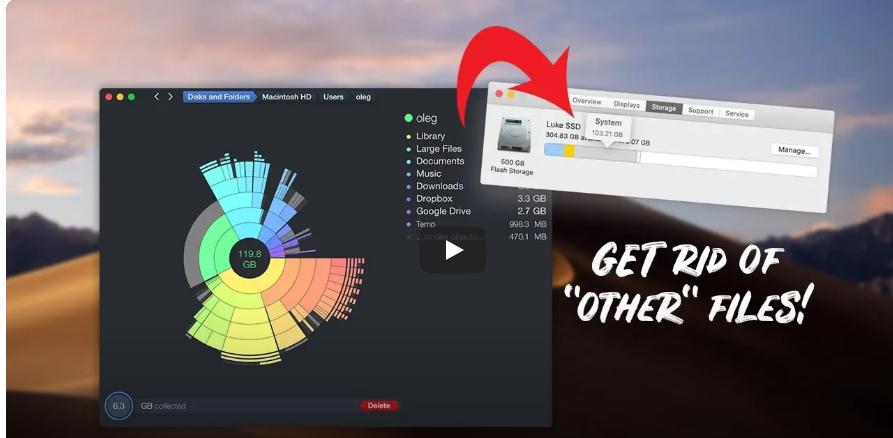
DaisyDisk’s visualization can help you see exactly where your largest files are stored, making it easy to manage them.
Revealing Hidden Files on a Mac
Mac OS hides certain files by default, often to protect essential system files from accidental deletion. However, you can still reveal hidden files if you need to clean up specific directories.
1. Reveal Hidden Files Using Finder
- Step 1: Open Finder and navigate to the folder where you suspect hidden files might be located.
- Step 2: Press Command + Shift + Period (.) to reveal hidden files. You’ll notice grayed-out items, which are typically hidden by default.
- Step 3: To hide these files again, simply press Command + Shift + Period (.) once more.
2. Access Hidden Files via Terminal
Terminal provides a way to view and manage hidden files, especially useful for advanced users.
- Step 1: Open Terminal by searching for it in Spotlight or navigating to Applications > Utilities > Terminal.
- Step 2: Type the following command and press Enter:
- Step 3: This command will reveal all hidden files in Finder. To hide them again, use:
Using Terminal gives you more control, but be cautious when modifying hidden files, as some are essential for your system.
Tips for Managing Files on a Mac
After finding and deleting duplicate, large, and hidden files, here are some tips to keep your Mac organized and prevent storage issues in the future:
- Organize files into folders regularly to avoid unnecessary duplicates.
- Delete unused applications by dragging them to the Trash and clearing out their associated files.
- Use cloud storage like iCloud or Google Drive to store large files that don’t need to be on your Mac.
- Schedule regular scans using apps like Gemini and DaisyDisk to stay on top of file management.
Conclusion
Cleaning up duplicate, large, and hidden files on your Mac can significantly improve its performance and storage capacity. Whether you use built-in features like Finder and About This Mac or rely on third-party apps like Gemini and DaisyDisk, these methods give you control over your Mac’s storage. With regular maintenance, you can keep your system organized and responsive, ensuring you have space for the files that truly matter.
