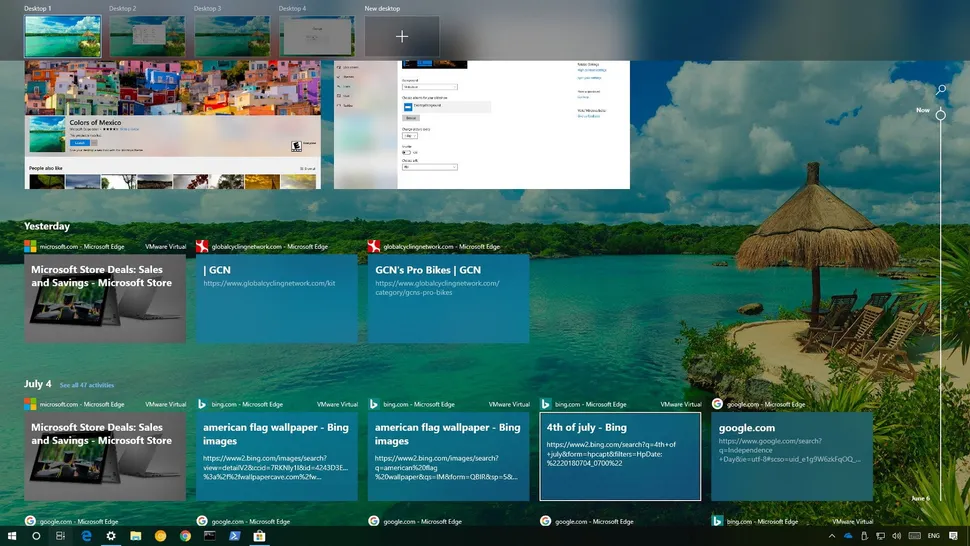
How to Manage Multiple Desktops on Windows 10
The Multiple Desktops or Virtual Desktops feature in Windows 10 allows users to create separate desktop environments, each with its own open applications and windows. This is particularly useful for organizing work tasks, personal projects, or multitasking without cluttering a single desktop. Follow this guide to learn how to effectively use multiple desktops on your Windows 10 system.
What are Virtual Desktops in Windows 10?
Virtual Desktops let you create multiple desktop spaces, allowing you to switch between them as needed. Each virtual desktop can hold different applications and files, letting you focus on specific tasks on each one. For example, you can dedicate one desktop to work applications and another to entertainment or personal tasks.
Benefits of Using Multiple Desktops
Here are some benefits of using multiple desktops in Windows 10:
- Enhanced Productivity: Organize tasks across different desktops for a clear, focused work environment.
- Reduced Clutter: Keep different apps open on separate desktops, avoiding overlap and distraction.
- Easy Task Switching: Quickly switch between desktops with a few clicks or keyboard shortcuts.
How to Create a New Desktop
Creating a new desktop in Windows 10 is easy and can be done using several methods. Here’s how to get started:
Method 1: Using the Task View Button
- Open Task View:
- Locate the Task View button on the taskbar (it looks like a rectangle with two smaller rectangles next to it).
- Click on Task View to open the interface.
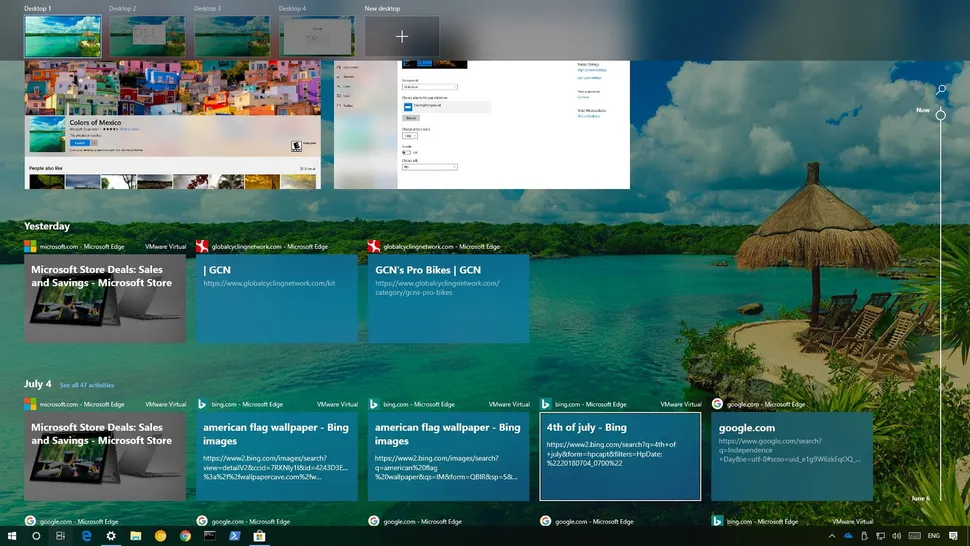
- Create a New Desktop:
- In the Task View, look for the + New desktop button at the top-left or bottom-right corner.
- Click on + New desktop to create a new virtual desktop.

Method 2: Using Keyboard Shortcuts
You can also create a new desktop using the following shortcut:
- Press Windows + Ctrl + D on your keyboard. This will immediately create a new desktop and switch to it.
Tip: You can create as many desktops as you need, depending on the tasks you have.
How to Switch Between Desktops
Once you have multiple desktops set up, you can switch between them easily.
Method 1: Using Task View
- Open Task View:
- Click on the Task View button on the taskbar.
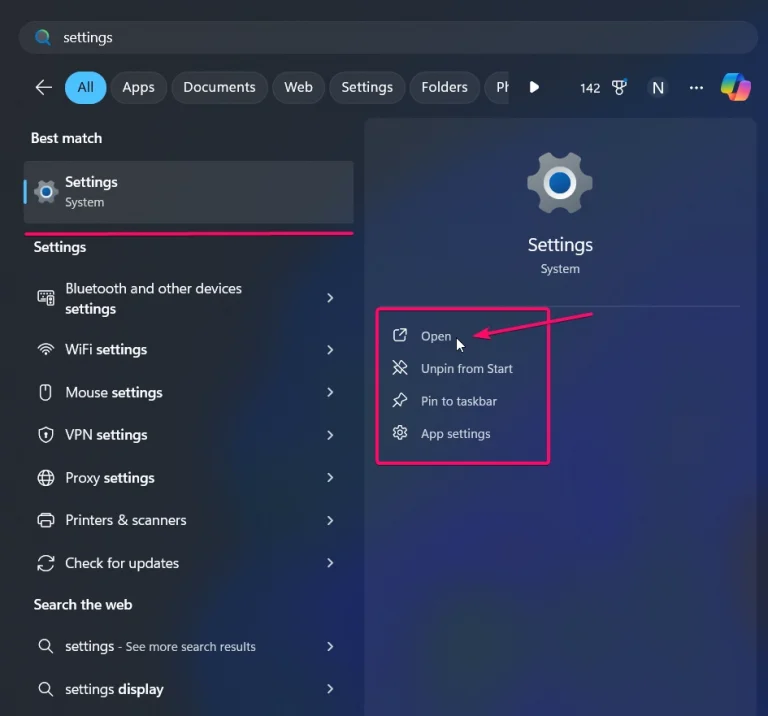
- Click on the Task View button on the taskbar.
- Select the Desktop:
- In the Task View, you’ll see thumbnails of all the open desktops. Click on the one you want to switch to.
Method 2: Using Keyboard Shortcuts
You can quickly switch desktops using keyboard shortcuts:
- Press Windows + Ctrl + Left Arrow to move to the desktop on the left.
- Press Windows + Ctrl + Right Arrow to move to the desktop on the right.
Tip: This method is quick and useful if you’re working on multiple desktops frequently.
How to Move Applications Between Desktops
Sometimes, you might want to move an application or window from one desktop to another. Here’s how you can do it:
- Open Task View:
- Click on Task View to view all open desktops.
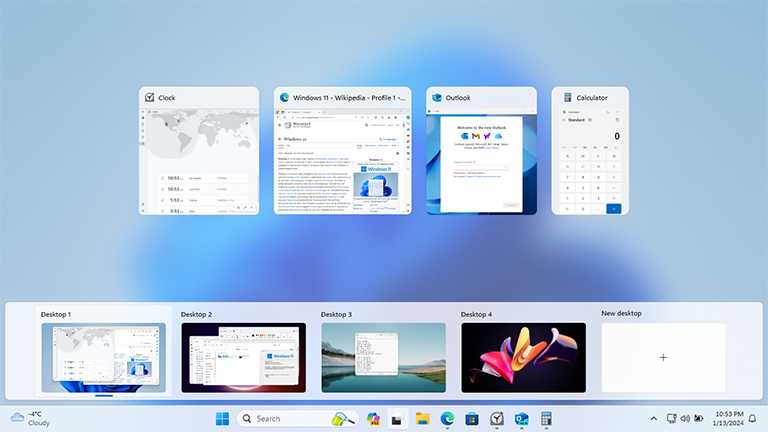
- Click on Task View to view all open desktops.
- Right-Click on the Application:
- In Task View, locate the app or window you want to move. Right-click on it.
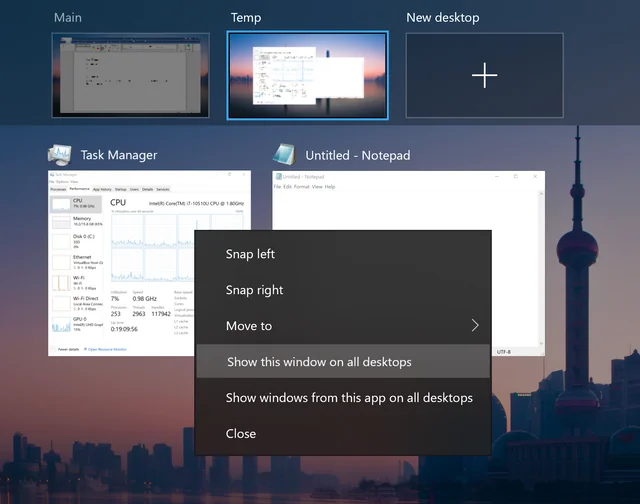
- In Task View, locate the app or window you want to move. Right-click on it.
- Select Move to Desktop:
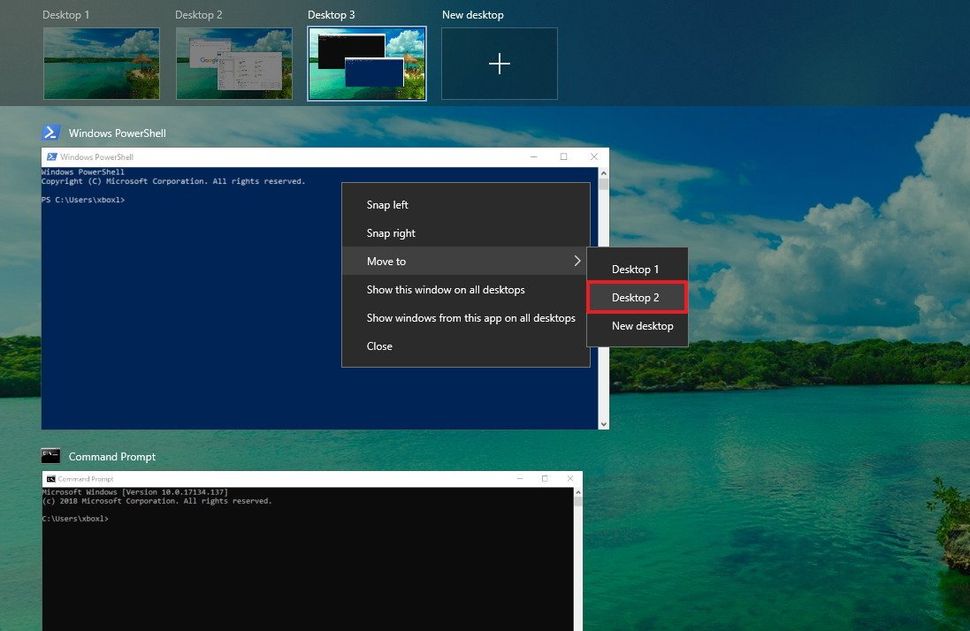
- From the context menu, select Move to and choose the desktop you want to move the app to.
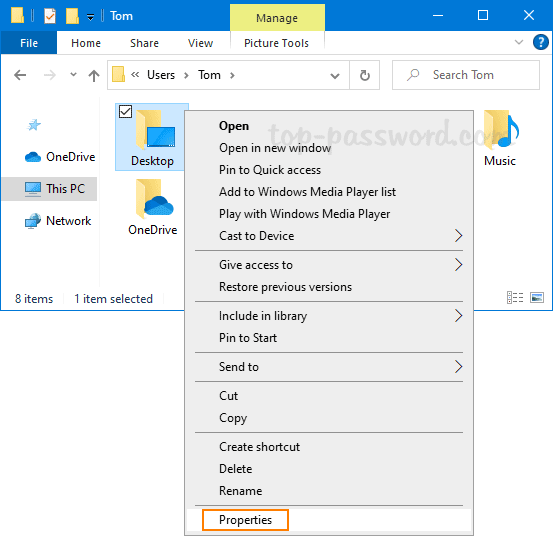
Alternative Option: Drag the application directly to another desktop thumbnail in Task View.
How to Close a Desktop
Closing a desktop will not close any applications running on it. Instead, they will be moved to the previous desktop. Here’s how to close a desktop:
- Open Task View:
- Click on Task View on the taskbar.
- Close the Desktop:
- In the Task View, hover over the desktop you want to close. You’ll see an X in the corner of the desktop thumbnail.
- Click the X to close the desktop.
Note: If there are any open applications on the closed desktop, they will automatically move to the nearest desktop.
Using Windows Snap with Virtual Desktops
Windows Snap is a feature that allows you to arrange open windows in split-screen mode. You can use Windows Snap within each virtual desktop to organize your workspace even further.
Steps:
- Open an Application:
- Open the app or window you want to snap.
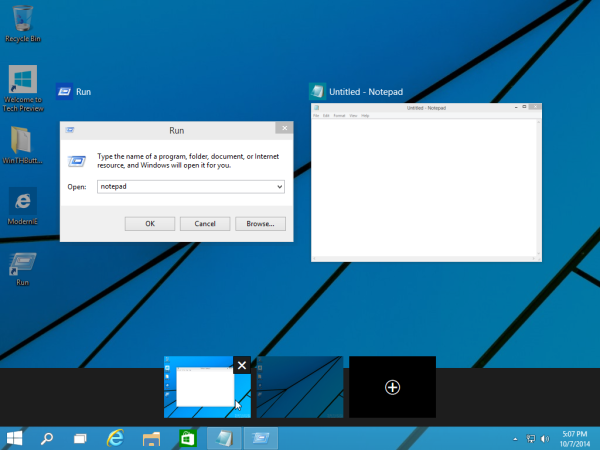
- Open the app or window you want to snap.
- Snap the Window:
- Drag the window to one side of the screen to snap it to that side.
- Repeat this for other applications to arrange them on the screen.
Tip: Using Snap with multiple desktops lets you organize each desktop in a split-screen format, maximizing workspace.
Customize Desktops for Different Tasks
Each virtual desktop can be customized for specific tasks. Here are some ideas:
- Work Desktop: Keep applications like email, spreadsheets, and document editors.
- Personal Desktop: Use this for social media, music, or personal browsing.
- Creative Desktop: Dedicate a desktop to design software, project notes, or media.
This separation helps reduce distractions and keeps each desktop focused on a specific task or project.
Frequently Asked Questions
Q: Can I rename my virtual desktops in Windows 10?
No, Windows 10 does not support renaming virtual desktops natively. However, you can organize them by keeping specific apps open on each desktop to easily identify them.
Q: Do apps close when I delete a virtual desktop?
No, if you delete a virtual desktop, any apps open on it will move to the nearest remaining desktop. Your work won’t be lost.
Q: Can I have different wallpapers for each virtual desktop?
As of now, Windows 10 doesn’t support separate wallpapers for each virtual desktop. However, this feature is available in Windows 11.
Conclusion
Using multiple desktops in Windows 10 is a powerful way to organize your tasks, reduce clutter, and improve productivity. By creating separate desktops, you can focus on specific tasks without distractions from other applications. Whether you’re working on projects, browsing the web, or managing personal files, virtual desktops give you the flexibility to keep everything organized and easily accessible.

