How to Take a Screenshot on Windows PCs: Windows 10 and 11

Screenshots are useful for capturing and sharing what you see on your computer screen, whether it’s an image, document, or an error message you need to troubleshoot. Windows 10 and Windows 11 both come with various built-in tools that make taking screenshots simple. Below are step-by-step methods to take screenshots, save them, and customize them to meet your needs.
Method 1: Using the Print Screen Key (PrtScn) on Your Keyboard
The Print Screen (PrtScn) key is one of the easiest ways to capture an image of your screen.
Steps:
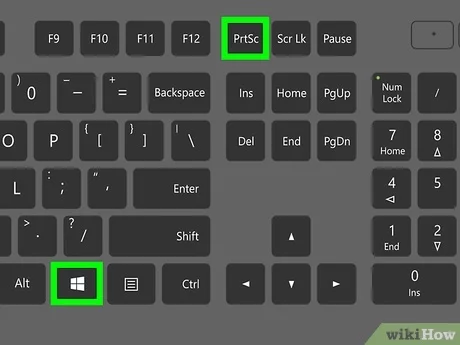
- Locate the PrtScn Key: The PrtScn key is usually located at the top right of the keyboard, near the function keys. It may be labeled “PrtScn,” “PrntScrn,” or similar.

- Press the PrtScn Key: Pressing this key will capture an image of your entire screen and copy it to your clipboard.

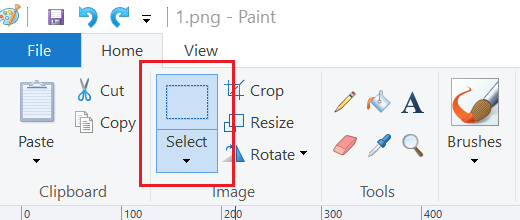
- Paste the Screenshot: Open any program where you can paste an image, such as Paint, Microsoft Word, or an email. Press
Ctrl + Vto paste the screenshot.

Tips for Saving the Screenshot:
- To save, go to File > Save As in Paint or other software. Choose a file name and select a format like PNG or JPEG.
Method 2: Capturing a Screenshot of a Specific Window
You can also take a screenshot of only the active window.
Steps:
- Select the Window: Click on the window you want to capture to make sure it’s active.
- Press
Alt + PrtScn: This combination will capture only the active window. - Paste and Save: Open Paint or any other application and press
Ctrl + Vto paste. You can then save it as you would any other file.
Method 3: Using Windows + Shift + S (Snip & Sketch)
The Snip & Sketch tool is an advanced way to take screenshots, and it’s available on both Windows 10 and 11.
Steps:
- Press
Windows + Shift + S: This opens the Snip & Sketch toolbar at the top of your screen. - Choose a Snip Type:
- Rectangular Snip: Click and drag to select a rectangular area.
- Freeform Snip: Draw any shape to capture it.
- Window Snip: Select a specific window.
- Fullscreen Snip: Captures the entire screen.
- Edit and Save: After taking a snip, a notification will pop up. Click it to open Snip & Sketch where you can edit, annotate, or save the screenshot.
Method 4: Using the Snipping Tool
The Snipping Tool is another built-in option that allows for more flexibility. Windows 11 has replaced it with an updated version of Snip & Sketch, but it’s still accessible in Windows 10.
Steps:
- Open the Snipping Tool: Type “Snipping Tool” in the Windows search bar and select the app.
- Select the Mode:
- Free-form Snip: Draw any shape.
- Rectangular Snip: Select a rectangular area.
- Window Snip: Capture a specific window.
- Full-screen Snip: Capture the entire screen.
- Take the Screenshot: Click New to start a snip. Select your area, and the screenshot will appear in the Snipping Tool window.
- Save the Screenshot: Click File > Save As to save it in your desired format.
Method 5: Taking Screenshots with the Game Bar
The Game Bar, originally designed for gamers, can also capture screenshots.
Steps:
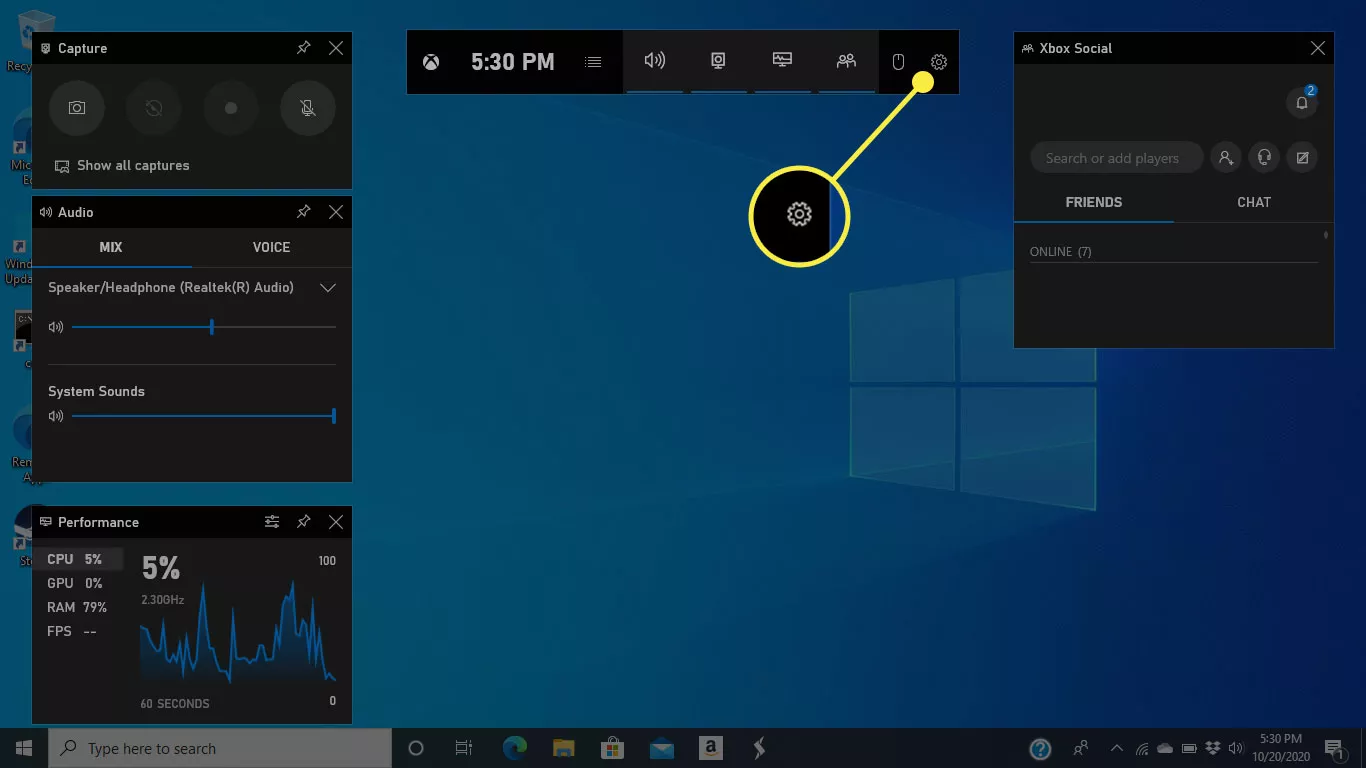
- Open the Game Bar: Press
Windows + G. - Capture: In the Capture section, click on the Camera icon to take a screenshot. You can also use
Windows + Alt + PrtScnas a shortcut. - Locate the Screenshot: The screenshot will be saved to Videos > Captures.
Method 6: Using Windows + Print Screen for Automatic Save
With this method, you can automatically save a full-screen screenshot without opening any programs.
Steps:
- Press
Windows + PrtScn: This captures your entire screen and automatically saves it. - Find the Screenshot: Go to Pictures > Screenshots to locate the saved image.
Comparison of Screenshot Methods
| Method | Capture Type | Shortcut | Save Location |
|---|---|---|---|
| Print Screen | Full Screen | PrtScn |
Clipboard |
| Alt + Print Screen | Active Window | Alt + PrtScn |
Clipboard |
| Snip & Sketch | Customizable Snips | Windows + Shift + S |
Clipboard (optional edits) |
| Snipping Tool | Customizable Snips | Open from Search | Save from within app |
| Game Bar | Full Screen or Window | Windows + G, then Camera icon |
Videos > Captures |
| Windows + Print Screen | Full Screen with Auto Save | Windows + PrtScn |
Pictures > Screenshots |
