How to Resolve the ‘Windows Could Not Complete the Format’ Error
Encountering the “Windows was unable to complete the format” error is frustrating, especially when trying to prepare a USB drive, SD card, or other external storage for use. This error typically occurs due to various issues, including drive corruption, write protection, or file system issues. Here’s a comprehensive guide to troubleshooting and fixing this error so you can format your drive successfully.
Why the “Unable to Complete the Format” Error Occurs
Understanding the potential reasons behind this error can make troubleshooting easier. Here are some common causes:
- Corrupted Drive: The drive might contain corrupted data or damaged sectors that prevent formatting.
- Write Protection: Some drives have a physical write-protection switch, or they might be locked by software.
- File System Errors: Unsupported or corrupted file systems can interfere with the formatting process.
- Virus or Malware Infection: Malware can sometimes lock or disable drives, leading to formatting issues.
Solutions to Fix the Format Error in Windows
Method 1: Remove Write Protection

Write protection prevents changes to the drive. Here’s how to check and remove it.
Step-by-Step Instructions
- Physical Write Protection: For USB drives and SD cards, look for a switch on the side labeled “Lock” or “Write Protect.” Slide it to the “Unlock” position if it’s locked.
- Registry Write Protection: If there’s no physical switch, open Run (Win + R), type
regedit, and press Enter. In the Registry Editor, navigate to:Find the entry named WriteProtect, right-click, select Modify, and set the value to 0.
Method 2: Format Using Disk Management

Windows Disk Management offers an alternative way to format drives that may bypass issues in File Explorer.
Step-by-Step Instructions
- Open Disk Management:
- Right-click on This PC and select Manage.
- Navigate to Disk Management under Storage.
- Select the Drive:
- Locate the drive you want to format.
- Right-click on it and choose Format.
- Choose Settings:
- Choose the file system (NTFS, FAT32, or exFAT) and allocation size, and uncheck the Perform a quick format option if the drive is severely corrupted.
- Confirm the Format: Click OK and allow Disk Management to format the drive.
Method 3: Use Diskpart Command
If Disk Management fails, Diskpart is a command-line tool that can force format drives in many cases.
Step-by-Step Instructions
- Open Command Prompt as Administrator:
- Type cmd in the search bar, right-click Command Prompt, and select Run as Administrator.
- Launch Diskpart:
- Type
diskpartand press Enter.
- Type
- List All Disks:
- Type
list diskand press Enter to view all connected drives. - Identify the disk you want to format based on its size.
- Type
- Select and Format the Disk:
- Type
select disk X(replace X with the disk number). - Type
cleanand press Enter to remove all partitions. - Now type
create partition primaryand press Enter. - Type
format fs=ntfs(or exFAT/FAT32, as needed) and press Enter.
- Type
- Assign Drive Letter (Optional): Type
assign letter=X(replace X with your preferred drive letter) and press Enter.
Method 4: Try Third-Party Formatting Tools

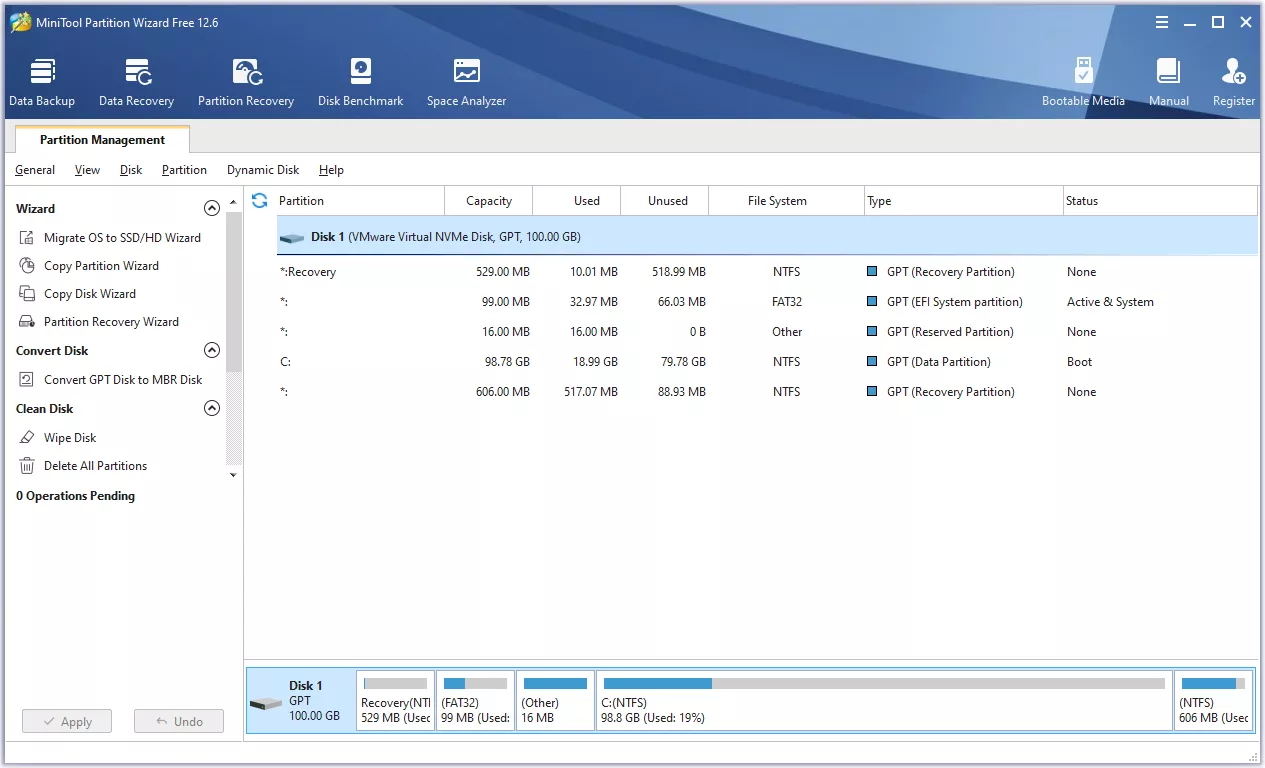
If the methods above do not work, consider using reliable third-party tools such as MiniTool Partition Wizard or EaseUS Partition Master. These applications often handle stubborn drives more effectively than built-in Windows tools.
Example Steps with MiniTool Partition Wizard
- Download and Install the tool from the official website.
- Launch the Tool and locate your problematic drive.
- Choose the Format Option: Right-click on the drive, select Format, and follow the on-screen instructions.
- Apply Changes: Click Apply to execute the format operation.
Note: Ensure you download any third-party software from trusted sources to avoid potential security risks.
Method 5: Check for Errors with Error Checking Tool
Running the Windows Error Checking utility can help identify and repair issues on the drive.
- Right-click the Drive in File Explorer and select Properties.
- Navigate to the Tools Tab: Click on Check under Error checking.
- Allow Scanning: Follow the prompts to scan and fix any detected errors. Restart your computer if prompted.
Method 6: Update Device Drivers
Outdated drivers can sometimes interfere with drive formatting. Updating the drivers may resolve this issue.
- Open Device Manager:
- Press Win + X and choose Device Manager.
- Locate the Disk Drive:
- Find your drive under Disk drives.
- Right-click and select Update driver.
- Follow the Prompts: Choose Search automatically for updated driver software and allow Windows to install updates if available.
Additional Tips for Formatting Issues
- Try Another Port or Computer: Sometimes, the issue is related to a faulty USB port or the host computer. Try connecting the drive to a different port or computer to see if it works.
- Scan for Malware: Viruses can interfere with drives, so perform a malware scan using an antivirus program.
- Check the Drive’s Health: If formatting consistently fails, the drive may be failing. Consider replacing the drive if it shows physical or software signs of deterioration.
Conclusion
The “Windows was unable to complete the format” error is usually fixable with a few troubleshooting steps. By following the methods outlined above—removing write protection, using Disk Management, employing Diskpart, or trying third-party tools—you can often successfully format your drive. Remember to always back up any important data before formatting to avoid losing valuable information. If all else fails, it might be time to replace the drive.
