How to Locate the Startup Folder in Windows 10
The Startup Folder in Windows 10 is a useful feature that allows certain programs to run automatically when you start your computer. If you want specific apps to launch every time your PC boots, knowing where the Startup Folder is and how to manage it can save you time and improve productivity. This guide will walk you through the steps to find and access the Startup Folder in Windows 10.
What Is the Startup Folder?
The Startup Folder is a directory in Windows where you can place shortcuts to programs you want to run automatically when your computer starts. There are two types of Startup Folders:
- User Startup Folder – Applies to the currently logged-in user.
- All Users Startup Folder – Applies to all users on the computer.
By managing these folders, you can customize which applications launch during the system boot for either a single user or all users.
How To Find the User Startup Folder in Windows 10
The User Startup Folder is the folder specific to your account. Here’s how to find it.
Method 1: Using the Run Command
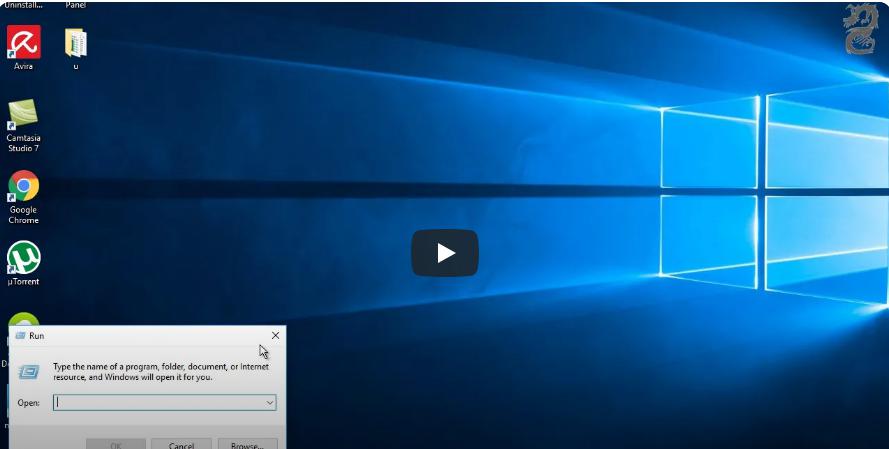
- Open the Run Dialog:
- Press
Windows + Rto open the Run dialog box.
- Press
- Enter the Startup Folder Path:
- Type the following path in the Run dialog and press Enter:
- User Startup Folder Opens:
- The User Startup Folder will open, showing the shortcuts of programs that are set to launch at startup for your user account.
How To Find the All Users Startup Folder in Windows 10
If you want to manage startup programs for all users on the computer, you’ll need to access the All Users Startup Folder.
Method 1: Using the Run Command
- Open the Run Dialog:
- Press
Windows + Rto open the Run dialog.
- Press
- Enter the All Users Startup Folder Path:
- Type the following command into the Run box and press Enter:
- All Users Startup Folder Opens:
- The All Users Startup Folder will open, showing the programs that launch for every user on the computer.
How To Add or Remove Programs from the Startup Folder
Now that you know where the Startup Folders are located, you can easily add or remove programs to control what starts when your computer boots.
Adding Programs to the Startup Folder

- Open the Startup Folder:
- Navigate to the appropriate Startup Folder (either User or All Users).
- Create a Shortcut:
- Open the location of the program you want to run at startup (for example, the Program Files folder), right-click the program’s .exe file, and select Create shortcut.
- Copy the Shortcut:
- Copy the created shortcut.
- Paste the Shortcut in the Startup Folder:
- Go back to the Startup Folder and paste the shortcut.
- Now, the program will automatically launch every time you start your computer.
Removing Programs from the Startup Folder
- Access the Startup Folder:
- Open the Startup Folder where the program’s shortcut is located.
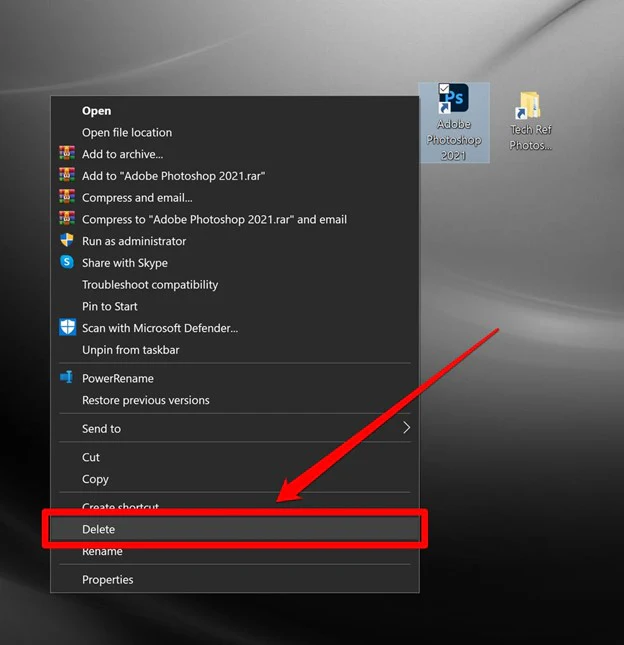
- Delete the Shortcut:
- Right-click on the program’s shortcut and choose Delete to remove it from the Startup Folder.
- The program will no longer launch automatically at startup.
Alternative Method: Managing Startup Programs via Task Manager
In addition to using the Startup Folder, you can manage startup programs directly through the Task Manager.
Steps to Manage Startup Programs in Task Manager:
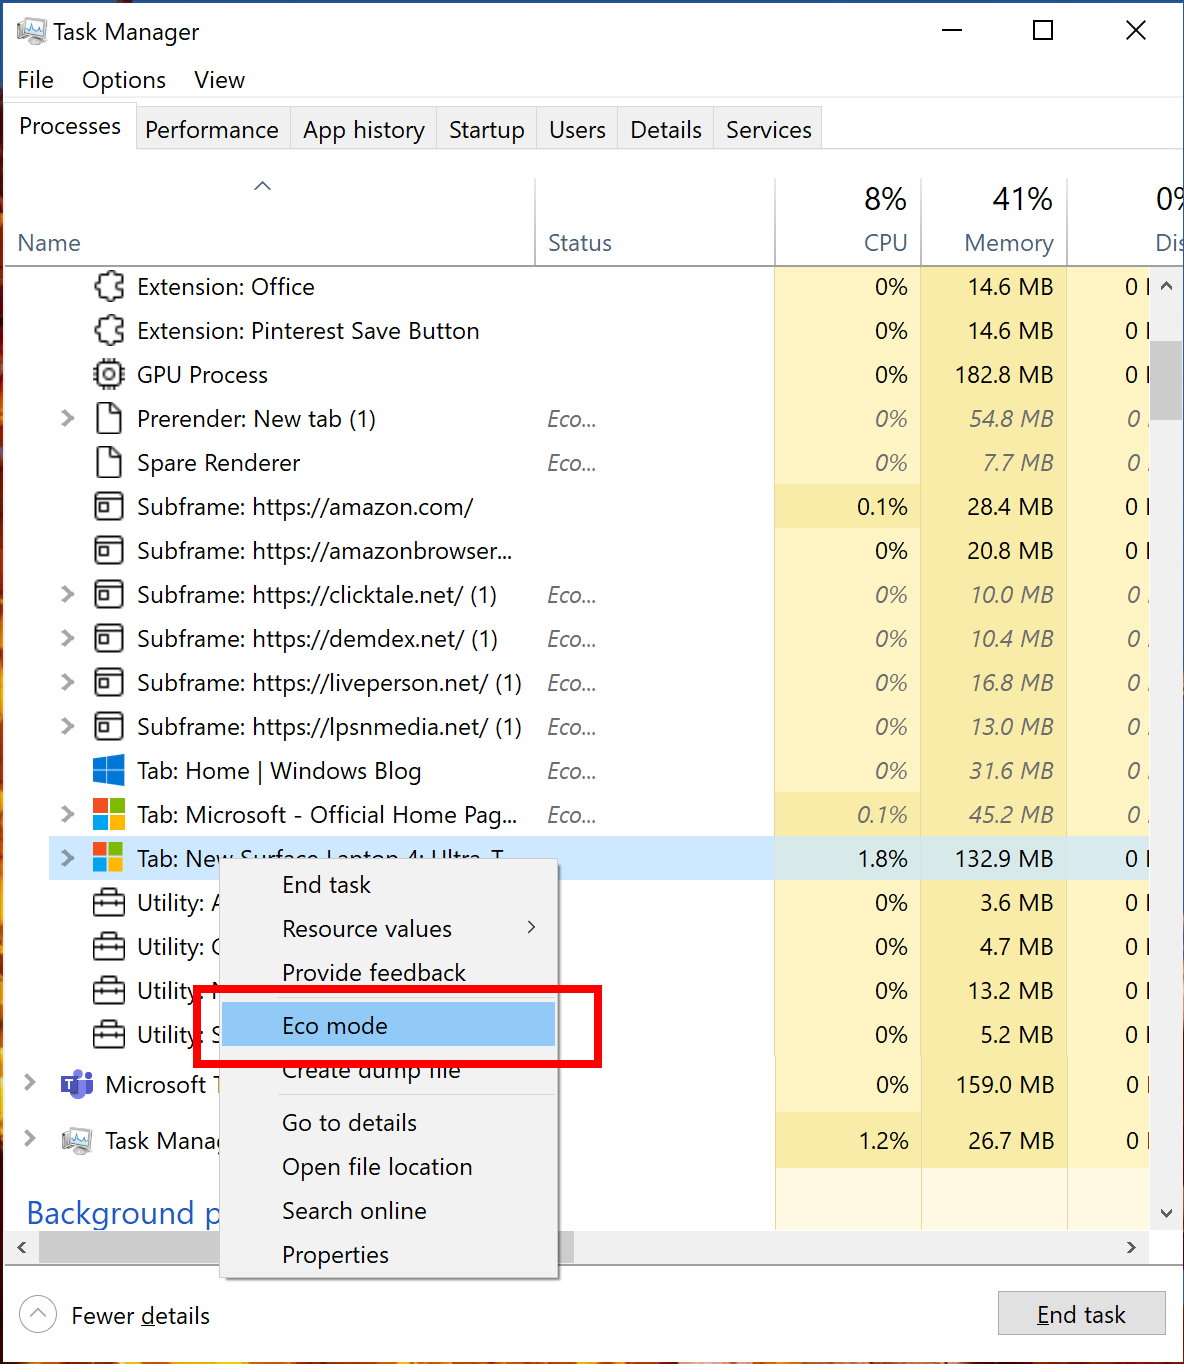
- Open Task Manager:
- Press
Ctrl + Shift + Escto open Task Manager. - Alternatively, you can right-click the taskbar and select Task Manager from the menu.
- Press
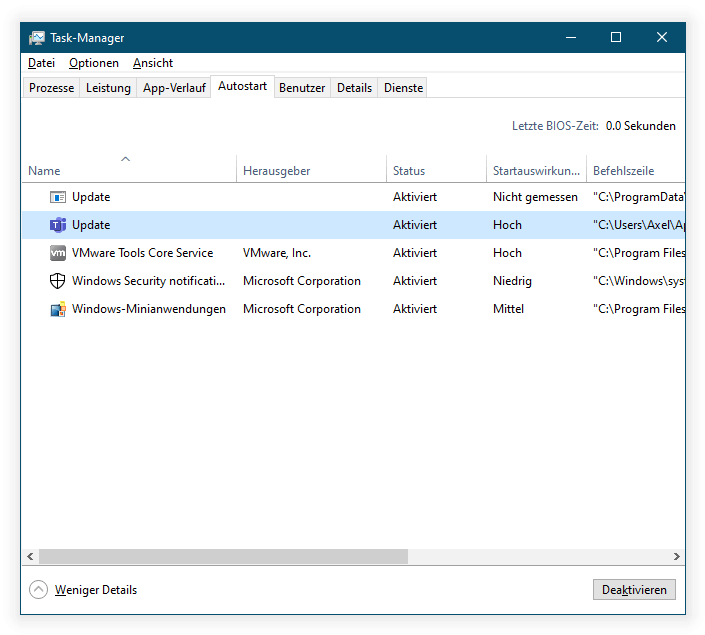
- Go to the Startup Tab:
- In Task Manager, click on the Startup tab to view a list of programs that are set to run at startup.
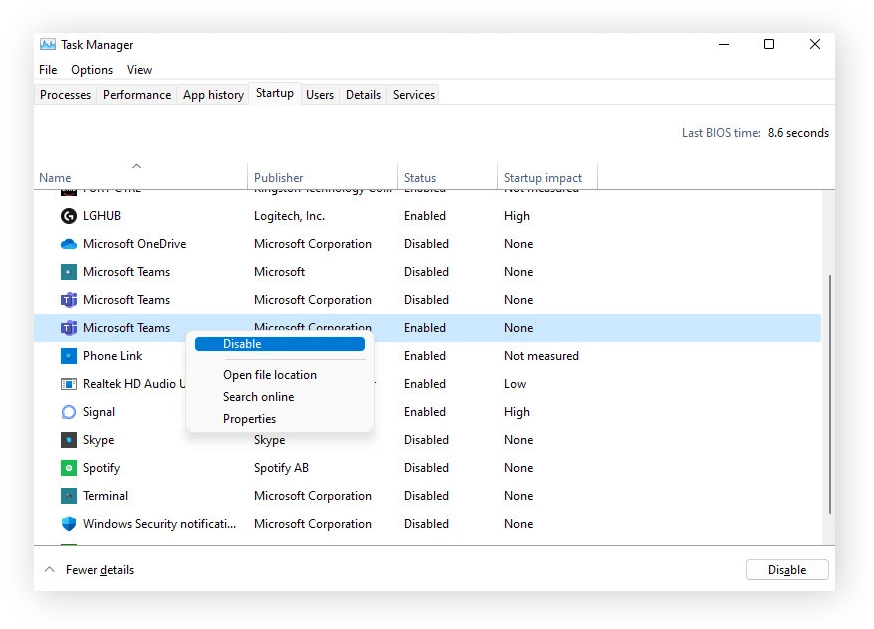
- Enable or Disable Programs:
- Right-click on any program and choose Enable or Disable depending on whether you want it to launch at startup.
Why Manage Your Startup Programs?
Managing your startup programs is important for several reasons:
- Faster Boot Times:
- Too many programs starting with your computer can significantly slow down the boot process. By trimming down startup programs, you can speed up boot times.
- System Performance:
- Running too many programs at startup can consume resources, such as memory and CPU power, which can affect your computer’s overall performance.
- Better Control:
- By managing startup programs, you can have better control over which applications run automatically and ensure that only the necessary ones launch.
Conclusion
Knowing how to access and manage the Startup Folder in Windows 10 can give you more control over your computer’s boot process. Whether you’re adding programs that are essential to your workflow or removing unnecessary apps that slow down your system, managing startup programs is a simple yet powerful way to enhance performance and efficiency.
By following the steps outlined in this guide, you can easily find the User or All Users Startup Folder and manage your programs with confidence.
