How to Resolve High CPU Usage Caused by CompatTelRunner.exe on Windows 10
The CompatTelRunner.exe process is a part of the Microsoft Compatibility Telemetry service in Windows 10. It is responsible for collecting system diagnostics and usage data to ensure compatibility when installing updates or upgrading to new Windows versions. While this service is important, it can sometimes cause high CPU usage, leading to slow performance or even overheating on your computer.
In this guide, we will walk you through several steps to fix the CompatTelRunner.exe high CPU usage issue and help your system run more smoothly.
What Causes CompatTelRunner.exe High CPU Usage?
The CompatTelRunner.exe process is designed to run in the background and send telemetry data to Microsoft. However, it can consume an excessive amount of CPU resources for the following reasons:
- Large amounts of data collection: This process may collect more data than necessary.
- Outdated Windows versions: Older versions of Windows may have bugs that cause the process to use more CPU.
- Corrupt system files: Corrupted or malfunctioning system files can lead to high CPU usage by this process.
Fix 1: Disable Compatibility Telemetry in Task Scheduler
One of the most effective ways to stop CompatTelRunner.exe from using excessive CPU resources is to disable it using Task Scheduler.
Steps to Disable CompatTelRunner.exe:

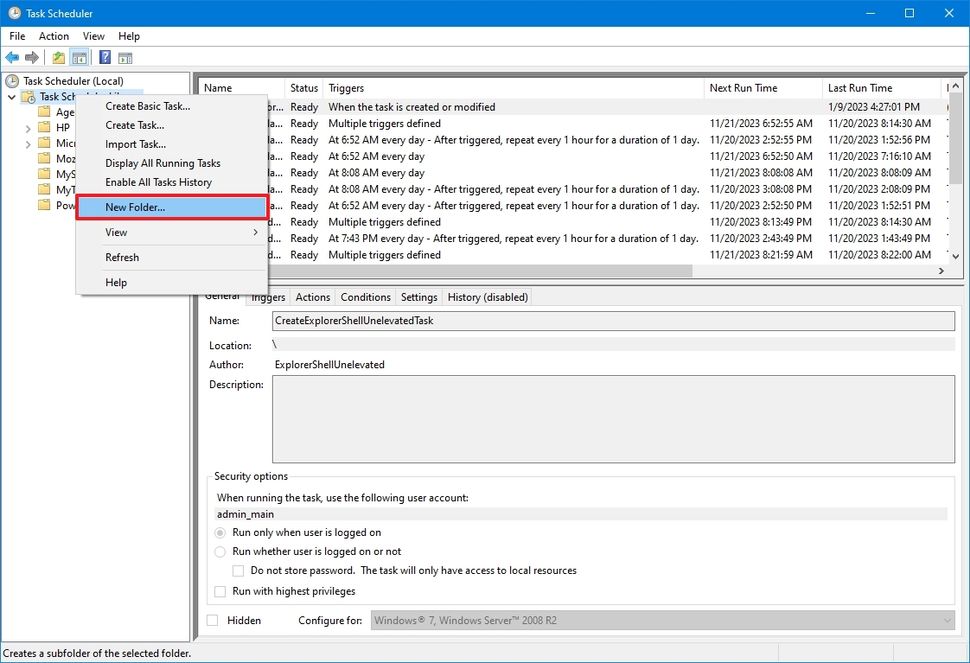
- Open Task Scheduler:
- Press
Windows + Rto open the Run dialog, type taskschd.msc, and press Enter.
- Press
- Navigate to Telemetry Tasks:
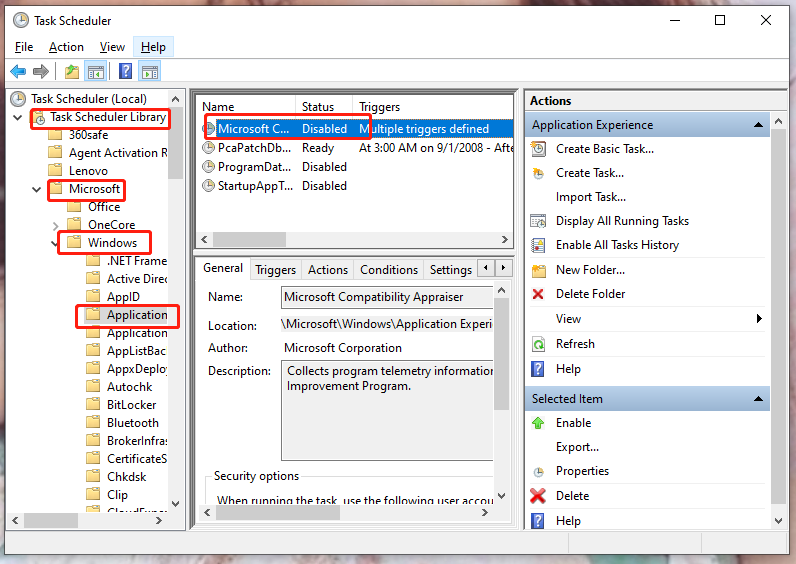
- In the Task Scheduler Library, navigate to:
arduino
Task Scheduler Library > Microsoft > Windows > Application Experience
- In the Task Scheduler Library, navigate to:
- Disable CompatTelRunner Task:
- In the right pane, locate Microsoft Compatibility Appraiser and right-click on it. Select Disable from the context menu.
- Restart Your PC:
- After disabling the task, restart your computer and check if the high CPU usage has decreased.
Fix 2: Disable Telemetry Using Group Policy Editor
You can disable Microsoft Compatibility Telemetry through the Group Policy Editor if you’re using Windows 10 Pro or Enterprise. This will prevent CompatTelRunner.exe from running in the background.
Steps to Disable Telemetry Using Group Policy:
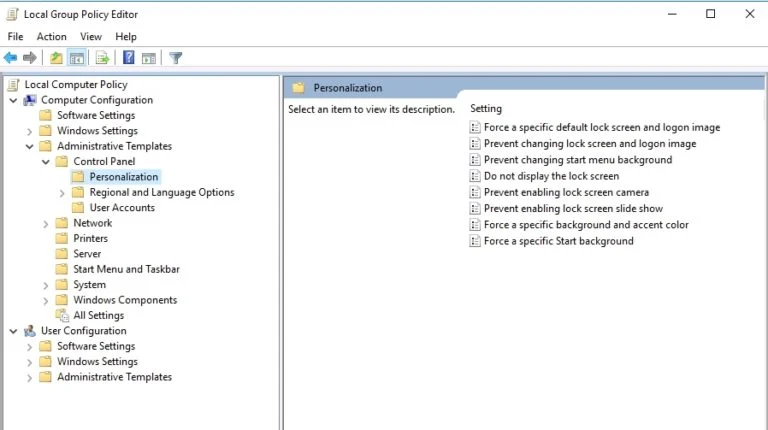
- Open Group Policy Editor:
- Press
Windows + R, type gpedit.msc, and press Enter.
- Press
- Navigate to Data Collection Settings:
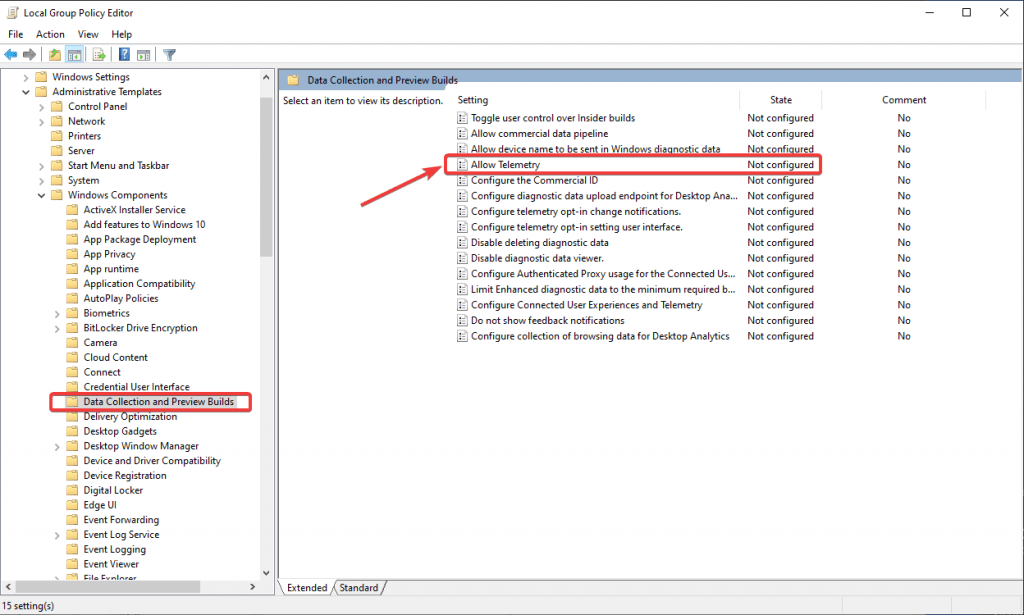
- In the Group Policy Editor, navigate to:
Computer Configuration > Administrative Templates > Windows Components > Data Collection and Preview Builds
- In the Group Policy Editor, navigate to:
- Configure Telemetry:
- Double-click on Allow Telemetry, then select Disabled and click OK.
- Restart Your PC:
- Restart your computer to apply the changes and check if the high CPU usage issue has been resolved.
Fix 3: Use Registry Editor to Disable Telemetry
If you are using Windows 10 Home, which doesn’t come with Group Policy Editor, you can disable telemetry using the Registry Editor.
Steps to Disable Telemetry Using Registry Editor:
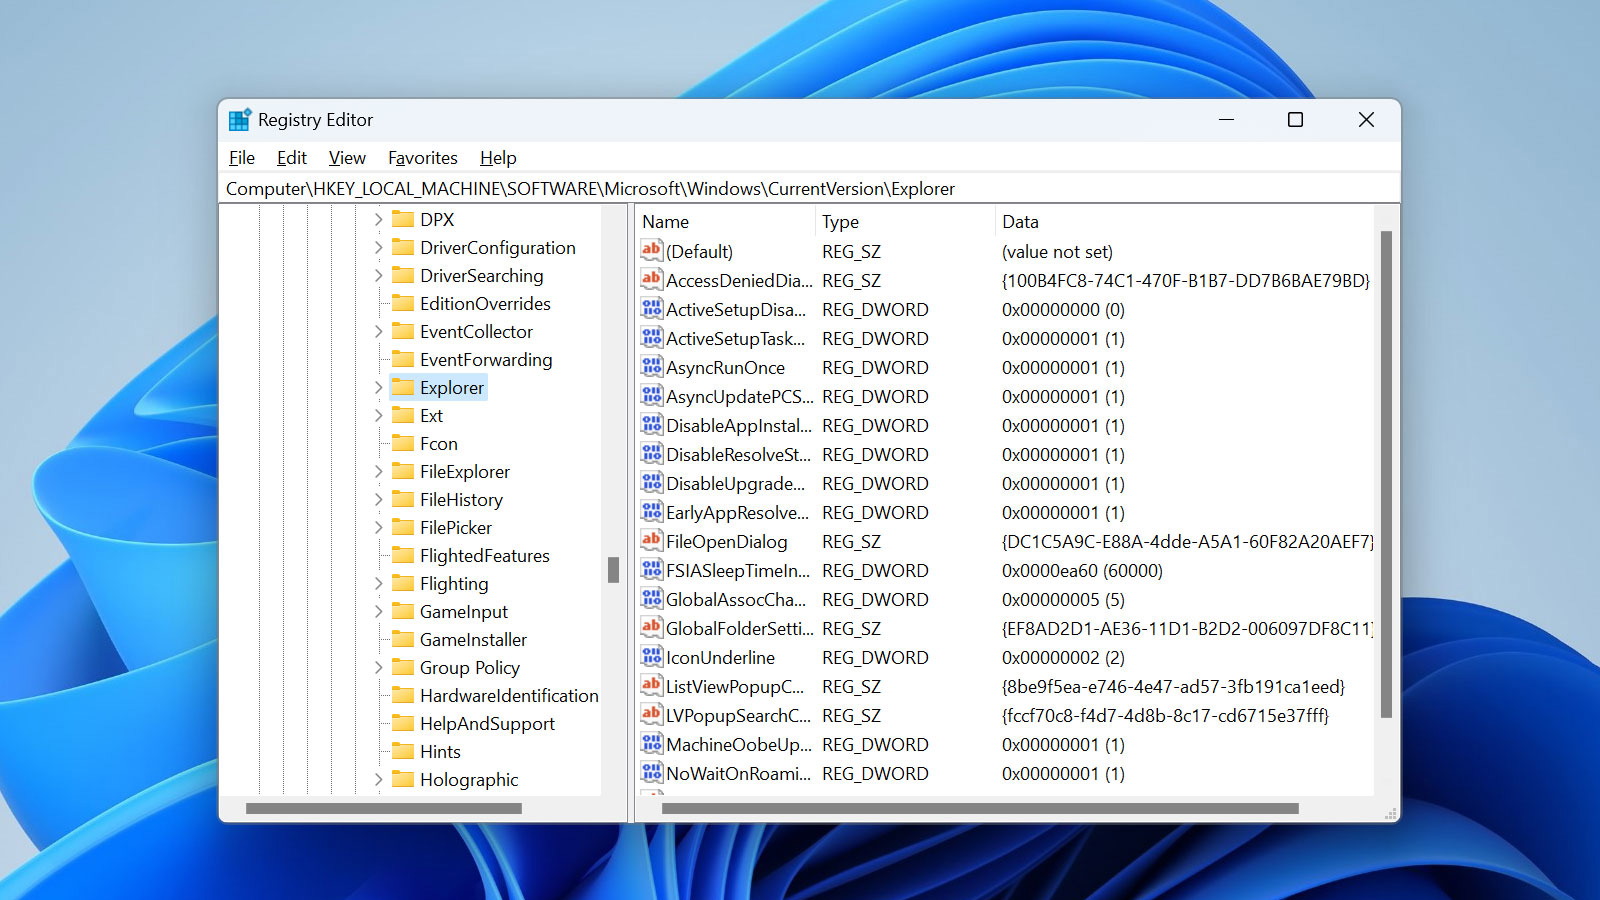
- Open Registry Editor:
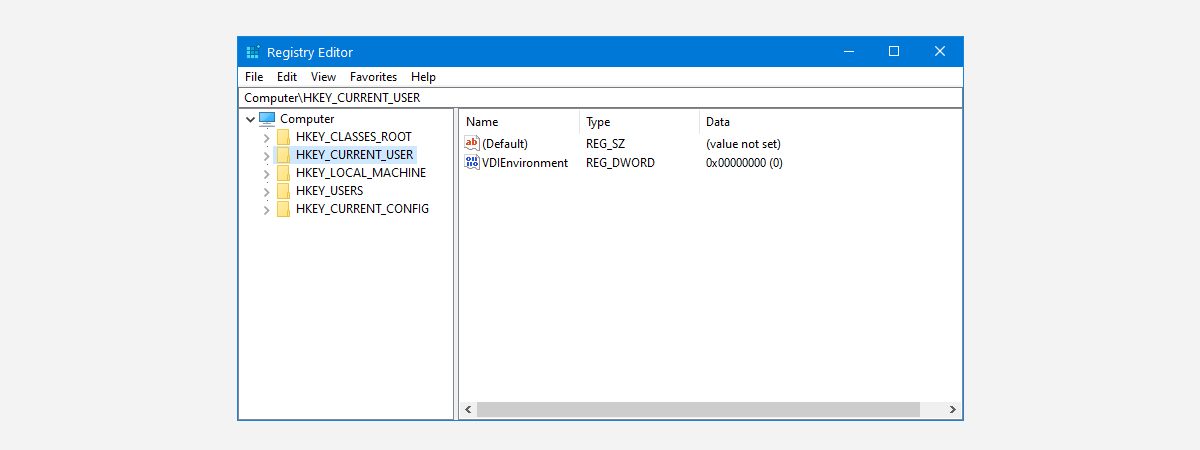
- Press
Windows + R, type regedit, and press Enter.
- Press
- Navigate to the Telemetry Key:
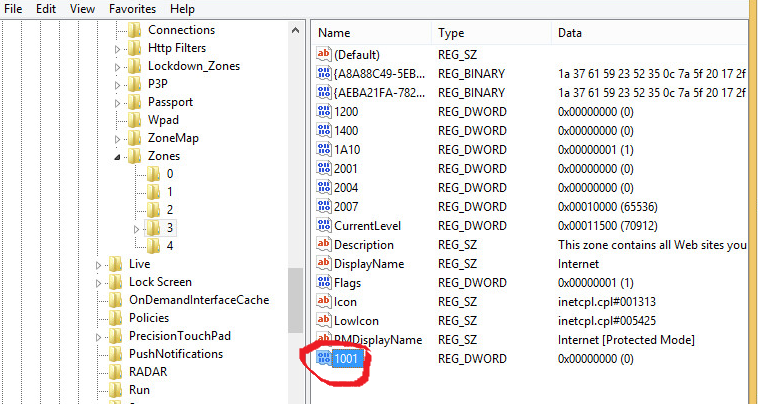
- In the Registry Editor, navigate to:
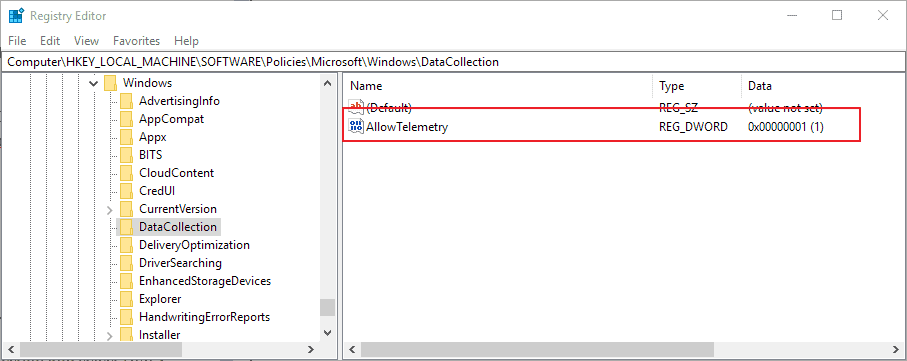
HKEY_LOCAL_MACHINE\SOFTWARE\Policies\Microsoft\Windows\DataCollection
- In the Registry Editor, navigate to:
- Create a New DWORD:
- If the DataCollection folder doesn’t exist, create it by right-clicking on Windows, selecting New > Key, and naming it DataCollection.
- In the DataCollection folder, right-click in the right pane and select New > DWORD (32-bit) Value. Name it AllowTelemetry.
- Set Value to 0:
- Double-click on the AllowTelemetry DWORD and set its value to 0.
- Restart Your PC:
- Restart your computer to apply the changes.
Fix 4: Update Windows 10
Running an outdated version of Windows 10 could cause bugs, including high CPU usage by CompatTelRunner.exe. Updating Windows to the latest version can fix these issues.
Steps to Update Windows 10:
- Open Windows Settings:
- Press
Windows + Ito open the Settings window.
- Press
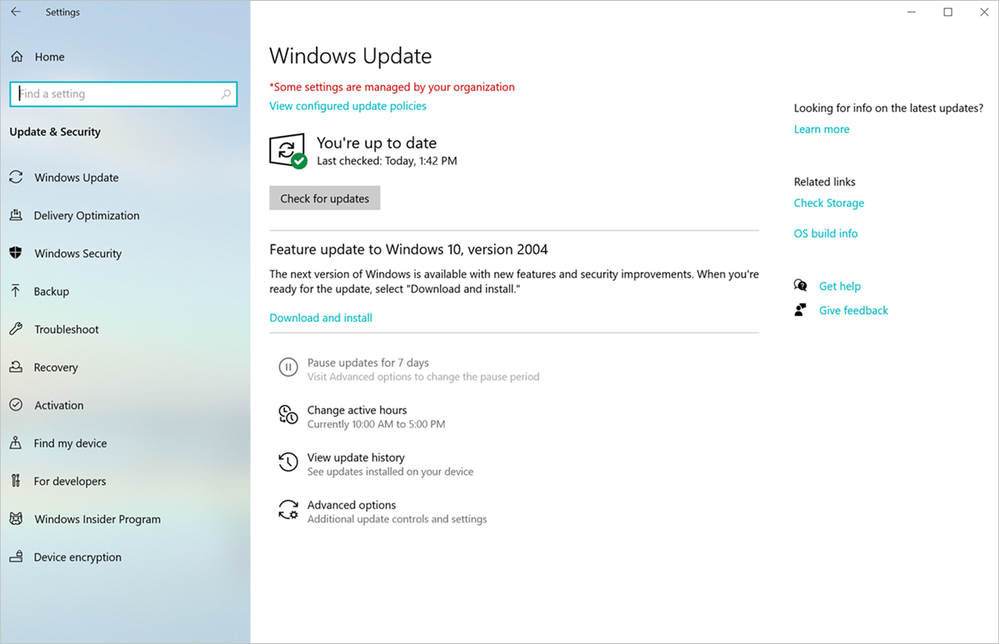
- Go to Update & Security:
- In the Settings window, click on Update & Security.
- Check for Updates:
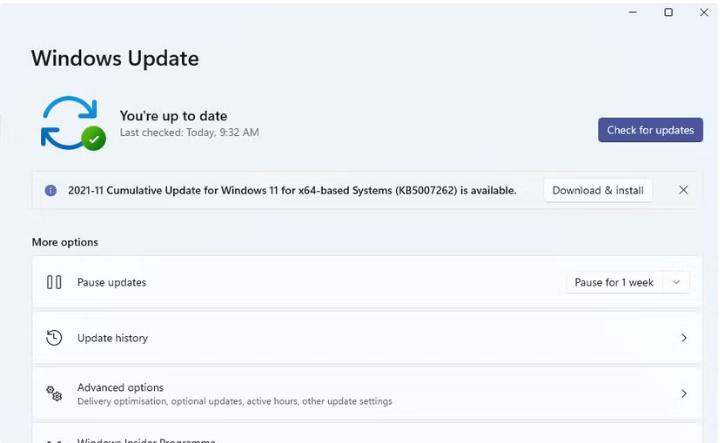
- Click Check for updates. If any updates are available, Windows will download and install them.
- Restart Your Computer:
- After installing updates, restart your computer and check if the issue persists.
Fix 5: Disable CompatTelRunner.exe Using PowerShell
Another method is to disable CompatTelRunner.exe directly using PowerShell. This is a quick and effective solution.
Steps to Disable CompatTelRunner.exe Using PowerShell:
- Open PowerShell as Administrator:
- Press
Windows + Xand select Windows PowerShell (Admin).
- Press
- Disable CompatTelRunner.exe:
- In the PowerShell window, type the following command and press Enter:
mathematica
Get-ScheduledTask -TaskName "CompatTelRunner" | Disable-ScheduledTask
- In the PowerShell window, type the following command and press Enter:
- Restart Your Computer:
- Restart your PC to apply the changes and check if the high CPU usage issue has been resolved.
Fix 6: Delete CompatTelRunner.exe (Advanced Users Only)
If the above solutions don’t work, you can manually delete the CompatTelRunner.exe file. However, this method is more advanced and not recommended unless you’re comfortable with manually deleting system files.
Steps to Delete CompatTelRunner.exe:
- Boot into Safe Mode:
- Open the Settings app, go to Update & Security > Recovery, and click Restart now under Advanced startup. Then, choose Troubleshoot > Advanced options > Startup Settings and select Safe Mode.
- Delete the File:
- Navigate to the following directory:
makefile
C:\Windows\System32
- Find and delete the CompatTelRunner.exe file.
- Navigate to the following directory:
- Restart Your Computer:
- After deleting the file, restart your computer in normal mode and check if the issue is resolved.
Conclusion
The CompatTelRunner.exe high CPU usage issue can affect the performance of your Windows 10 computer, but with the fixes outlined in this guide, you can resolve the problem and improve your system’s performance. Whether it’s disabling the service through Task Scheduler, modifying the Group Policy or Registry, or using PowerShell, one of these methods should help you fix the issue.
If none of the solutions work, consider reaching out to Microsoft Support or checking for further system errors that might be affecting your computer’s performance.
