How to Resolve the CRITICAL_PROCESS_DIED Blue Screen Error on Windows
The CRITICAL_PROCESS_DIED blue screen error is one of the more frustrating problems Windows users can encounter. This error occurs when a critical system process fails, leading to a blue screen of death (BSOD). This can be caused by various issues, including hardware failure, corrupted drivers, or system file corruption. If left unresolved, it can prevent you from using your PC altogether.
In this guide, we’ll explore several effective methods to fix the CRITICAL_PROCESS_DIED error on Windows 10/11.
Common Causes of CRITICAL_PROCESS_DIED Error
Before diving into the fixes, let’s review some common causes of the CRITICAL_PROCESS_DIED error:
- Corrupted system files: Essential Windows system files may be missing or corrupted, leading to a system crash.
- Outdated drivers: Drivers that are outdated or incompatible with your hardware can trigger the error.
- Hardware malfunctions: Faulty hard drives, RAM, or other hardware components can lead to this issue.
- Software conflicts: Conflicting programs or software bugs can interfere with system processes.
Method 1: Run the System File Checker (SFC)
The System File Checker (SFC) is a built-in Windows tool that scans and repairs corrupted or missing system files. This is one of the most effective methods to fix the CRITICAL_PROCESS_DIED error.
Steps to Run SFC:

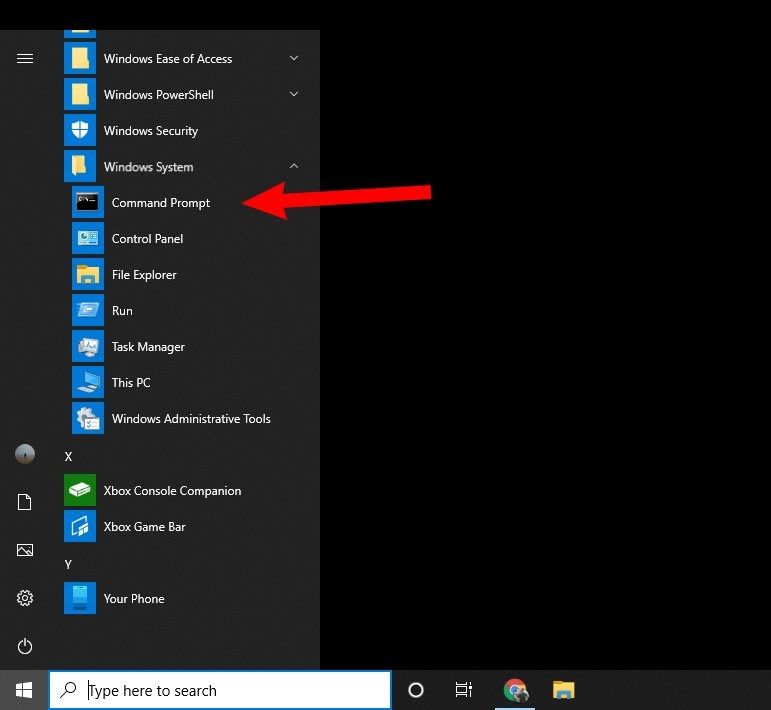
- Open Command Prompt as Admin:
- Press
Windows + Xand select Command Prompt (Admin) or Windows PowerShell (Admin) from the menu.
- Press
- Run SFC Command:
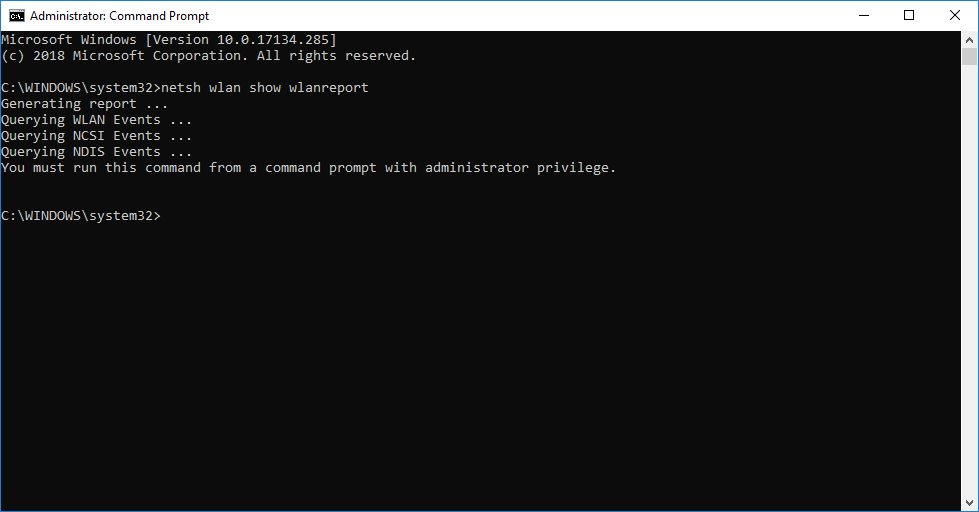
- In the Command Prompt window, type the following command and press Enter:
bash
sfc /scannow
- In the Command Prompt window, type the following command and press Enter:
- Wait for the Scan to Complete:
- The scan will take a few minutes to complete. If any corrupted files are found, SFC will attempt to repair them.
- Restart Your PC:
- Once the scan is complete, restart your PC and check if the error has been resolved.
Method 2: Run DISM to Repair Windows Image
If the SFC tool doesn’t fix the issue, you can use the Deployment Image Servicing and Management (DISM) tool to repair the Windows image. This tool will check for corruption and fix system files from a Windows Update server if necessary.
Steps to Run DISM:
- Open Command Prompt as Admin:
- Again, press
Windows + Xand select Command Prompt (Admin).
- Again, press
- Run DISM Command:
- In the Command Prompt, type the following command and press Enter:
mathematica
DISM /Online /Cleanup-Image /RestoreHealth
- In the Command Prompt, type the following command and press Enter:
- Wait for the Process to Complete:
- The process may take up to 20 minutes or more. Allow DISM to complete the scan and repair any corrupted system files.
- Restart Your PC:
- Once the process is finished, restart your computer and check if the error is fixed.
Method 3: Update Device Drivers

Outdated or incompatible device drivers can cause the CRITICAL_PROCESS_DIED error. Updating your drivers may resolve the issue.
Steps to Update Drivers:
- Open Device Manager:
- Press
Windows + Xand select Device Manager.
- Press
- Find and Update Drivers:
- In Device Manager, look for any devices with a yellow warning icon next to them. Right-click on the device and select Update driver.
- Choose Search automatically for updated driver software to let Windows find and install the latest drivers.
- Restart Your PC:
- Once your drivers are updated, restart your PC and check if the problem persists.
Method 4: Perform a Clean Boot

A clean boot helps you identify if any third-party applications or services are causing the CRITICAL_PROCESS_DIED error by starting Windows with only essential services.
Steps to Perform a Clean Boot:
- Open System Configuration:
- Press
Windows + R, type msconfig, and press Enter.
- Press
- Disable Non-Essential Services:
- In the Services tab, check the box for Hide all Microsoft services, then click Disable all.
- Disable Startup Programs:
- Go to the Startup tab and click Open Task Manager. In Task Manager, disable all non-essential startup programs.
- Restart Your PC:
- After disabling unnecessary services and programs, restart your computer. Check if the error occurs during a clean boot.
Method 5: Check Hard Drive for Errors

A failing hard drive or corrupted disk sectors can cause the CRITICAL_PROCESS_DIED error. You can check your hard drive for errors using the Check Disk (chkdsk) utility.
Steps to Run Check Disk:
- Open Command Prompt as Admin:
- Press
Windows + Xand select Command Prompt (Admin).
- Press
- Run Check Disk Command:
- In the Command Prompt, type the following command and press Enter:
bash
chkdsk /f /r
- In the Command Prompt, type the following command and press Enter:
- Confirm the Check Disk Process:
- If you’re prompted to schedule the scan at the next restart, press Y to confirm.
- Restart Your PC:
- Restart your computer and allow Check Disk to run. This process will scan for and fix any hard drive errors.
Method 6: Perform a System Restore
If the error started occurring after a recent software installation or update, you can use System Restore to revert your system to a previous working state.
Steps to Perform a System Restore:
- Open System Restore:
- Press
Windows + Sand type System Restore. Select Create a restore point from the results.
- Press
- Launch System Restore:
- In the System Properties window, click System Restore.
- Choose a Restore Point:
- Follow the on-screen instructions to choose a restore point from a date when your system was working fine.
- Restore Your PC:
- After selecting the restore point, click Next and Finish to initiate the system restore.
Conclusion
The CRITICAL_PROCESS_DIED error can be caused by a variety of issues, including corrupted system files, outdated drivers, or hardware malfunctions. By following the methods outlined in this guide, you should be able to resolve the error and restore your system to full functionality. If the error persists after trying these fixes, you may need to consider more advanced solutions like performing a clean Windows installation or consulting a professional for hardware diagnostics.
