How to Get Windows Server 2022
Windows Server 2022 is the latest version of Microsoft’s server operating system, offering enhanced security features, improved performance, and hybrid capabilities to integrate with Microsoft Azure. This guide will walk you through the process of downloading Windows Server 2022, providing step-by-step instructions and helpful tips.
Why Choose Windows Server 2022?
Windows Server 2022 offers various advantages over its predecessors, including:
- Enhanced security features like Secured-core server and TLS 1.3.
- Hybrid cloud capabilities that integrate easily with Azure.
- Advanced management tools, including Windows Admin Center.
- Improved performance for file-sharing, containers, and virtual machines.
If you need a reliable, scalable solution for your business or enterprise environment, Windows Server 2022 is the ideal choice.
Step-by-Step Guide to Download Windows Server 2022
Step 1: Check System Requirements

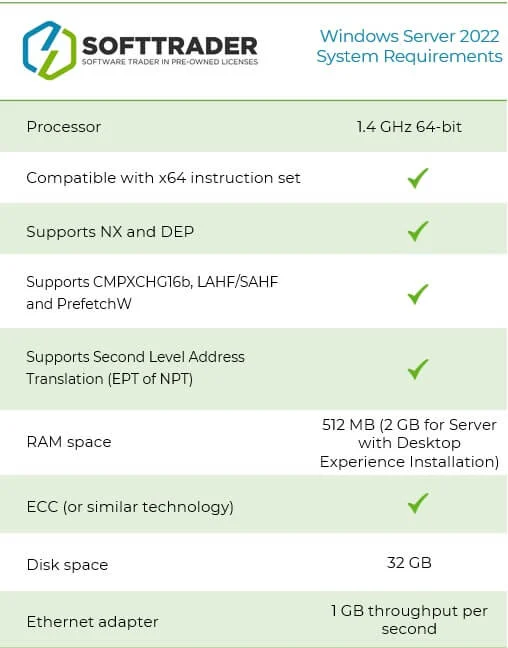
Before you start downloading, ensure that your system meets the minimum requirements for Windows Server 2022. Below are the key specifications:
- Processor: 1.4 GHz 64-bit processor with Intel VT or AMD-V.
- RAM: Minimum 2 GB for Server with Desktop Experience, 512 MB for Server Core.
- Disk Space: Minimum 32 GB of free space.
- Network: Gigabit Ethernet adapter, UEFI 2.3.1c-based system and firmware that supports secure boot.
Step 2: Access the Microsoft Evaluation Center
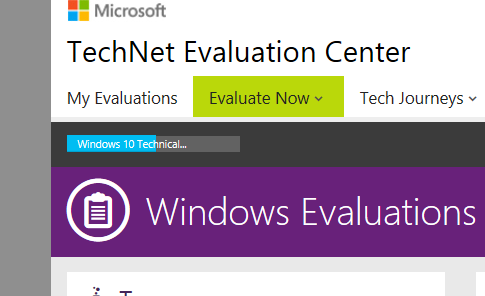
To download the Windows Server 2022 ISO, you’ll first need to visit the Microsoft Evaluation Center. Here, you can download a trial version of Windows Server 2022, which is valid for 180 days.
- Visit the Microsoft Evaluation Center:
- Open your web browser and go to the official Microsoft Evaluation Center.

- Find Windows Server 2022:
- In the Evaluation Center, navigate to Windows Server 2022 by scrolling down the page or using the search bar.
- Click “Start Your Evaluation”:
- Click on the Start your evaluation button to proceed.
Step 3: Choose the Version and Download
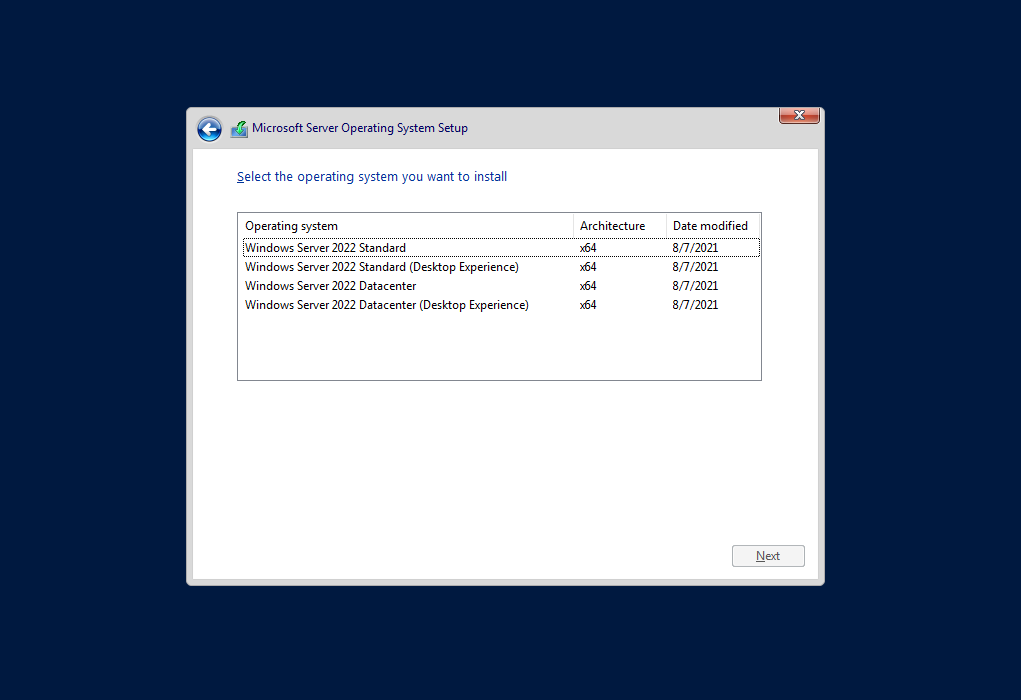
Windows Server 2022 comes in different versions to cater to various needs, such as Standard, Datacenter, and Essentials. You can choose the right version based on your requirements.
- Select the Edition:
- Once on the evaluation page, select the edition you want to download: Windows Server 2022 Standard or Windows Server 2022 Datacenter.

- Choose the Installation Method:
- Next, choose whether you want to download the ISO file or use Azure for installation. In this guide, we’ll focus on the ISO download.
- Select ISO Format:
- Click on ISO from the available options to download the file. The ISO format allows you to create bootable media like a USB drive or DVD.
- Fill in Your Information:
- You will be prompted to fill in your personal details such as name, email address, and company. This information is required for accessing the download.
Step 4: Download the ISO File
Once you’ve completed the registration form, you can download the ISO file. The file size is typically around 4-5 GB, so ensure that you have a stable internet connection.
- Click “Download”:
- After submitting your details, click on Download to start the process.

- Save the File:
- Choose a location on your computer to save the ISO file. Make sure you have sufficient disk space.
Step 5: Create Bootable Media
Once the ISO file is downloaded, you’ll need to create a bootable USB drive or DVD to install Windows Server 2022.
- Download a Tool to Create Bootable Media:
- Use a tool like Rufus to create a bootable USB drive. Download Rufus if you don’t already have it installed.
- Insert USB Drive:
- Insert a USB drive with at least 8 GB of storage into your computer.
- Open Rufus and Select the ISO:
- Open Rufus, and in the Boot selection field, choose the ISO file you downloaded. Make sure the correct USB drive is selected under Device.
- Start the Process:
- Click Start to create the bootable USB drive. This process can take a few minutes.
Step 6: Install Windows Server 2022
After creating the bootable media, you can proceed to install Windows Server 2022 on your server.
- Insert the Bootable USB:
- Insert the bootable USB drive into the target server or machine where you want to install Windows Server 2022.
- Boot from the USB Drive:
- Restart the machine and boot from the USB drive by pressing the appropriate boot menu key (usually
F12,Esc, orDel).
- Restart the machine and boot from the USB drive by pressing the appropriate boot menu key (usually
- Follow the Installation Wizard:
- Once the installer starts, follow the on-screen instructions to select your language, partition the drives, and install Windows Server 2022.
- Complete the Setup:
- Once the installation is complete, follow the setup wizard to configure your administrator account and initial server settings.
Step 7: Activate Windows Server 2022
After installation, you will need to activate Windows Server 2022.
- Enter the License Key:
- If you’re using the evaluation version, the software will work for 180 days. If you have a valid license, you can enter the Product Key by navigating to Settings > Update & Security > Activation.
- Activate Through Command Line (optional):
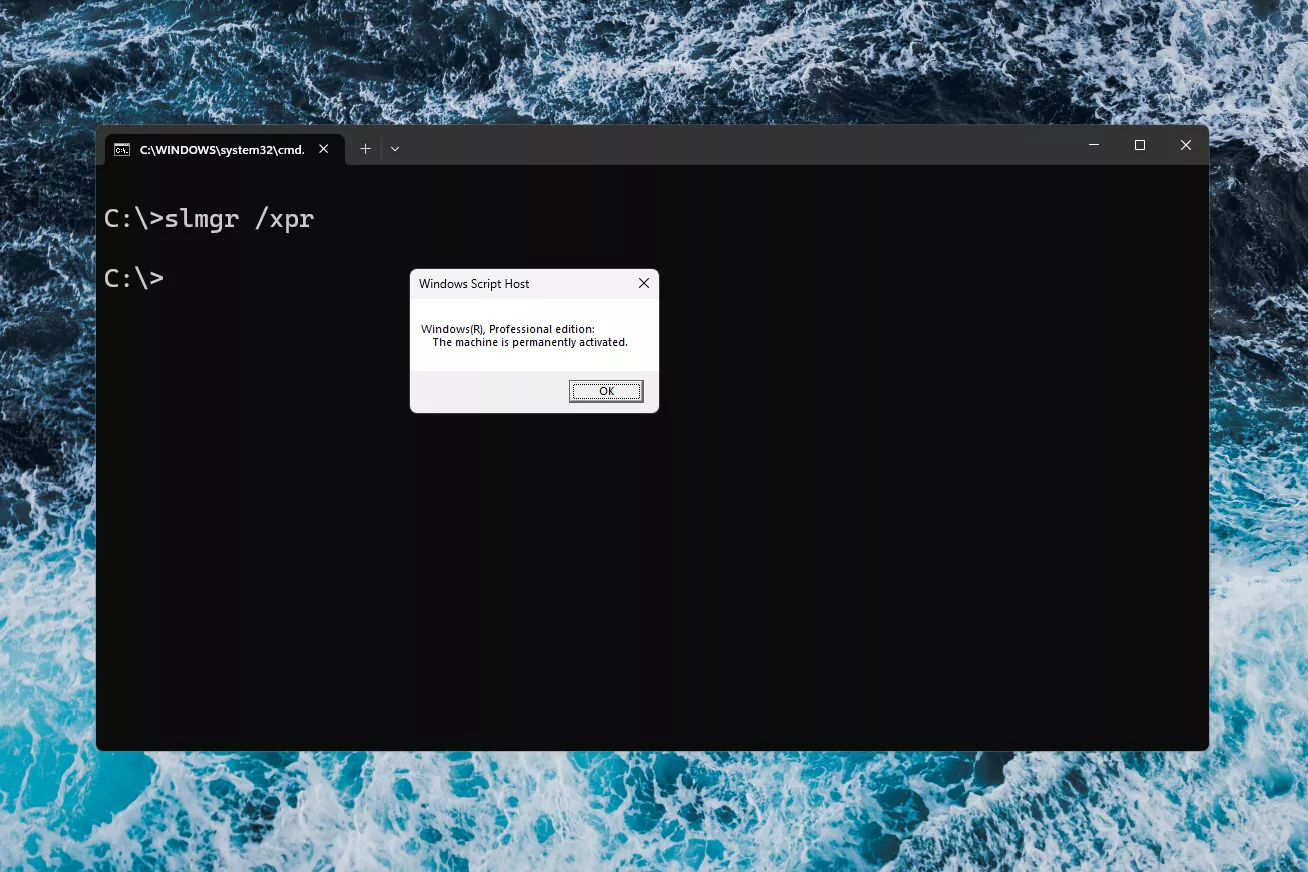
- You can also activate the server using the slmgr command in the Command Prompt:
bash
slmgr.vbs /ipk your-product-key

slmgr.vbs /ato

- You can also activate the server using the slmgr command in the Command Prompt:
Conclusion
Downloading Windows Server 2022 is a straightforward process through the Microsoft Evaluation Center. Whether you’re looking to test the server for 180 days or have purchased a license for long-term use, this guide provides step-by-step instructions for downloading, installing, and activating the server.
By using this powerful server OS, you can take advantage of advanced features such as improved security, enhanced performance, and seamless integration with Azure for hybrid deployments. Whether you’re upgrading from a previous server version or setting up a new server environment, Windows Server 2022 is an excellent choice for businesses and IT professionals alike.
