How to Set a New Default Browser in Windows 11
Changing the default browser on Windows 11 is a straightforward process that allows you to personalize your web browsing experience. Whether you prefer Google Chrome, Mozilla Firefox, or any other browser, setting it as the default means that all web links will automatically open in your chosen application. In this guide, we’ll walk you through the steps to change your default browser on Windows 11.
1. Open Settings

The first step to changing your default browser is to access the Settings menu.
Steps:
- Click on the Start button (Windows icon) located on the taskbar.
- Select Settings (the gear icon) from the Start menu.
2. Navigate to Default Apps

Once you are in the Settings menu, you need to find the section that allows you to set default applications.
Steps:
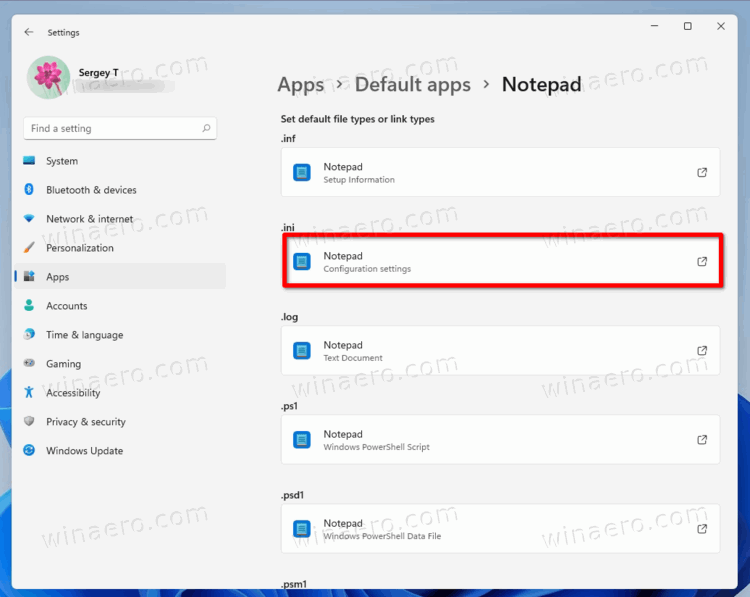
- In the Settings window, click on Apps from the left sidebar.
- Then, select Default apps.
3. Find Your Preferred Browser

In the Default apps section, you will see a list of applications that can be set as defaults.
Steps:
- Scroll down to find the browser you want to set as the default (e.g., Google Chrome, Mozilla Firefox).
- Click on the browser’s name to open its settings.
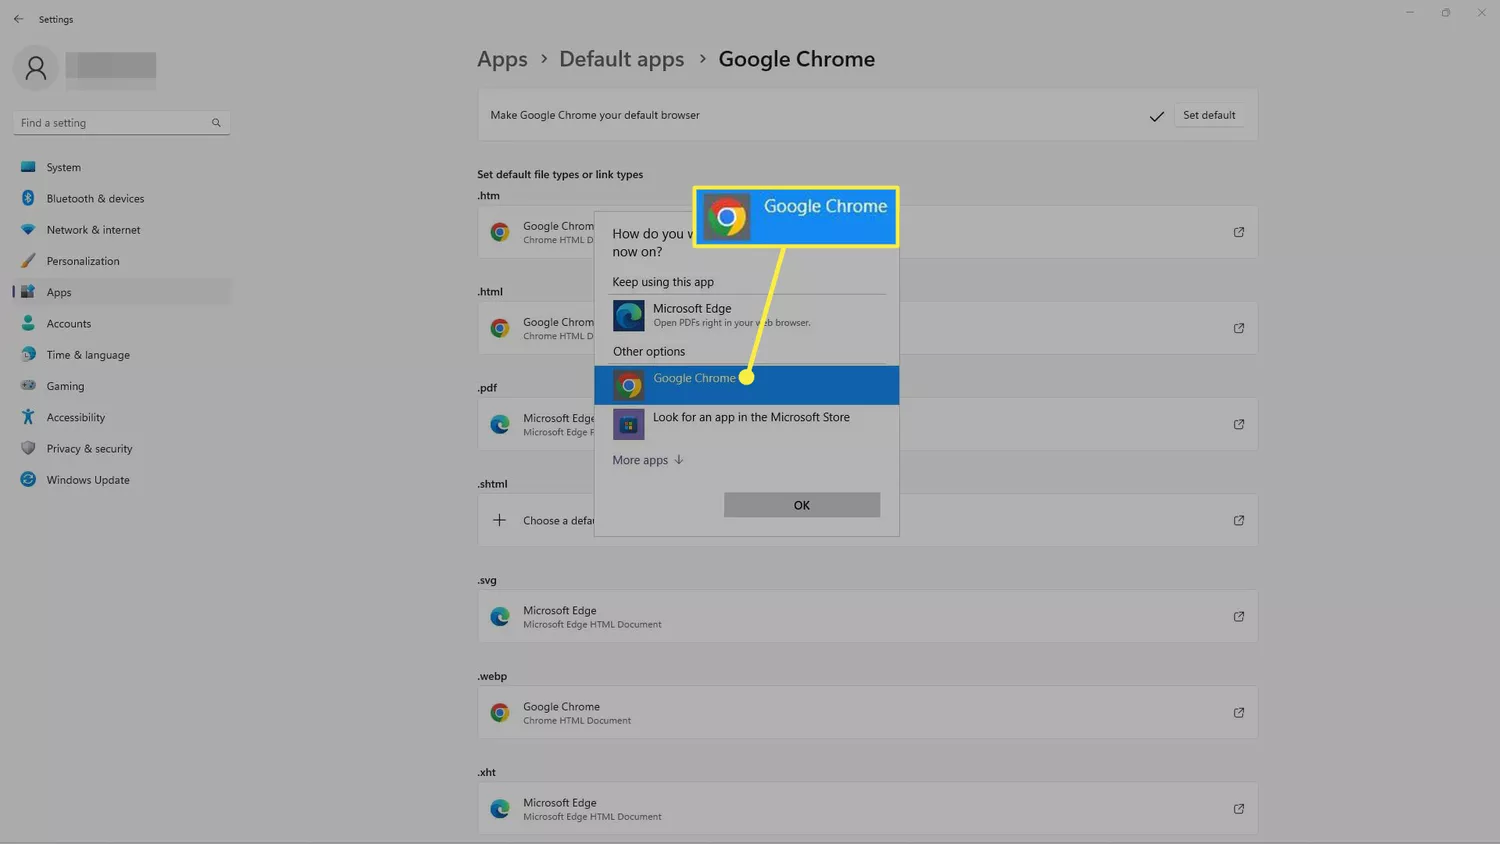
4. Set Default for File Types and Links

Unlike previous versions of Windows, Windows 11 requires you to set defaults for each file type and protocol individually. This means you will have to select your browser for several options.
Steps:
- You will see a list of file types (e.g.,
.htm,.html, etc.) and protocols (e.g., HTTP, HTTPS) associated with the browser. - Click on each file type and protocol, and a prompt will appear asking you to choose an app.
- Select your preferred browser from the list and click OK or Set as default.
Repeat this process for all relevant file types and protocols to ensure that your new default browser is used for all web links.
5. Confirm Your Changes
Once you have set your preferred browser for all file types and protocols, it’s a good idea to confirm your changes.
Steps:
- Go back to the Default apps menu.
- Scroll back to your preferred browser and check that it is set as the default for the relevant file types and protocols.
6. Test the Default Browser
After setting your preferred browser as the default, you should test it to ensure that links open in the new browser.
Steps:
- Open any web link (for example, from an email or a document).
- Check if it opens in your chosen browser. If it does, you’ve successfully changed the default browser!
Conclusion
Changing the default browser on Windows 11 is a simple process that can enhance your browsing experience. By following these steps, you can easily switch to your preferred browser and ensure that all web links open in it. Whether you’re using Windows for personal or professional tasks, having your favorite browser as the default can improve your efficiency and overall satisfaction.
If you encounter any issues or if your links still open in a different browser, double-check that all relevant file types and protocols have been set correctly. Happy browsing!
