How to Resolve OBS Dropped Frames in 2024

OBS (Open Broadcaster Software) is one of the most popular tools for streaming and recording. However, many users encounter the frustrating issue of dropped frames, which can affect the quality of their stream or recording. Dropped frames typically occur when OBS cannot maintain a consistent connection to the server or when your hardware struggles to process the stream. In this guide, we’ll cover several methods to fix OBS dropped frames in 2023.
What Are Dropped Frames?
Dropped frames occur when OBS fails to send all the data that is being captured to the streaming platform. This typically happens because the connection between OBS and the server is not stable, or the system can’t keep up with the stream’s demands. It results in choppy or laggy streams that are difficult for viewers to watch.
Here are some common causes of dropped frames:
- Weak internet connection
- High CPU or GPU usage
- Incorrect OBS settings
- Outdated software or drivers
How to Fix OBS Dropped Frames: Step-by-Step Guide
1. Check Your Internet Connection

A poor internet connection is the most common cause of dropped frames in OBS. If your upload speed is too slow, OBS will struggle to send data to the streaming server.
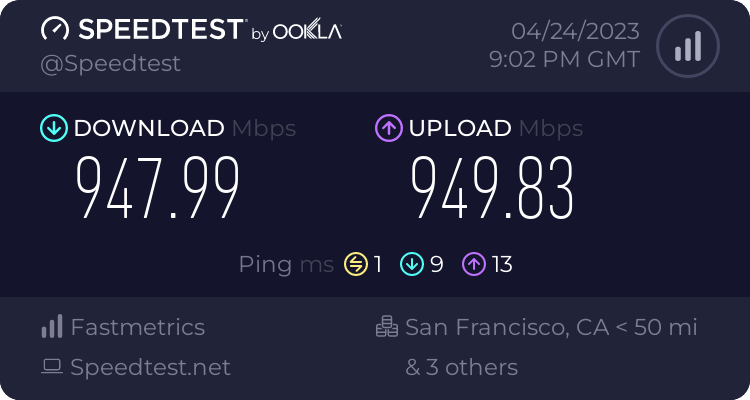
Step 1: Test Your Internet Speed
Use a speed test tool like Speedtest to check your upload speed. For smooth streaming, you should have at least a 5 Mbps upload speed for 720p, and 10 Mbps for 1080p.
Step 2: Use a Wired Connection
If you are streaming over Wi-Fi, try switching to a wired Ethernet connection. Wired connections are more stable and provide faster speeds.
Step 3: Reduce Network Usage
Close any background applications that are using bandwidth. Apps like file-sharing programs or cloud services can consume a lot of bandwidth, affecting your stream quality.
2. Lower Your Bitrate

Bitrate determines the quality and size of the stream being sent to the server. If your bitrate is set too high for your internet connection, OBS will drop frames.
Step 1: Adjust Bitrate in OBS
- Open OBS and go to Settings.
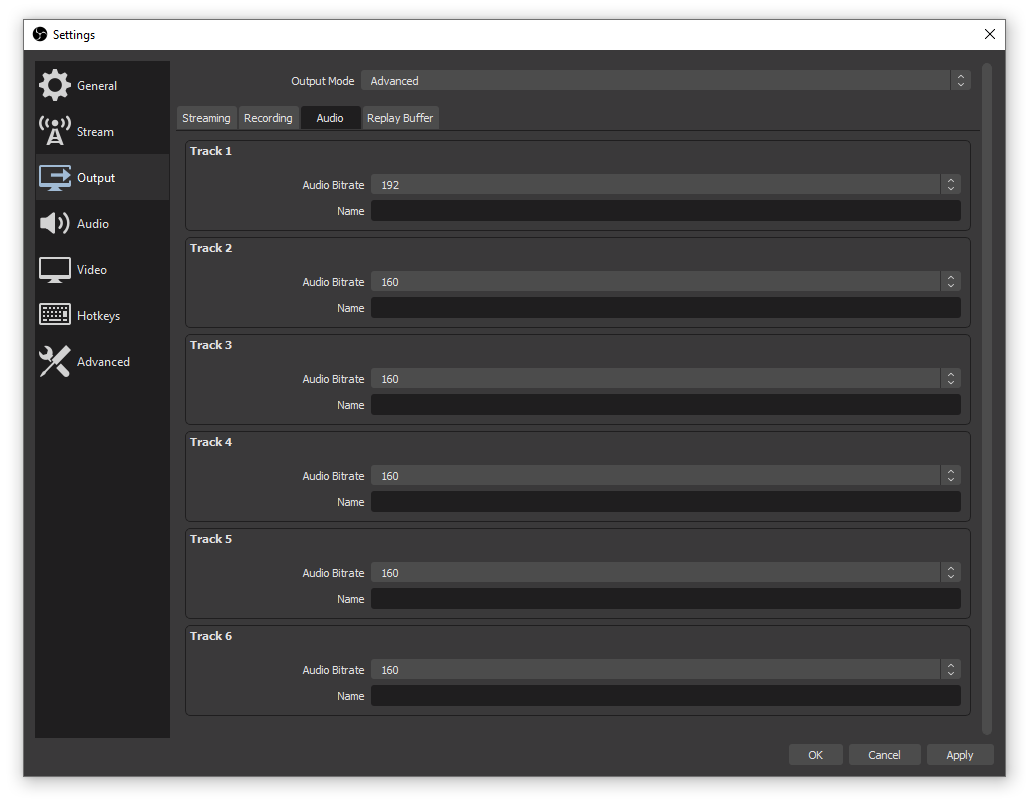
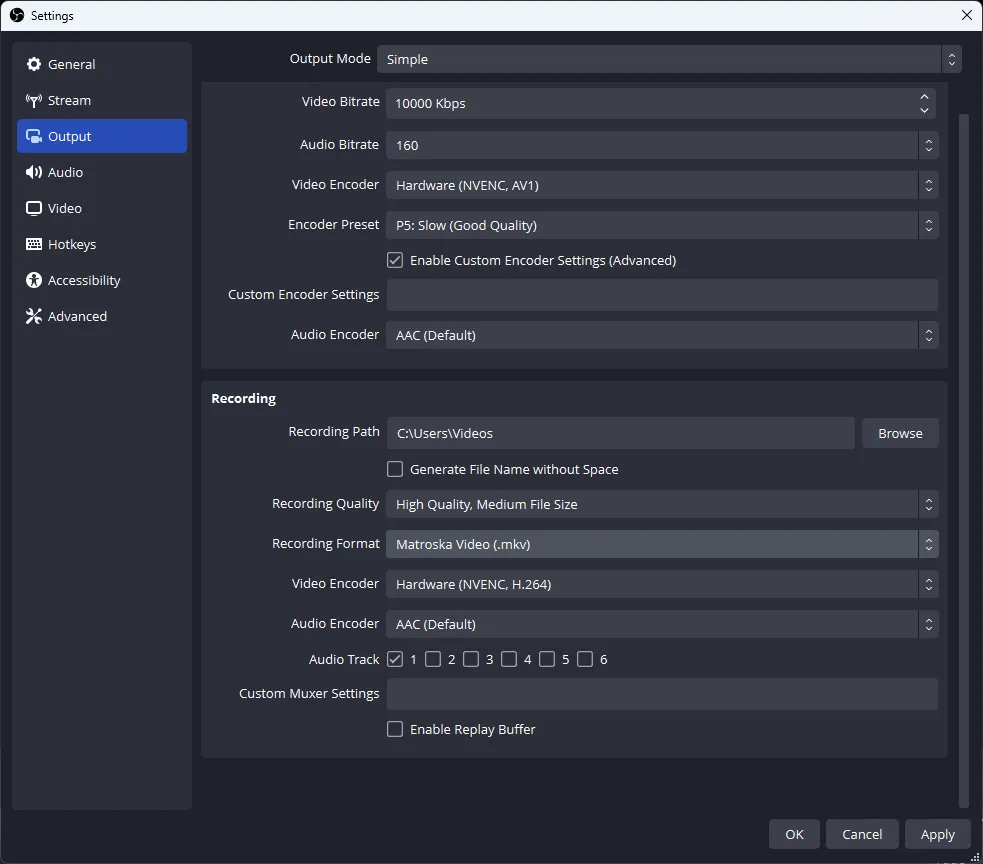
- Click on Output in the left-hand menu.
- Under the Streaming section, adjust the Video Bitrate. A good starting point for 1080p streaming is 2500-4000 kbps.
Step 2: Test Lower Bitrate
If you’re experiencing dropped frames, try lowering your bitrate by 500 kbps and test again. Keep adjusting until you find a balance between quality and smoothness.
3. Optimize Encoder Settings

Encoding is the process that compresses video into a format suitable for streaming. If your encoder settings are too demanding for your CPU or GPU, you may experience dropped frames.
Step 1: Change Encoder
- Go to Settings > Output.
- Under the Encoder dropdown, select Hardware (NVENC) if you have an NVIDIA GPU or AMD Encoder for AMD cards. Hardware encoding uses your GPU instead of your CPU, which can significantly reduce the load on your system.
Step 2: Adjust Output Resolution
- Go to Settings > Video.
- Lower your Output (Scaled) Resolution to 720p if you are streaming in 1080p. This reduces the processing power required, which can reduce dropped frames.
4. Limit Frame Rate and Resolution
Your computer may not be powerful enough to stream at high frame rates or resolutions. By lowering the frame rate or resolution, you reduce the strain on your system.
Step 1: Limit Frame Rate
- Go to Settings > Video.
- Change your Common FPS Values to 30 FPS instead of 60 FPS. This will reduce the load on both your CPU and GPU.
Step 2: Lower the Resolution
If you’re streaming at a high resolution like 1080p or higher, try lowering the resolution to 720p. This can help balance performance and quality.
5. Update OBS and Drivers
Outdated software can cause performance issues, including dropped frames. Make sure that OBS and your system drivers are up-to-date.
Step 1: Update OBS
- Open OBS and go to Help > Check for Updates.
- If there’s a new version available, follow the on-screen instructions to update.
Step 2: Update Your Graphics Drivers
- For NVIDIA users, use GeForce Experience to check for updates.
- For AMD users, download the latest drivers from the AMD website.
6. Close Unnecessary Programs
If your CPU or GPU is being taxed by other applications, OBS will have fewer resources to work with, resulting in dropped frames.
Step 1: Close Background Apps
- Open Task Manager by pressing Ctrl + Shift + Esc.
- In the Processes tab, look for any apps consuming a lot of CPU or GPU resources.
- Right-click on the application and select End Task to close it.
Step 2: Set OBS to High Priority
- Open Task Manager.
- Find OBS in the Processes tab.
- Right-click it and go to Set Priority > High.
This will ensure that OBS gets more of your system’s resources.
7. Change the Server Location
Sometimes the streaming server you’re connected to might be overloaded or too far from your location, causing latency and dropped frames.
Step 1: Change Streaming Server
- Go to Settings > Stream.
- Change the Server to a different location or select Auto for automatic server selection.
Conclusion
Dropped frames in OBS can be frustrating, but they’re often fixable with the right adjustments. By following these steps — from optimizing your internet connection to adjusting OBS settings — you can minimize or eliminate dropped frames and ensure a smooth streaming experience. Keep your software up to date, manage your system resources, and test various configurations to find the best setup for your hardware and network.
Example: Lowering the Bitrate in OBS Settings
By tweaking your settings and keeping an eye on your system, you’ll be able to maintain a high-quality stream without the hassle of dropped frames.
