How to Resolve the “Windows Update Components Need Repair” Issue on Windows 10
The “Windows Update components must be repaired” error is a common issue that prevents Windows 10 from downloading and installing updates properly. This error typically arises when some essential components of the Windows Update service are corrupted or missing. Without these components functioning correctly, your system might fail to update, leaving it vulnerable to security risks. In this guide, we’ll explore several methods to fix this issue and ensure your Windows Update runs smoothly.
Understanding the Error
What Causes the “Windows Update Components Must Be Repaired” Error?
This error is generally caused by:
- Corrupted system files that prevent Windows Update from functioning properly.
- Incorrectly configured Windows Update settings.
- Malware or third-party software interfering with the Windows Update components.
- Damaged Windows Update files that need to be repaired or replaced.
How to Fix the “Windows Update Components Must Be Repaired” Error
If you’re encountering this error, follow these methods to troubleshoot and resolve the issue.
1. Run the Windows Update Troubleshooter
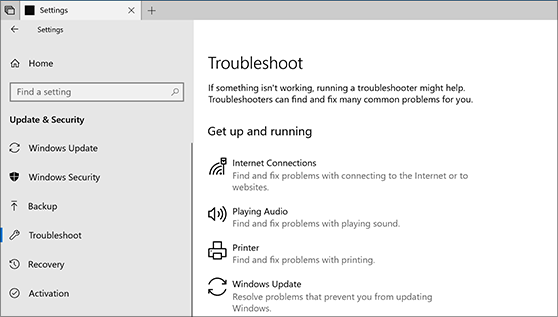
The first and simplest step is to use the built-in Windows Update Troubleshooter. This tool can automatically detect and fix common issues with Windows Update.

Steps:
- Open Settings:
- Press Win + I to open the Settings menu.
- Navigate to Update & Security:
- Go to Update & Security > Troubleshoot.
- Run the Windows Update Troubleshooter:
- Click on Additional troubleshooters.
- Select Windows Update and click Run the troubleshooter.
- Follow the on-screen instructions to complete the troubleshooting process.
- Restart Your Computer:
- After the troubleshooter completes, restart your computer and check if the issue is resolved.
2. Reset Windows Update Components Manually
If the troubleshooter doesn’t fix the problem, you can manually reset the Windows Update components.

Steps:
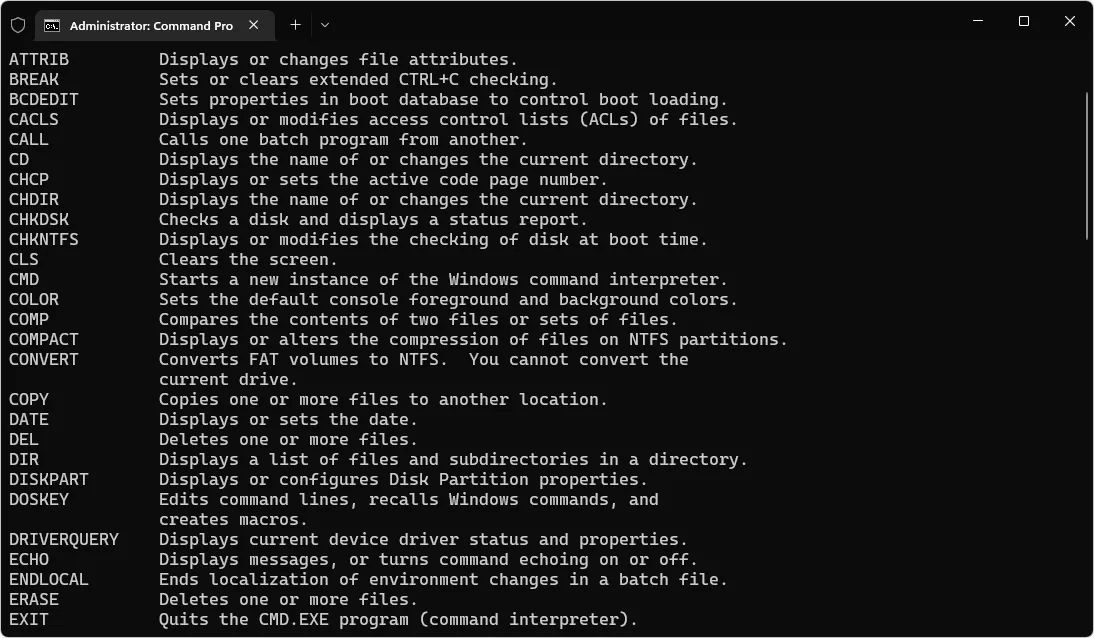
- Open Command Prompt as Administrator:
- Press Win + X and select Command Prompt (Admin).
- Stop Windows Update Services:
- Type the following commands one by one and press Enter after each:
arduino
net stop wuauserv

net stop cryptSvc

net stop bits

net stop msiserver
- Type the following commands one by one and press Enter after each:
- Rename the SoftwareDistribution and Catroot2 Folders:
- These folders store temporary files that might be causing the issue. Renaming them forces Windows to create new ones.
- Type the following commands and press Enter after each:
mathematica
ren C:\Windows\SoftwareDistribution SoftwareDistribution.old

ren C:\Windows\System32\catroot2 Catroot2.old
- Restart Windows Update Services:
- After renaming the folders, restart the services by typing these commands:
sql
net start wuauserv

net start cryptSvc

net start bits

net start msiserver
- After renaming the folders, restart the services by typing these commands:
- Restart Your Computer:
- Restart your computer and try running Windows Update again.
3. Run the System File Checker (SFC) and DISM Tools
Corrupted system files can cause the Windows Update components to malfunction. Running the System File Checker (SFC) and Deployment Imaging Service and Management Tool (DISM) can repair these files.
Steps:
- Open Command Prompt as Administrator:
- Press Win + X and select Command Prompt (Admin).
- Run the SFC Scan:
- Type
sfc /scannowand press Enter. - This process may take some time to complete. Once it’s done, it will display if any issues were found and fixed.
- Type
- Run the DISM Tool:
- If the SFC scan didn’t fix the issue, run DISM to repair the Windows image.
- Type the following command and press Enter:
mathematica
DISM /Online /Cleanup-Image /RestoreHealth
- Restart Your Computer:
- After the DISM process completes, restart your computer and try running Windows Update again.
4. Check and Fix Windows Update Settings
Sometimes, incorrect Windows Update settings can cause issues. Ensuring that these settings are configured correctly might resolve the problem.
Steps:
- Open Settings:
- Press Win + I to open the Settings menu.
- Go to Update & Security:
- Navigate to Update & Security > Windows Update.
- Advanced Options:
- Click on Advanced options.
- Check Update Settings:
- Ensure that all the options under “Choose how updates are installed” are set to automatic or default settings.
- Check Delivery Optimization:
- Go back to Update & Security and select Delivery Optimization.
- Ensure that Allow downloads from other PCs is turned off, or customize it according to your network settings.
- Restart Your Computer:
- Restart your computer to apply any changes and check if the issue is resolved.
5. Perform a Clean Boot
A clean boot starts Windows with a minimal set of drivers and startup programs, which can help you identify if third-party software is causing the issue.
Steps:
- Open System Configuration:
- Press Win + R, type
msconfig, and press Enter.
- Press Win + R, type
- Enable Clean Boot:
- In the Services tab, check Hide all Microsoft services and click Disable all.
- Go to the Startup tab and click Open Task Manager.
- Disable all startup items.
- Restart Your Computer:
- Restart your computer in clean boot mode and try running Windows Update.
- Restore Normal Startup:
- After identifying the cause, go back to System Configuration and select Normal startup to restore your original settings.
Conclusion
The “Windows Update components must be repaired” error in Windows 10 can be frustrating, but it’s usually fixable with the right steps. By running the Windows Update Troubleshooter, resetting the update components manually, using SFC and DISM tools, checking your Windows Update settings, or performing a clean boot, you can resolve the issue and ensure your system stays up to date. Keeping your Windows Update components in good working order is crucial for the security and stability of your computer.
