How to Resolve Sedlauncher.exe Causing High Disk Usage on Windows 10
Sedlauncher.exe is part of the Windows Update process, specifically related to the Windows Remediation Service. While its purpose is to improve the update process and ensure the smooth installation of Windows updates, it can sometimes cause issues, such as high disk usage. This problem can significantly slow down your computer, making it difficult to perform even basic tasks. In this guide, we’ll explore what Sedlauncher.exe is, why it might cause full disk usage, and how you can fix the issue.
Understanding Sedlauncher.exe
What is Sedlauncher.exe?
Sedlauncher.exe is a component of the Windows Update process introduced in the Windows 10 April 2018 update. It is part of the Windows Setup Remediation package, which helps protect and improve the update process. Its main role is to ensure that your system files are prepared for updates, preventing issues that could occur during the update installation.
Why Does Sedlauncher.exe Cause High Disk Usage?
While Sedlauncher.exe is designed to optimize the update process, it can sometimes cause excessive disk usage, especially on systems with limited resources. This can happen due to:
- Prolonged update processes that keep the service running for an extended period.
- Conflicts with other services or third-party software.
- Disk fragmentation or insufficient free disk space.
How to Fix Sedlauncher.exe Full Disk Usage
If Sedlauncher.exe is causing high disk usage, here are several methods you can use to resolve the issue.
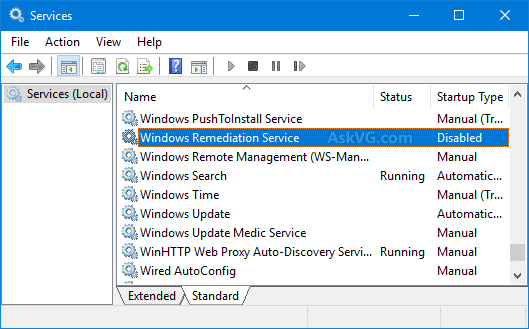
1. Disable the Windows Remediation Service
One of the most effective ways to stop Sedlauncher.exe from using too much disk space is to disable the Windows Remediation Service.
Steps:
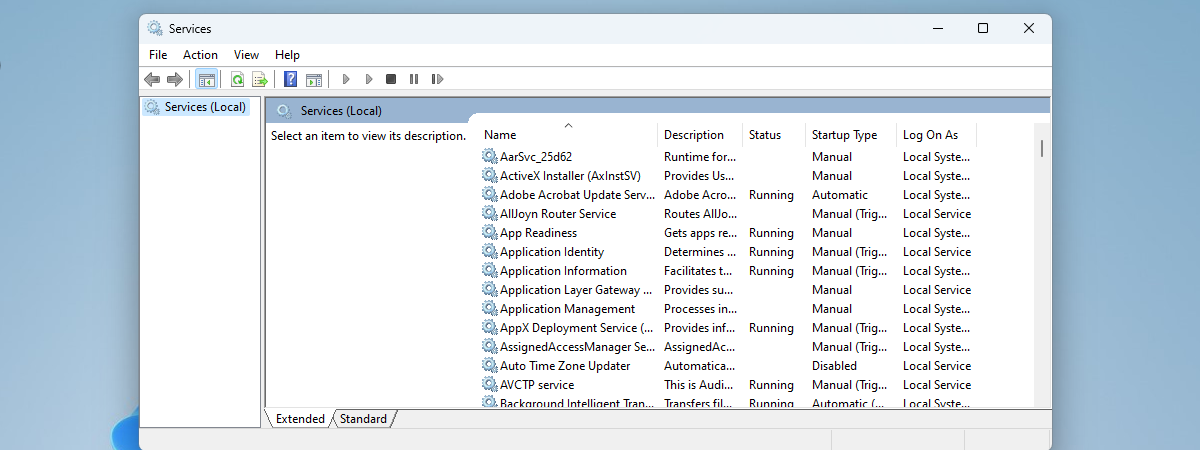
- Open the Services App:
- Press Win + R to open the Run dialog box.
- Type
services.mscand press Enter. 
- Locate Windows Remediation Service:
- In the Services window, scroll down to find Windows Remediation Service.
- Stop and Disable the Service:
- Right-click on Windows Remediation Service and select Stop.
- Then, right-click again, choose Properties, and set the Startup type to Disabled.
- Click Apply and OK to save the changes.

- Restart Your Computer:
- Restart your computer to apply the changes and check if the disk usage issue is resolved.
2. Temporarily Disable Sedlauncher.exe Using Task Manager
If you prefer not to disable the service permanently, you can temporarily stop Sedlauncher.exe using Task Manager.
Steps:
- Open Task Manager:
- Press Ctrl + Shift + Esc to open Task Manager.

- Find Sedlauncher.exe:
- In the Processes tab, look for Sedlauncher.exe under the Windows Remediation Service.
- End Task:
- Right-click on Sedlauncher.exe and select End task.
- This will temporarily stop the process and reduce disk usage.

- Monitor Disk Usage:
- Keep an eye on disk usage in Task Manager to see if the situation improves.
3. Update Windows and Drivers
Outdated Windows updates or drivers can cause conflicts, leading to high disk usage by Sedlauncher.exe. Ensuring that your system is up to date can help resolve the issue.
Steps:
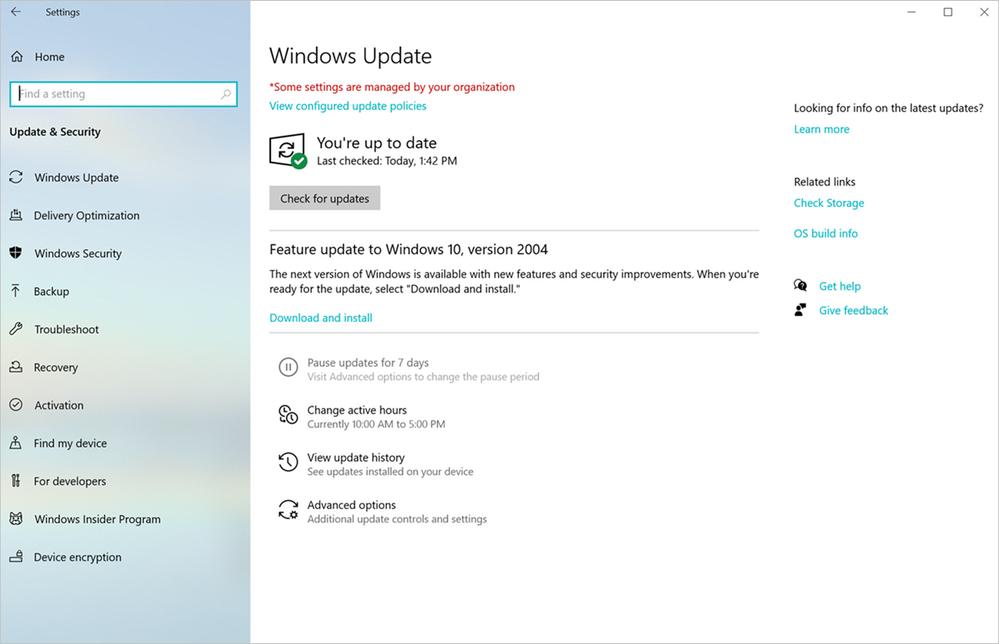
- Check for Windows Updates:
- Press Win + I to open Settings.
- Go to Update & Security > Windows Update.
- Click Check for updates and install any available updates.

- Update Device Drivers:
- Press Win + X and select Device Manager.
- Right-click on any devices with a yellow exclamation mark and choose Update driver.
- Follow the prompts to update the drivers.

- Restart Your Computer:
- After installing updates and driver updates, restart your computer.
4. Free Up Disk Space
A lack of disk space can exacerbate the high disk usage issue caused by Sedlauncher.exe. Freeing up disk space can help alleviate the problem.
Steps:
- Run Disk Cleanup:
- Press Win + S, type Disk Cleanup, and select the tool from the results.
- Select your C: drive and click OK.

- Delete Unnecessary Files:
- Check the boxes for files you want to delete, such as Temporary files and System error memory dump files.
- Click OK and then Delete Files.
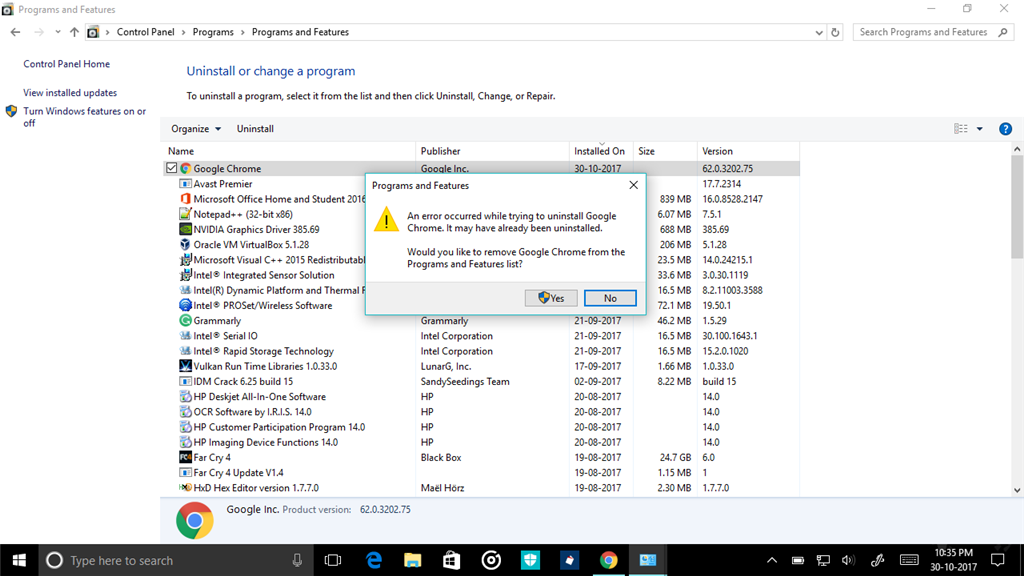
- Uninstall Unnecessary Programs:
- Go to Control Panel > Programs > Uninstall a program.
- Uninstall programs you no longer need to free up additional space.

5. Perform a Clean Boot
Performing a clean boot can help identify if third-party software is causing conflicts with Sedlauncher.exe, leading to high disk usage.
Steps:
- Open System Configuration:
- Press Win + R, type
msconfig, and press Enter. 
- Press Win + R, type
- Enable Clean Boot:
- In the Services tab, check Hide all Microsoft services and click Disable all.
- Go to the Startup tab and click Open Task Manager.
- Disable all startup items.
- Restart Your Computer:
- Restart your computer in clean boot mode and monitor disk usage.
- Restore Normal Startup:
- After identifying the cause, go back to System Configuration and select Normal startup to restore your original settings.
Conclusion
While Sedlauncher.exe is an essential part of the Windows Update process, it can sometimes cause high disk usage, leading to performance issues. By disabling the Windows Remediation Service, updating your system, freeing up disk space, or performing a clean boot, you can effectively resolve the problem and ensure that your computer runs smoothly. Always remember to keep your system and drivers up to date to prevent such issues from occurring in the future.

