How to Resolve the ‘Windows Resource Protection Could Not Start the Repair Service’ Error
Encountering the “Windows Resource Protection Could Not Start the Repair Service” error can be frustrating, especially when you need to run the System File Checker (SFC) to repair corrupted system files. This guide provides several methods to troubleshoot and resolve this issue effectively.
Understanding the Error
The “Windows Resource Protection Could Not Start the Repair Service” error usually occurs when the TrustedInstaller service, which is essential for running the SFC tool, is not functioning correctly. This can be due to various reasons, including service configuration issues, corrupted system files, or system conflicts.
1. Restart Your Computer
Sometimes, a simple restart can resolve minor system glitches that cause the error.
Steps:
- Click on the Start menu.
- Select the Power icon and choose Restart.

2. Start the TrustedInstaller Service Manually
Ensuring that the TrustedInstaller service (Windows Modules Installer) is running can help resolve the error.
Steps:
- Press Win + R to open the Run dialog box.
- Type services.msc and press Enter to open the Services window.
- Scroll down and locate Windows Modules Installer.
- Right-click the service and select Properties.
- Set the Startup type to Manual.
- Click Start to start the service, then click Apply and OK.

3. Run the SFC Tool in Safe Mode
Running the SFC tool in Safe Mode can help bypass issues caused by third-party software conflicts.
Steps:
- Press Win + R, type msconfig, and press Enter to open the System Configuration window.
- Go to the Boot tab and check Safe boot.
- Click Apply and OK, then restart your computer.
- Once in Safe Mode, open Command Prompt as an administrator: Press Win + X and select Command Prompt (Admin).
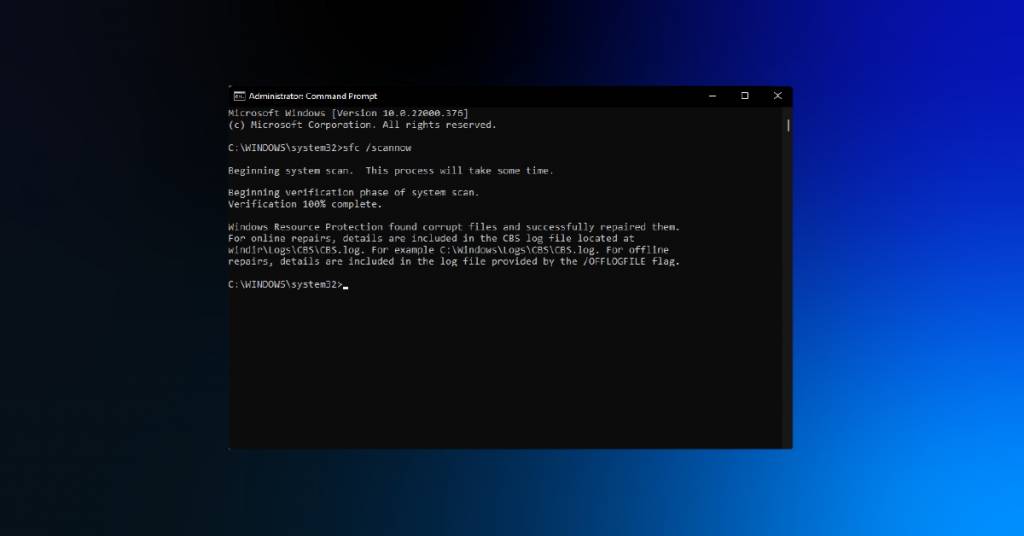
- Type
sfc /scannowand press Enter.

4. Check Windows Modules Installer Service in Command Prompt
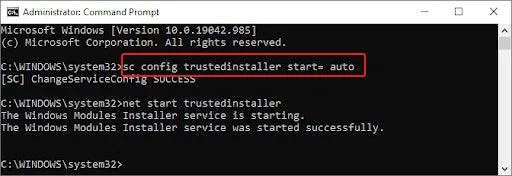
Ensuring the Windows Modules Installer service is correctly configured via Command Prompt can resolve the issue.
Steps:
- Open Command Prompt as an administrator.
- Type the following commands one by one and press Enter after each:
arduino
sc config trustedinstaller start= auto

net start trustedinstaller
5. Use DISM Tool to Repair Windows Image
Using the Deployment Imaging Service and Management Tool (DISM) can repair corrupted system images that might be causing the error.
Steps:
- Open Command Prompt as an administrator.
- Type the following command and press Enter:
mathematica
DISM /Online /Cleanup-Image /RestoreHealth
- After the DISM tool completes, run
sfc /scannowagain.

6. Check for Windows Updates
Updating Windows can resolve many underlying issues, including those affecting system services.
Steps:
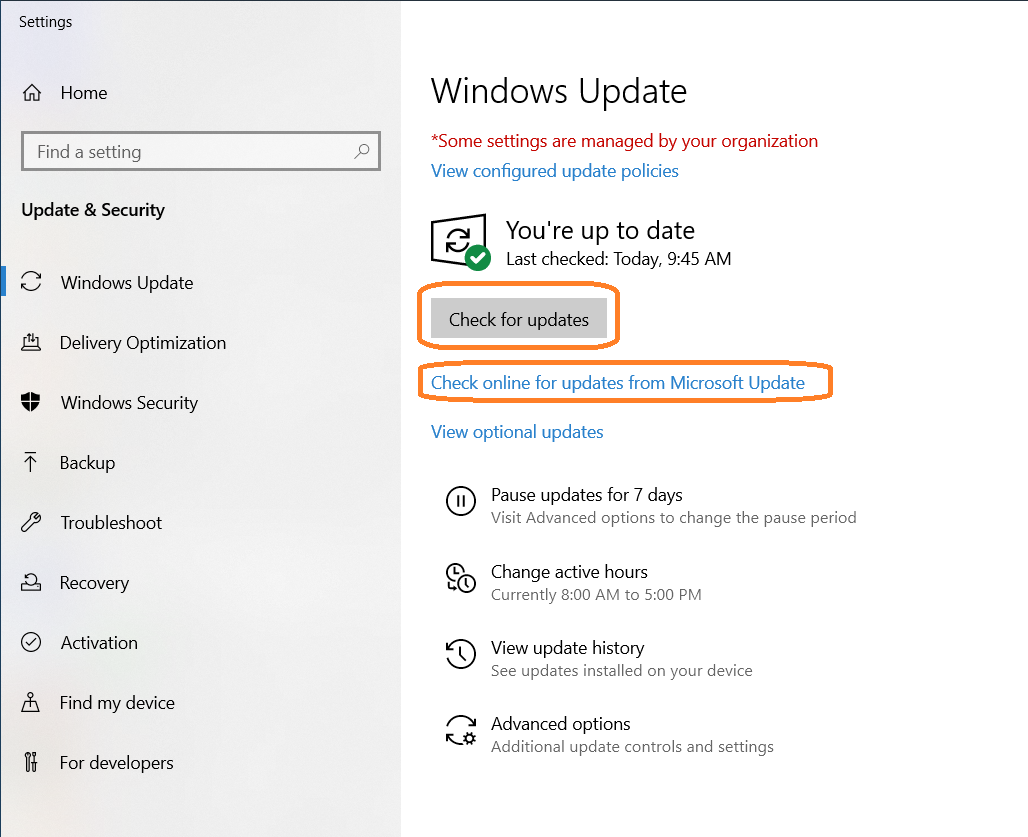
- Go to Settings by pressing Win + I.
- Navigate to Update & Security > Windows Update.
- Click Check for updates and install any available updates.
- Restart your computer if necessary.

7. Perform a System Restore
If the error started occurring recently, performing a system restore can revert your system to a state where everything was working correctly.
Steps:
- Type Create a restore point in the Windows search bar and select it.
- Click System Restore and follow the prompts to choose a restore point.
- Complete the restore process and restart your computer.

8. Reinstall Windows
As a last resort, reinstalling Windows can resolve persistent issues. Ensure you back up your data before proceeding.
Steps:
- Go to Settings > Update & Security > Recovery.
- Under Reset this PC, click Get started.
- Choose whether to keep your files or remove everything, then follow the prompts to complete the process.
Conclusion
By following these steps, you should be able to fix the “Windows Resource Protection Could Not Start the Repair Service” error. Regular maintenance, such as keeping your system updated and running periodic scans, can help prevent such issues in the future.

