Power Query in Excel for Mac: A Comprehensive Data Analysis Guide
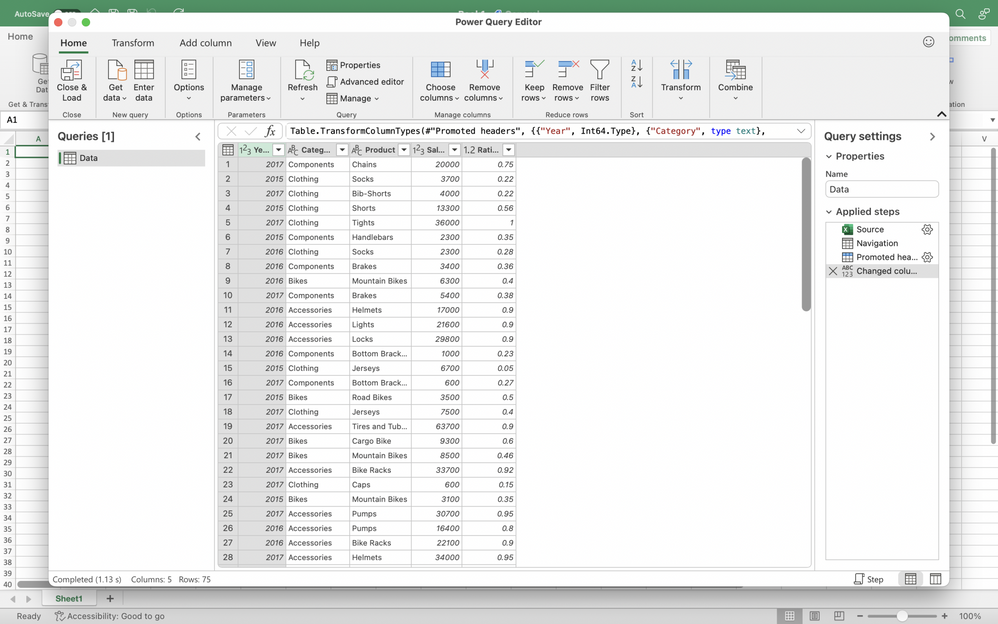
Power Query, a powerful data transformation and analysis tool, is now available in Excel for Mac. It empowers you to connect to various data sources, clean and transform your data, and load it into Excel for further analysis. This comprehensive guide will walk you through the ins and outs of Power Query on Mac, enabling you to become a data analysis pro.
1. Accessing Power Query in Excel for Mac
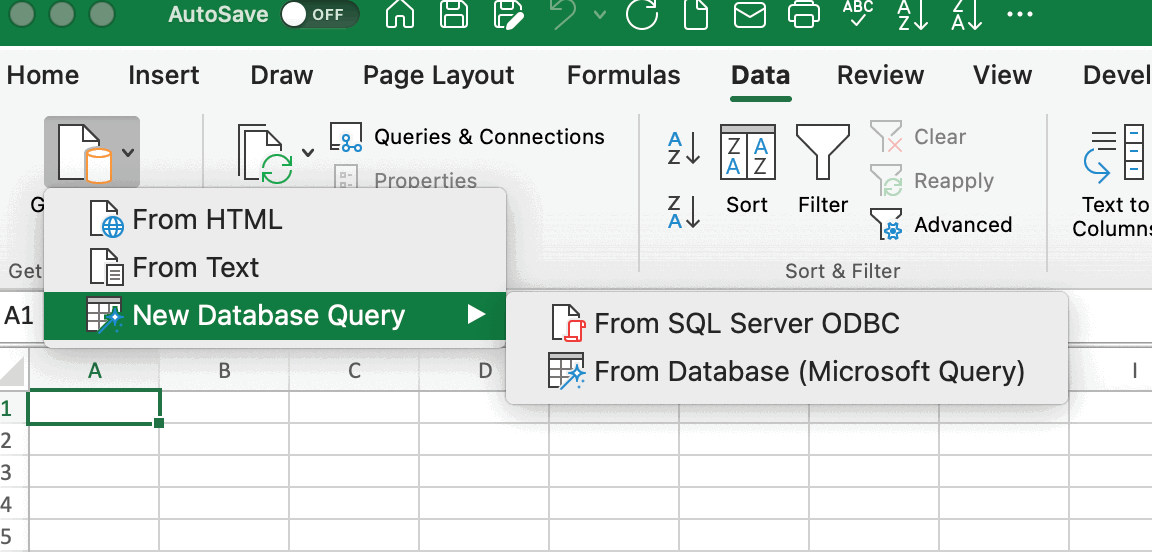
- To access Power Query in Excel for Mac, follow these steps:
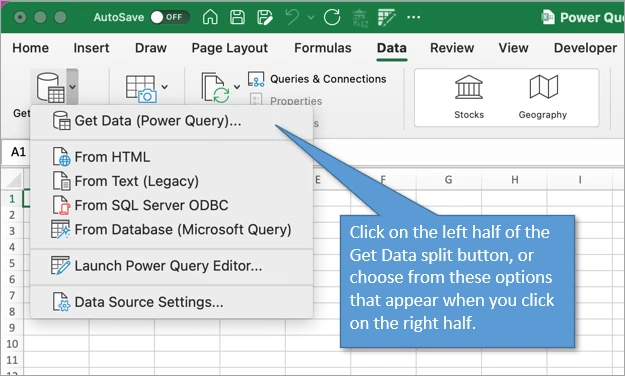
- On the “Data” tab in the Excel ribbon, click the “Get Data (Power Query)” button.
- This button allows you to import and transform data using Power Query.
- Click “Launch Power Query Editor” to open the Query Editor.
2. Connecting to Data Sources
- Power Query in Excel for Mac supports a range of data sources, including:
- Text, CSV, XLSX, XMLfiles
- Databases (SQL Server, Oracle, MySQL, etc.)
- Online services (SharePoint, OneDrive, etc.)
- Other sources (JSON, folders, etc.)
- Select your data source from the “Choose data source” dialog box.
3. Transforming Your Data
- The Power Query Editor provides a variety of tools for cleaning, transforming, and shaping your data:
- Remove Rows and Columns: Easily remove unnecessary rows or columns.
- Filter: Filter data based on specific criteria.
- Sort: Sort data in ascending or descending order.
- Group By: Group data by specific columns and perform aggregations.
- Merge and Append: Combine data from multiple sources.
- Pivot and Unpivot: Reshape your data for better analysis.
- Custom Columns: Create new columns based on calculations or transformations.
- Replace Values: Replace specific values in your data.
- Split Columns: Split columns into multiple columns based on delimiters.
4. Loading Data into Excel
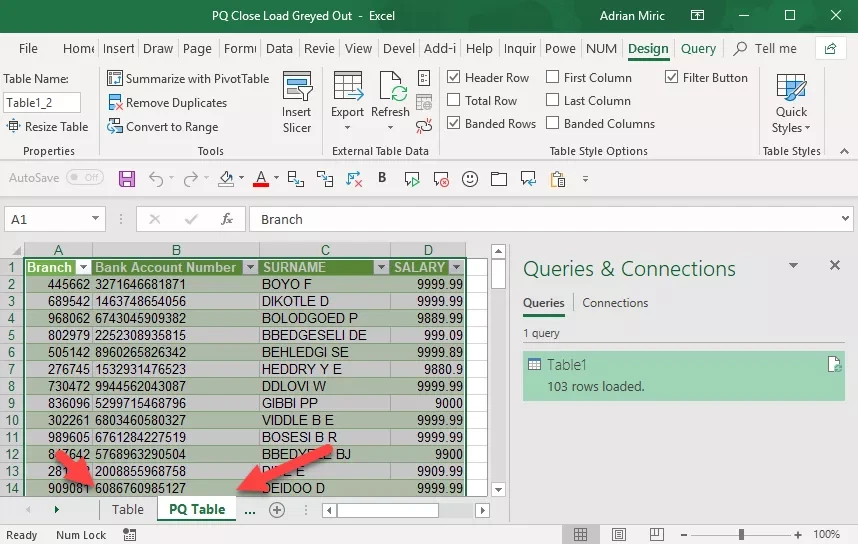
- Once you’ve transformed your data, you can load it into Excel for further analysis:
- Click the “Close & Load” button in the Power Query Editor.
- Choose how you want to load the data (table, PivotTable, PivotChart, etc.).
- Specify the location in your workbook where you want to load the data.
5. Refreshing Data
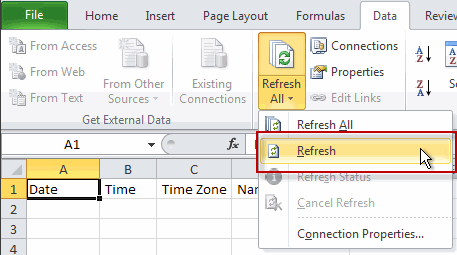
- Power Query allows you to refresh your data to ensure it’s up-to-date:
- Click the “Refresh All” button in the “Data” tab.
- Alternatively, right-click on the data table and select “Refresh.”
6. Advanced Power Query Tips
- M Language: Power Query uses the M language for advanced transformations. Learn M to create custom functions and queries.
- Parameters: Create parameters to make your queries dynamic and reusable.
- Query Folding: Leverage query folding to push transformations to the data source, improving performance.
- Error Handling: Use error handling techniques to manage unexpected errors in your data.
Key Benefits of Power Query:
- Data Cleansing: Easily clean and prepare messy data for analysis.
- Automation: Automate repetitive data transformation tasks.
- Flexibility: Connect to a wide variety of data sources.
- Scalability: Handle large datasets with ease.
- Integration: Seamlessly integrate with Excel for further analysis and visualization.
By mastering Power Query in Excel for Mac, you’ll unlock a powerful tool for data analysis, transforming raw data into actionable insights. With its intuitive interface and robust capabilities, Power Query empowers you to make informed decisions and drive your business forward.

