Installing Exchange Server 2019: A Detailed Installation Manual
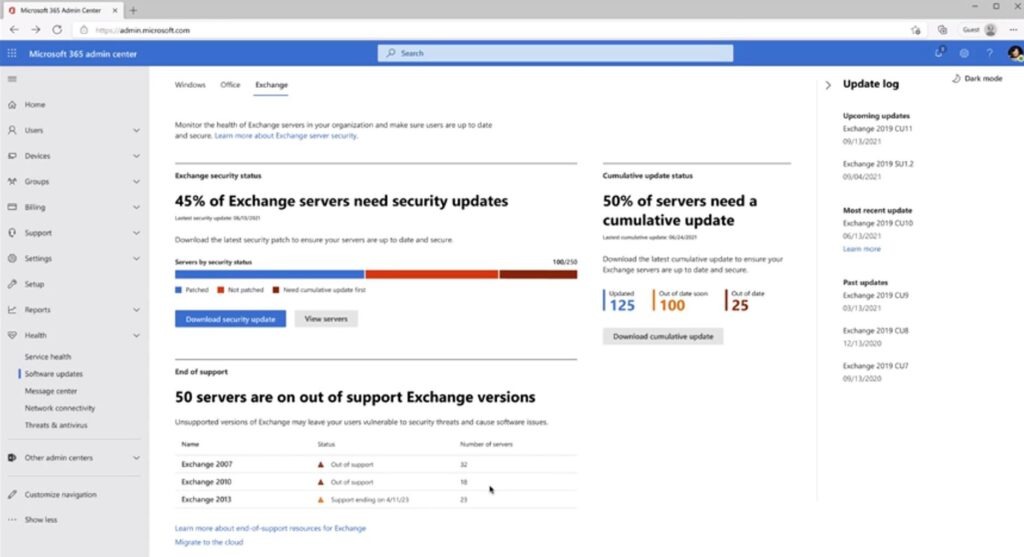
Microsoft Exchange Server 2019 is a powerful on-premises email and collaboration platform designed for businesses of all sizes. This comprehensive guide will walk you through the installation and configuration process, ensuring a seamless setup and optimal functionality.
Prerequisites for a Successful Installation
Before diving into the installation, ensure you meet the following prerequisites:
-
Supported Operating System:Windows Server 2019 Standard or Datacenter edition.

-
Hardware Requirements:
- CPU: Minimum 2 cores with 2.2 GHz or faster.
- RAM: Minimum 8 GB for small deployments, 16 GB or more for larger environments.
- Disk Space: Minimum 30 GB free space on the system drive, additional space for mailbox databases.
-
Active Directory:A functional Active Directory domain with Schema extensions prepared for Exchange 2019.
-
.NET Framework 4.8:Ensure it’s installed on the server.

-
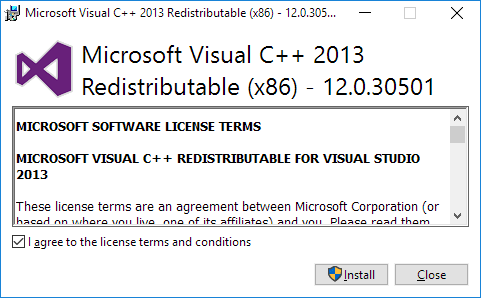
Visual C++ Redistributable Packages for Visual Studio 2013:Install these packages.
Step-by-Step Installation Process
-
Download Exchange Server 2019:
-
Prepare Active Directory:
- Open an elevated PowerShell window and run the following commands:
Setup.exe /PrepareSchema
Setup.exe /PrepareAD
Setup.exe /PrepareDomain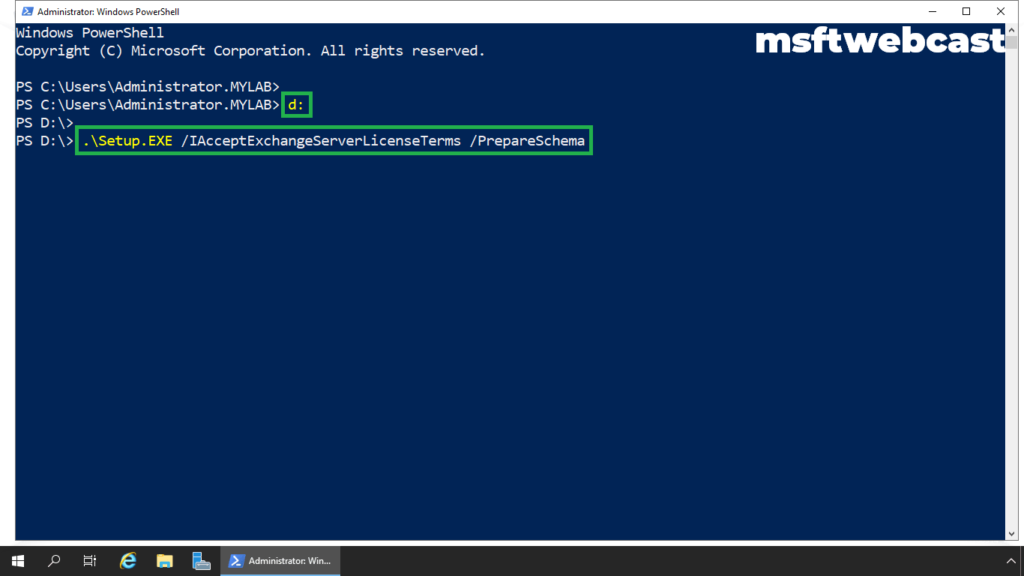
- Install Exchange Server:
-
Mount the ISO file or extract its contents.
-
Run
Setup.exeas an administrator. -
Accept the license agreement.
-
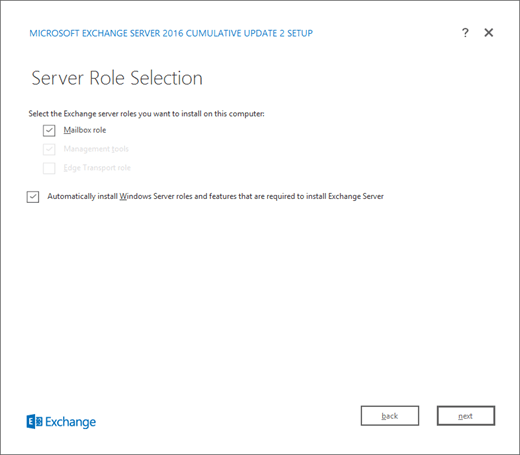
Choose the installation type (typically “Mailbox role” for the first server).
-
-
-
Select the installation location.
-
Configure the malware protection settings.
-
Start the installation.
-
-
-
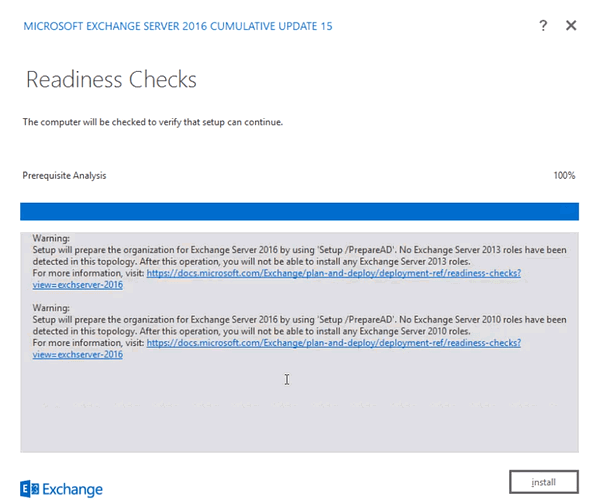
The setup wizard will perform readiness checks and install the necessary components.
-
Reboot the server if prompted.
-
Post-Installation Configuration
-
Access the Exchange Admin Center (EAC):
- Open a web browser and navigate to
https://localhost/ecp. - Log in with your Exchange administrator credentials.

- Open a web browser and navigate to
-
Essential Configuration Tasks:
-
Create Mailboxes: Add new mailboxes for your users in the “recipients” -> “mailboxes” section.
-
Configure Send/Receive Connectors: Set up connectors to manage email flow to and from your Exchange server.
-
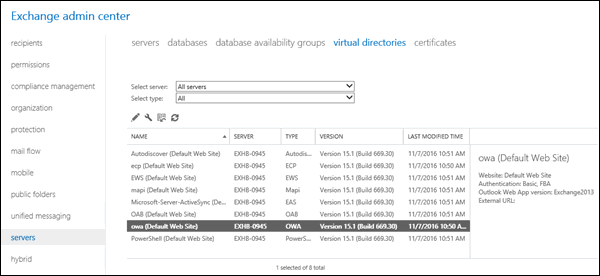
Configure Virtual Directories:Manage access to various Exchange services (OWA, EWS, etc.) through virtual directories.
- Apply Security Settings: Implement security measures like anti-spam, anti-malware, and data loss prevention (DLP).
-
Additional Considerations for Optimal Performance
- Client Access: Set up Outlook on the web (OWA) or Outlook clients for users to seamlessly access their mailboxes.
- Certificates: Install a valid SSL certificate to secure communications with your Exchange server.
- Backups: Regularly back up your Exchange server data to prevent data loss and ensure business continuity.
Troubleshooting Tips
- Event Viewer: Monitor the Windows Event Viewer for any errors or warnings related to Exchange.
- Exchange Management Shell: Utilize PowerShell cmdlets for advanced troubleshooting and configuration tasks.
- Microsoft Support: Refer to Microsoft’s official documentation and support resources for comprehensive assistance.
By following this comprehensive guide, you’ll be well on your way to setting up a robust Exchange Server 2019 environment that meets your organization’s communication and collaboration needs.
Let me know if you have any further questions!
Related Articles
» How to Secure Your Servers: A Step by Step Guide
» Fixed: Unable To Shutdown Due to DDE Server Window (explorer.exe)
» How to Download Windows Server 2022

